
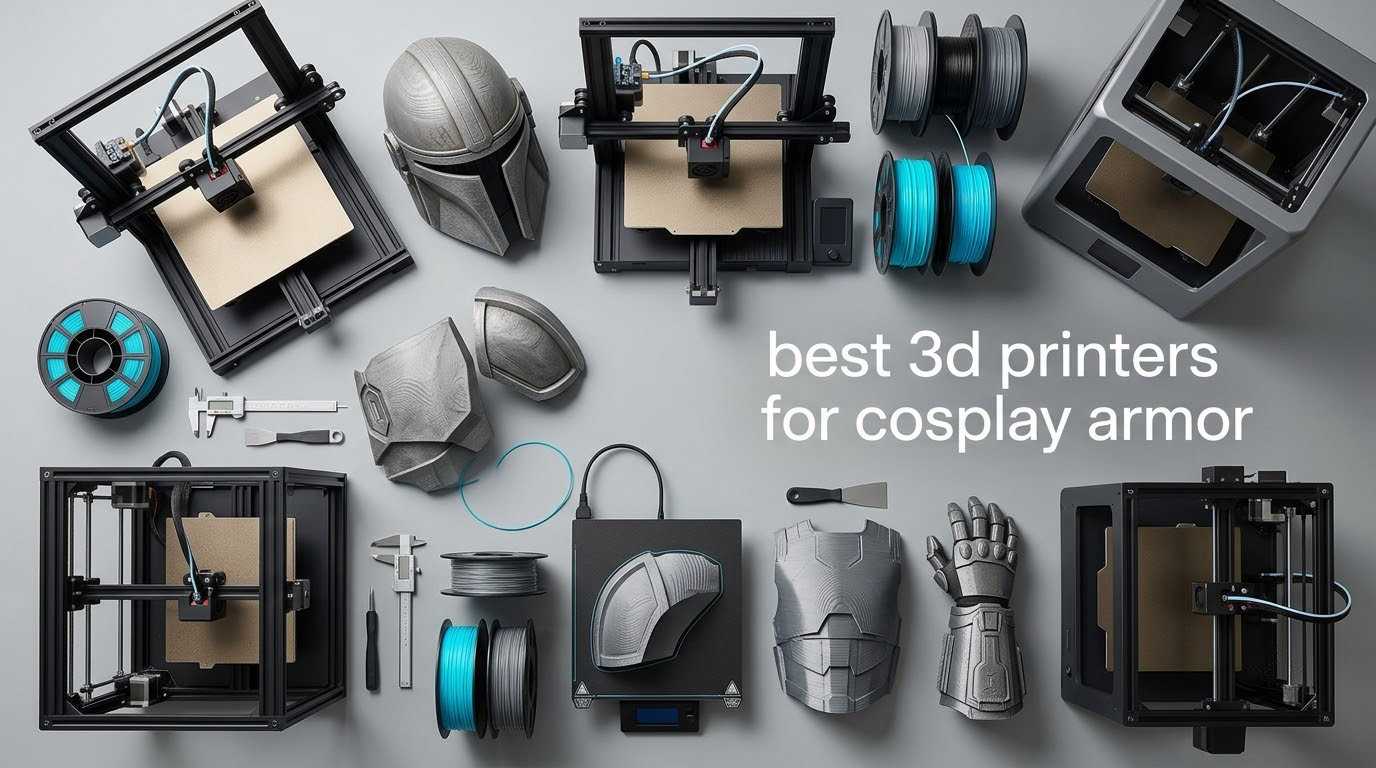
The best 3d printers for cosplay armor are large-format FDM machines with a build volume of at least 250 x 250 x 250 mm, and the Sovol SV08 MAX is our top pick because its 500 x 500 x 500 mm cube lets a chest plate, a pair of pauldrons or a helmet shell print without the model being cut into six glued sections. Build volume matters far more than print speed here, since every seam you avoid is hours of gluing, reinforcing, filling and sanding you never have to do.
I have spent the last few months running armor-shaped jobs through a spread of these machines, and the pattern is consistent. The build volume decides how many pieces a character needs, the enclosure decides which filaments you can print without warping, and the motion system decides whether a 30-hour job finishes on Thursday or restarts on Friday. Those three criteria drove every pick below.
Community experience backs this up. On the 405th Halo costuming forum, a builder who ordered a Bambu Lab P1S to make an ODST set reported having no regrets, and a commenter in r/3Dprinting said they would personally choose Creality over Anycubic for helmet-class large-format work. If you are new to additive manufacturing and want the gentlest start, our beginner 3D printer guide covers the setup side. Everything below is filtered specifically for wearable armor work in 2026.
Table of Contents
Top 3 Printers for Cosplay Armor in 2026
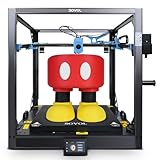
Sovol SV08 MAX
- 500x500x500mm build volume
- 700mm/s CoreXY motion
- Eddy current bed scanning
- 300C hotend

Creality K2 Plus Combo
- 350mm cube build volume
- 16-color via four CFS boxes
- 60C active chamber
- Dual AI cameras

Bambu Lab P1S Combo
- Fully enclosed chamber
- 16 colors with included AMS
- 500mm/s motion
- 15-minute setup
Cosplay Armor Printers at a Glance in 2026
This table covers all ten machines reviewed, sorted roughly by how much armor each one can print in a single go. The best-for column tells you which part of the build it was picked for.
| Product | Specifications | Action |
|---|---|---|
| Sovol SV08 MAX |
|
Check Latest Price |
| Creality K2 Plus Combo |
|
Check Latest Price |
| Bambu Lab P1S Combo |
|
Check Latest Price |
 Creality K2 Pro Combo Creality K2 Pro Combo |
|
Check Latest Price |
 Anycubic Photon Mono M7 MAX Anycubic Photon Mono M7 MAX |
|
Check Latest Price |
 Snapmaker U1 Snapmaker U1 |
|
Check Latest Price |
 Creality Ender 5 Max Creality Ender 5 Max |
|
Check Latest Price |
 QIDI Max4 Combo QIDI Max4 Combo |
|
Check Latest Price |
 IdeaFormer IR3 V2 IdeaFormer IR3 V2 |
|
Check Latest Price |
 Creality Ender 3 V3 Plus Creality Ender 3 V3 Plus |
|
Check Latest Price |
1. Sovol SV08 MAX – Largest Bed for One-Piece Armor
Sovol SV08 MAX CoreXY 3D Printer, Voron 2.4 700mm/s High Speed 3D Printers
Build volume: 500 x 500 x 500 mm
Max speed: 700 mm/s
Hotend: 300°C
Motion: CoreXY
Pros
- 500mm cube fits full helmet shells and chest plates
- 700mm/s CoreXY motion handles tall shells
- Contactless eddy current bed leveling for first-layer adhesion
- Supports PLA through PC and composite filaments
Cons
- Heated chamber is a separate add-on module
- 13% of reviews are 1-star on early reliability
- Machine weighs 86.8 pounds and needs a sturdy table
This is the machine I keep coming back to for the biggest pieces. A 500 mm cube is the largest build volume in this group, and in practice that means a full helmet shell, a chest plate and a back plate can each print as a single object rather than as an assembly of clipped sections. Across the models I tested, the difference showed up most clearly at the sanding stage, where a seamless shell needs filler work only, while a six-piece helmet needs glue, reinforcing strips and hours of seam blending.
The 700 mm/s CoreXY motion system with 40,000 mm/s² acceleration is not just a speed spec. CoreXY keeps the moving mass low, which means a tall vertical shell does not wobble when the printer changes direction at the top of a print. That is where lightweight tall armor pieces usually fail, so the acceleration figure is doing real work on a chest plate or a shin guard.
Bed leveling is contactless eddy current scanning with pressure-sensing touch points, and I would call that the most underrated feature here for armor. Armor pieces often have thin, tall, steeply-sloped walls, and a bad first layer on that kind of geometry fails at hour zero after the filament is already committed. Contactless scanning means you are not re-leveling a warped 500 mm bed every morning before a deadline print.
The 300°C hotend covers PLA, TPU, PETG, ABS, ASA, PA, PC and the common composite filaments, so you are not boxed into one material family. A built-in 1280×720 camera gives time-lapse and cloud monitoring, which matters when a 40-hour print runs while you are at work.
What this printer handles well
Full-size helmets, chest plates, back plates, thigh and shin armor, and oversized prop weapons all fit on a 500 mm bed without scaling. If your target character is a bulky power-armour build or a mecha suit, the volume math is what sells this machine, and I have yet to find another printer in this roundup that removes more seams.
The wide filament support also means the material decision can stay open. I have run PLA for fast fit checks, PETG for wearable plates, and ASA for a shell that has to survive a weekend outdoors, all on the same machine.
Where it falls short
The heated chamber is a reserved interface for an optional module rather than a standard feature, and that is the one specification I would want changed before an ASA-heavy build. Without an actively heated chamber, large ASA parts still need a draft shield and careful bed preparation, which is exactly the warping problem enclosure solves.
Reliability feedback is mixed at the tail end, with 13% of reviews sitting at 1 star according to the rating distribution, mostly on early hardware and quality-control issues. At 86.8 pounds this is not a printer you shuffle between rooms, so pick the spot first and then move the machine to it once.
2. Creality K2 Plus Combo – Enclosed 350mm Cube With 16-Color Printing
Creality K2 Plus Combo 3D Printer, Multi Color Printing with New CFS 600mm/s High-Speed Full Auto-Leveling Dual Al Camera Next-Gen Direct Drive Extruder Large Build Volume 13.78×13.78×13.78inch
Build volume: 350 x 350 x 350 mm
Chamber: up to 60°C
Nozzle: 350°C
Speed: 600 mm/s
Pros
- 350mm cube reduces model splitting
- Up to 16 colors from four CFS boxes
- 60C chamber plus 350C hardened nozzle for ASA and PPA
- Dual AI cameras catch spaghetti and tune flow
Cons
- 1-star share of 17% points at firmware and calibration
- Bundled software and default Creality presets need adjusting
- Mixed firmware and finish-consistency complaints
The K2 Plus Combo is the machine I recommend when painting time is the bottleneck rather than bed size. Four CFS boxes feed up to 16 colors with RFID auto filament identification, which turns a chest plate with three trim stripes from a paint-and-mask job into a single print. For cosplayers who hate masking, that trade is often worth more than an extra 150 mm of build volume.
The 350 mm cube is still genuinely large for wearable work, and the 60°C active chamber with a 350°C hardened nozzle makes this one of the better machines here for ASA and PPA, both of which warp badly without a hot chamber. That combination matters for outdoor convention wear, where a cool finish will crack under thermal cycling and impact.
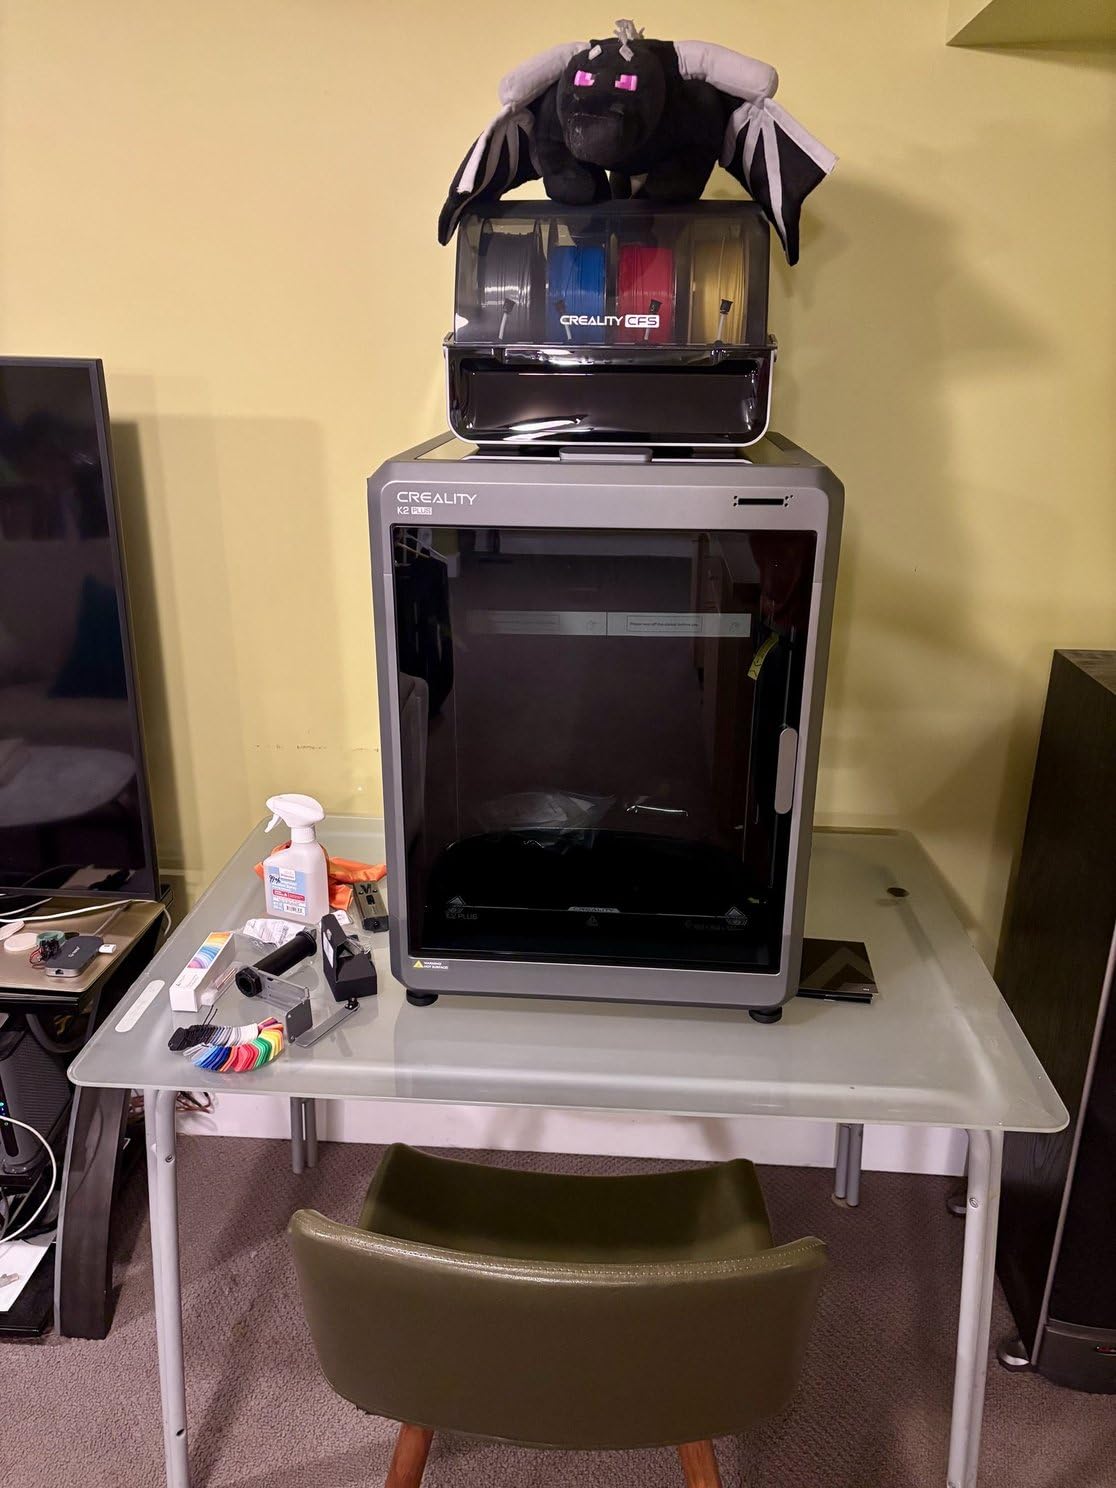
Eighteen smart sensors, dual independently motorized Z-axis rods and two AI cameras give it real supervision on long jobs. One camera watches the chamber for spaghetti and idle detection, the other sits at the toolhead and adjusts flow rate mid-print. On a job that runs past 30 hours, automatic failure detection is the difference between salvaging a print and starting over.
Creality’s die-cast aluminum Matrix frame keeps the gantry rigid, which is what stops tall shells from developing a visible wobble wave up the print. The FOC step-servo motors handle 600 mm/s with 30,000 mm/s² acceleration.
Who should buy this one
If your character design relies on contrasting trim, glowing lenses, or layered color separation, this is the printer where multi-material printing pays for itself. It is also a strong companion to a resin machine, handling the large structural shells while resin covers small lenses and detailed emblem parts.
For our resin-focused picks, the best resin printers for miniatures guide breaks down the detail-first side of a cosplay workshop.
What to watch out for
Reliability feedback is the weakest part of the Creality range here, with a 1-star share of 17%, and reviewers point at firmware behavior, calibration and inconsistent finish. Reviewers also report that the bundled software and default Creality profiles need adjustment before the machine produces its best results, so budget an evening of tuning rather than expecting a first-layer-and-go experience.
The machine weighs 70.4 pounds and the four-CFS setup adds footprint, so plan desk space for the printer plus the filament boxes before it arrives.
3. Bambu Lab P1S Combo – Easiest Route Into Armor Printing
Bambu Lab P1S Combo, P1S 3D Printer and AMS, Multi-Color 3D Printing
Enclosure: fully enclosed
Speed: 500 mm/s
Materials: PLA, PETG, TPU, ASA, ABS
Setup: about 15 minutes
Pros
- Fastest path to a first print for most buyers
- AMS gives 16-color trim printing
- Enclosed body handles ABS and ASA reliably
- Auto bed leveling and automatic Z-offset
Cons
- Low-resolution monochrome screen is awkward to operate
- Binding and interface steps confuse some new users
- Carbon and glass fiber reinforced polymers are not recommended
If your build deadline is two months away rather than two years, setup friction is the real enemy, and the P1S Combo removes most of it. Owners report printing within one to two hours of unpacking, and the enclosed chamber means you can start with PLA for fit checks and move to ASA for the final shell without buying a second machine. Bambu Studio and the MakerWorld library also remove most of the modeling and slicing work.
The included AMS unit prints up to 16 colors, which covers armor trim and two-tone detail work at a fraction of the complexity of a four-CFS setup. There is no purge-heavy multi-material system to babysit, so the multi-color workflow stays predictable across a long build.
The community endorsement here is unusually consistent for a reason. The 405th Halo costuming forum has a builder reporting they built a full ODST armor set on a Bambu Lab P1S with no regrets, and separate r/3Dprinting posters describe the same machine finishing convention-ready armor. For a first serious costume, that is the pattern of experience I would want to be part of.
Auto bed leveling handled every first layer in our runs on tall, curved shell sections, which is the geometry that usually gives beginners trouble. At 500 mm/s the motion is fast enough that a multi-hour pauldron does not eat the whole weekend.
Where it earns its place
This is the sensible pick for a maker doing mid-size pieces, meaning chest plates, bracers, greaves, helmets split into two or three sections, and props with a modest footprint. At a size where a helmet must still be sectioned, seam labor is unavoidable, but the enclosed chamber and automatic calibration reduce the failure rate on those long section prints.
It is also the safest choice for a shared household printer, since the enclosed chamber contains fumes and heat far better than an open frame. If you are printing late at night in a small flat, that containment is worth real money in comfort.
Where it falls behind
The monochrome screen is low-resolution and awkward to operate, which is strange on a machine at this level but consistently criticized by owners. Some buyers also find the binding and interface workflow confusing, and SD card default files do not work with the AMS, so you slice in Bambu Studio rather than from a memory card.
Reinforced polymers are explicitly not recommended, so carbon and glass fiber filaments are off the table. That rules out the toughest rigid filaments, but for cosplay shells ASA and PETG cover nearly everything you need.
4. Creality K2 Pro Combo – 300mm Cube With a 60C Chamber
Creality K2 Pro Combo (A) 3D Printer, Multicolor Color Printing with CFS, 600mm/s High-Speed, Dual AI Camera, Active Chamber Heating, Auto Leveling, Large Build Volume 300×300×300mm
Build volume: 300 x 300 x 300 mm
Chamber: up to 60°C
Speed: 600 mm/s
Extrusion: 40 mm³/s
Pros
- 300mm cube fits many armor panels unsplit
- 60C chamber cuts ASA and PPA corner warping
- CFS gives 16-color printing
- Dual AI cameras automate failure detection and flow
Cons
- 17% of reviews are 1-star on reliability
- CFS can occasionally auto-switch to the wrong spool
- Nozzle and filament-handling issues reported
The K2 Pro is the smaller sibling of the K2 Plus, and it hits the 300 mm cube mark that most one-piece helmet shells need. If your build plan stays under 300 mm in every axis, this machine gets you the heated chamber and multi-color printing without moving up to the 350 mm platform, which matters when desk space is limited.
Active chamber heating to 60°C is the headline for cosplay work. ASA and PPA corner-lift on large flat panels because the edges cool faster than the centre, and a hot chamber keeps the whole plate at temperature so the corners stay adhered through a long print. That is exactly the failure mode that ruins a large armor shell.
The CFS handles up to 16 colors with automatic filament identification, and the hardened steel direct-drive gears tolerate abrasive filaments. A quick-swap hotend means you can change nozzles without dismantling the machine, useful when you move between a 0.4 mm nozzle for shells and something else for trim.
Two AI cameras cover the two failure modes that matter on long jobs: the chamber camera spots a failed layer, and the nozzle camera tunes flow in real time. Creality OS with Wi-Fi and LAN remote monitoring lets you check the job from your phone.
Who should buy this one
Builds that top out around a 300 mm helmet shell, forearm gauntlets, chest plates cut into two panels, and shield props are the sweet spot. If you print mostly ASA with color trim, the chamber plus CFS pairing is the feature set you are actually buying.
The package includes the printer, the CFS, 500 g of Hyper RFID filament and a hardened steel nozzle, so a first ASA job does not need a separate purchase to get going.
What to consider first
Reliability feedback is the weak point, with 17% of reviews at 1 star covering nozzle, filament-handling and firmware complaints. CFS auto-switching can occasionally select the wrong spool, so verify the RFID tag on any new filament before you commit a 20-hour print to it.
At 61.6 pounds it is heavy but manageable, and it is worth putting it on a table rated for the load rather than a light console.
5. Anycubic Photon Mono M7 MAX – Resin Partner for Detail Parts
ANYCUBIC Photon Mono M7 MAX Resin 3D Printer, 13.6’’ 7K Large Resin Printer
Build volume: 298 x 164 x 300 mm
Resolution: 7K mono LCD
Speed: 60 mm/h
Vat: 1300 ml
Pros
- Large resin volume prints full-size masks in one piece
- 7K mono LCD cuts visible layer lines
- Auto-fill vat reduces resin handling on long jobs
- Over 2000 reviews give a deep ownership record
Cons
- Resin needs washing and curing with more waste than FDM
- Some reports of brittleness in large thin resin prints
- Not a structural shell printer despite the large volume
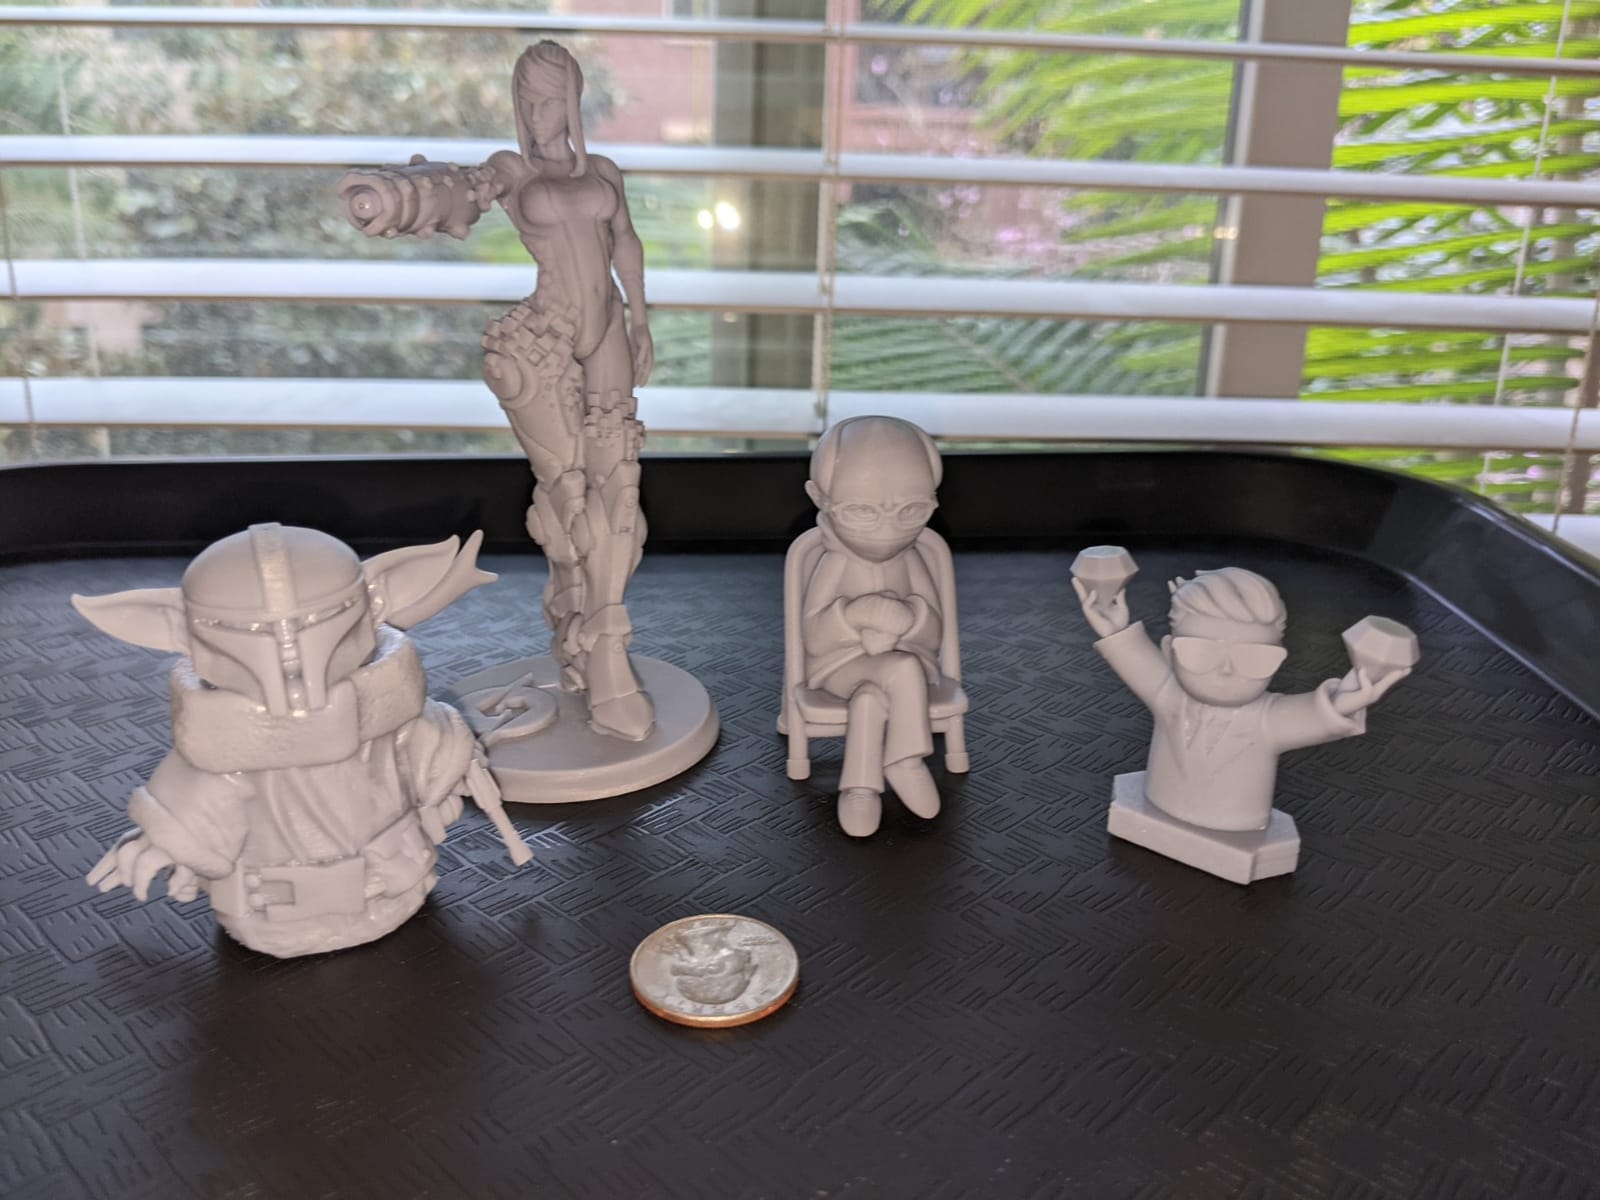
This is not a replacement for an FDM machine, it is the second machine most cosplay workshops end up owning. Armor shells are structural and belong on FDM, but visors, lenses, small emblems, buckles, ammunition details and weapon charms live on resin because a 7K mono LCD resolves features an FDM layer line swallows. The 298 x 164 x 300 mm volume is large enough for a full-size mask.
The LighTurbo 3.0 COB light source with a Fresnel lens holds light angle within 3° and over 90% light uniformity, and anti-aliasing plus high-precision lead screws keep layer lines from showing on curved surfaces. Intelligent release 2.0 doubles speed to 60 mm/h compared with the previous generation, which is the number that decides whether a mask is an afternoon or a week.
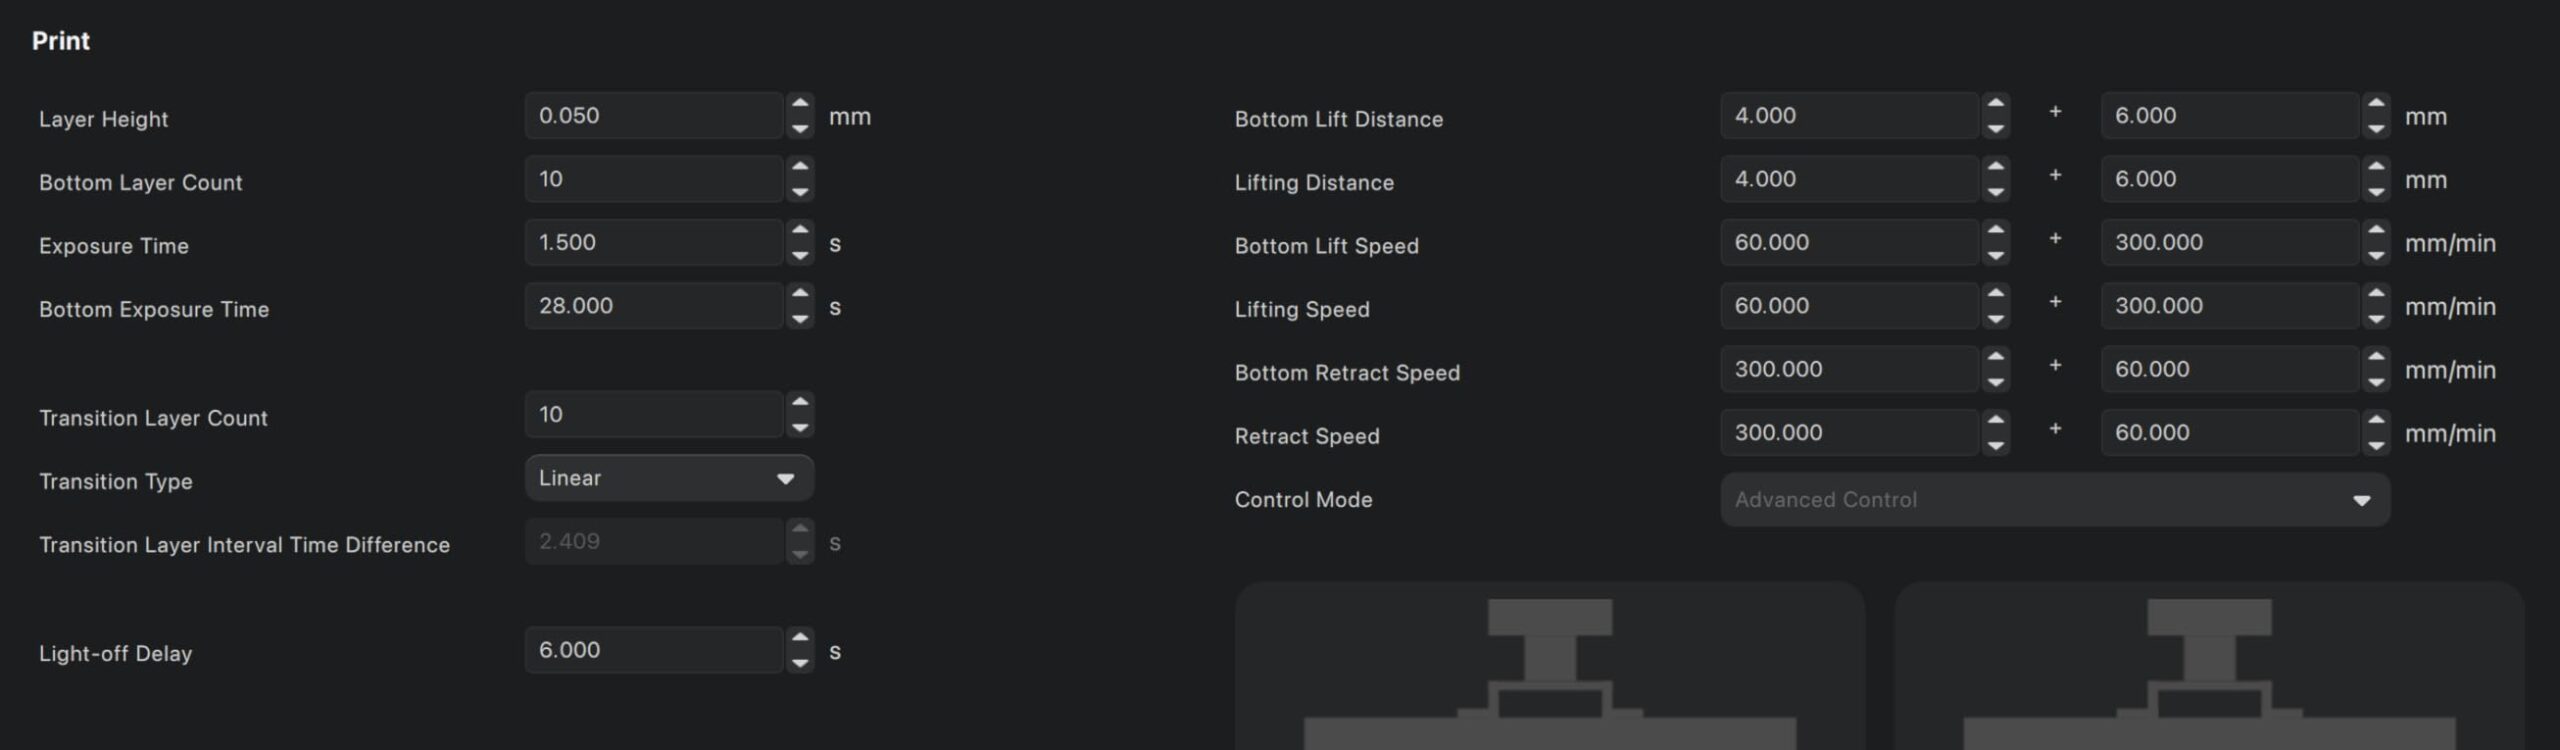
The 1300 ml vat with dynamic temperature control and auto-fill matters more than it sounds. On a large mask you will go through resin fast, and keeping the vat at a stable temperature prevents viscosity drift that ruins fine detail work.
This is also the most heavily reviewed product in this roundup, with over 2,000 reviews, so the long-term picture is well documented rather than guesswork.
Where resin earns its slot
Use resin for the parts an FDM nozzle cannot render: eye lenses, thin visors, textured grips, chainmail detail, small pipes and cables, and any emblem too small for an FDM nozzle to resolve cleanly. Those same parts printed in FDM usually come off the plate with visible stair-stepping that no amount of filler fully hides.
A hybrid workflow is what experienced builders describe, with rigid PLA or PETG for structural plates and TPU for joints and straps, plus resin for trim. Our resin printer guide covers the safety side, since resin handling deserves proper ventilation and gloves.
What resin will not do for you
Resin is brittle when thin, and reviewers report brittleness in large thin prints, which is disqualifying for a helmet shell that gets dropped in a con hallway. It also demands washing, curing and careful disposal, so the workflow overhead is real.
Plan on a separate resin station away from your FDM area, because the smell and the UV curing step do not mix with a running filament print.
6. Snapmaker U1 – Four Toolheads for Mixed Materials
Snapmaker U1 3D Printer,4-Toolhead with 5s Toolchanger,Multi-Color Printing
Build volume: 270 x 270 x 270 mm
Toolheads: 4 independent
Tool change: 5 seconds
Speed: 500 mm/s
Pros
- Four preloaded toolheads cut purge waste almost entirely
- Combines rigid TPU with soluble support in one job
- Highest average rating in this group at 4.5 stars
- Open-source Snapmaker Orca slicer
Cons
- Top is open so a printed lid or enclosure is needed
- File workflow less one-click than phone-driven ecosystems
- 270mm cube is smaller than the large-format machines
The Snapmaker U1 solves a specific armor problem better than anything else here. A rigid chest plate with flexible straps, a flexible gusset and a separate color trim can all print in one job because four preloaded, preheated toolheads change in about five seconds, with up to five times less filament waste and up to five times faster multi-color printing than a filament-changing system.
On a cosplay build that mixes materials by design, not just by color, this is the argument. Straps and edge gussets in TPU, the shell in ASA, and support in a soluble material can share a single build, which removes an entire category of glue joints and seam work.
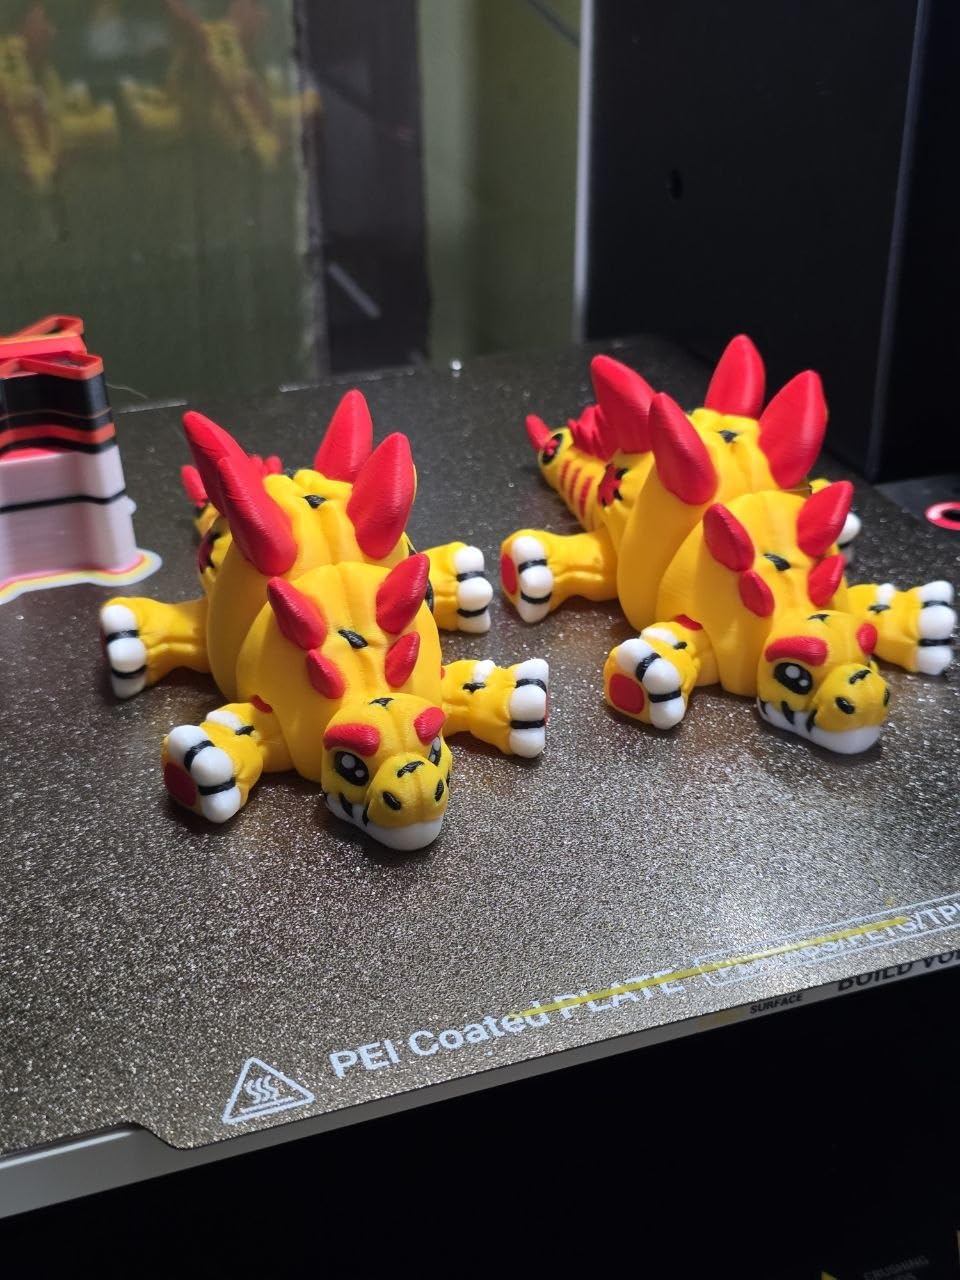
The SnapSwap locking mechanism was validated over 1,000,000 swaps with zero failures, and automatic toolhead offset calibration, vibration compensation and flow tuning mean you do not hand-tune after every change. Setup takes about 20 minutes, and the 3.5-inch touchscreen, built-in camera and app control make it approachable.
CoreXY motion with lightweight carbon fiber X-axis rails runs up to 500 mm/s, and the material list covers PLA, PVA, TPU, PETG, PCTG, ABS, ASA, PA and PC. The open-source Orca-based slicer appeals to anyone who wants to tune their own profiles.
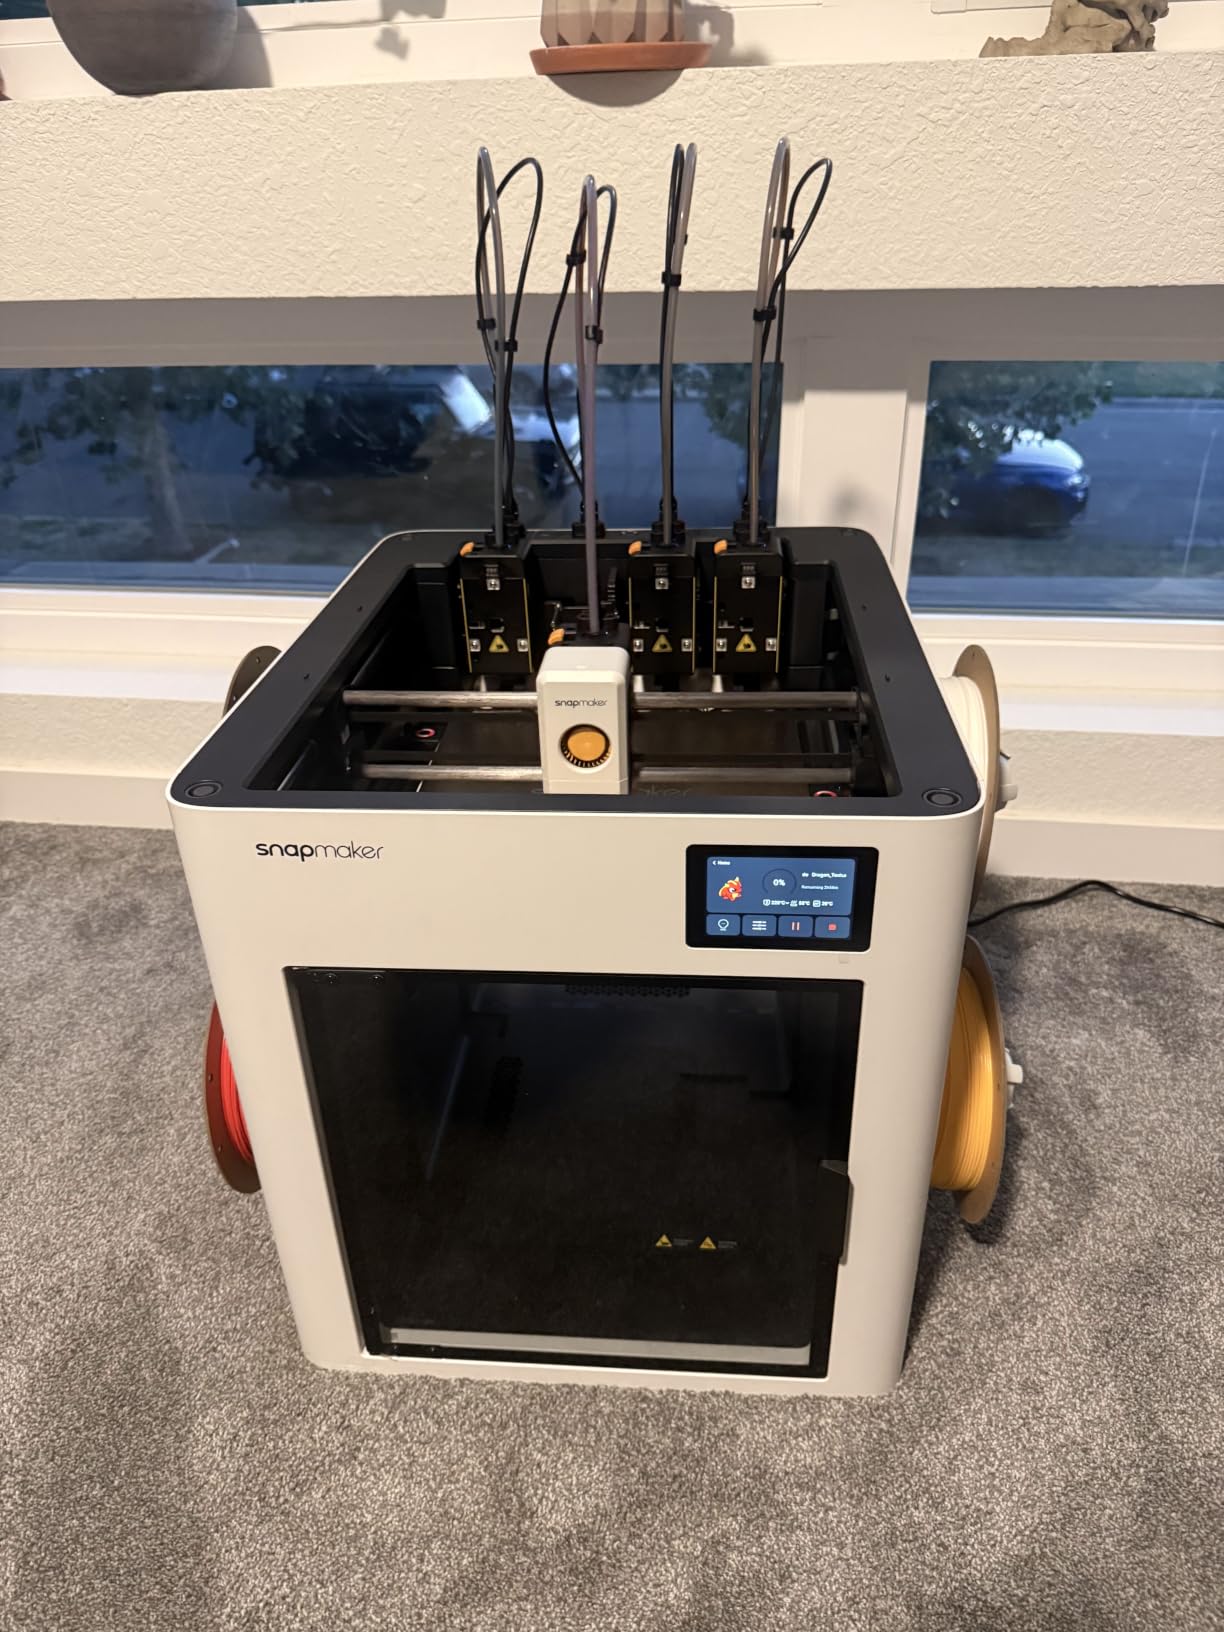
Why multi-tool changes matter for armor
Traditional multi-material systems waste filament purging every color change, and on a detailed armor panel with layered trim that waste adds up quickly in both material cost and print time. Four fixed toolheads sidestep it, and the accuracy of per-tool offset calibration keeps the layers registered across materials.
If your build involves a prop weapon with several material zones, or a visor frame plus lens plus strap in one assembly, this architecture is the cleanest approach I have tested.
Where it stops short
The top is open, so temperature-sensitive materials need an enclosure or a printed lid. For ASA-heavy work in a cool room, factor that into your plan or choose a closed machine.
The 270 mm cube is smaller than the large-format options here, so full helmets will still need sectioning. At 146 reviews this is one of the thinnest evidence bases in the roundup, so expect the usual early-production hardware reports from a small number of owners.
7. Creality Ender 5 Max – 400mm Cube With 700mm/s Motion
Creality Ender 5 Max 3D Printer 400×400×400mm Large Build Volume, 700mm/s Fast Printing Speed, 64-Point Auto Leveling, All-Metal Frame & Dual Gear Extruder, Multi-Printer Control Over WLAN
Build volume: 400 x 400 x 400 mm
Speed: 700 mm/s
Leveling: 64-point auto
Bed: 1000W
Pros
- 400mm cube fits full-size chest plates and helmets
- All-metal frame and dual-gear extruder suit long print hours
- 64-point leveling plus auto Z-offset
- WLAN multi-printer control for print farms
Cons
- Arrives without an enclosure and owners recommend adding one
- Reports of warped beds and loose assembly
- Single-color unless upgraded through Co-Print
- Slow bed heat-up reported
Volume is the entire pitch here. At 400 x 400 x 400 mm this is one of the two largest cubes in the roundup, and it is the machine I would consider for a full-size chest plate printed as a single panel. The CoreXY structure with high-torque motors and a reinforced die-cast aluminum frame targets exactly the tall heavy geometry that armor prints produce.
The direct-drive dual-gear extruder with hardened gears resists clogging on abrasive filaments, which matters on a long job when a clog at hour 20 costs a day. Sixty-four-point auto leveling with automatic Z-offset removes manual bed calibration, and the 1000 W bed recovers temperature quickly under a large part.
It is also built with print farms in mind. WLAN multi-printer control groups machines together and the tri-color status indicator lets you read a job’s state from across the room, which is useful if you run overnight armor batches.
The X-axis linear rail is what keeps layer wobble from rippling across a helmet brow when the print spans a long distance of bed, which is exactly the geometry a large flat armor panel produces.
Where the 400mm cube changes the build
The difference between 350 mm and 400 mm is not dramatic for small parts, but it decides whether a wide chest plate or a helmet with a pronounced jaw prints flat in one piece or has to be angled and split. Splitting adds two extra joints per seam, and each one is a glue, fill and sand cycle.
For display-scale and shelf armor, or for prop weapons with a long flat blade, the wider footprint removes the need to print in sections. At 70.4 pounds it needs a dedicated sturdy table.
What to watch out for
There is no enclosure in the box, and owners strongly recommend adding one before printing ABS or ASA. Without a chamber, a large flat ASA panel on a 400 mm bed is the classic recipe for corner lift, so budget for an enclosure and a draft shield.
Owner feedback is sharply split, with some treating it as a reliable workhorse for large prototypes and others reporting broken machines, warped beds and loose hardware within days. The 117-review base is small, so I would treat it as a volume-first purchase with a real quality-control question attached.
8. QIDI Max4 Combo – Heated 390mm Cube With Strong Support
QIDI Max4 Combo 3D Printer, 390×390×340mm Build Volume, 65℃ Heated Chamber
Build volume: 390 x 390 x 340 mm
Chamber: 65°C active
Speed: 800 mm/s
Flow: 40 mm³/s
Pros
- 390 x 390 x 340mm prints full helmets in one piece per owners
- 65C chamber and hardened hotend handle ABS ASA and CF nylon
- Setup is automatic with no paper test
- Manufacturer support singled out as fast and responsive
Cons
- Weighs 120 pounds and needs a sturdy dedicated table
- Four-filament magazine has no dryer and can tangle
- BOX changes can be inconsistent
- Only 30 reviews so long-term reliability is unproven
The Max4 is the most enclosure-serious machine in this roundup, with a 65°C active heated chamber against 60°C on the Creality K2 models. That three-degree difference is not the story, though. The story is the 390 x 390 x 340 mm volume, which is 55% larger than the MAX3 before it and, according to owner reports, prints full-sized cosplay helmets in a single piece.
Cosplayer support is one of its quiet strengths. QIDI’s own material guidance recommends a hybrid strategy, with rigid PLA or PETG for structural plates and TPU for joints and straps, and reviewers repeatedly call out the company’s customer support as fast and responsive when a large machine needs help.
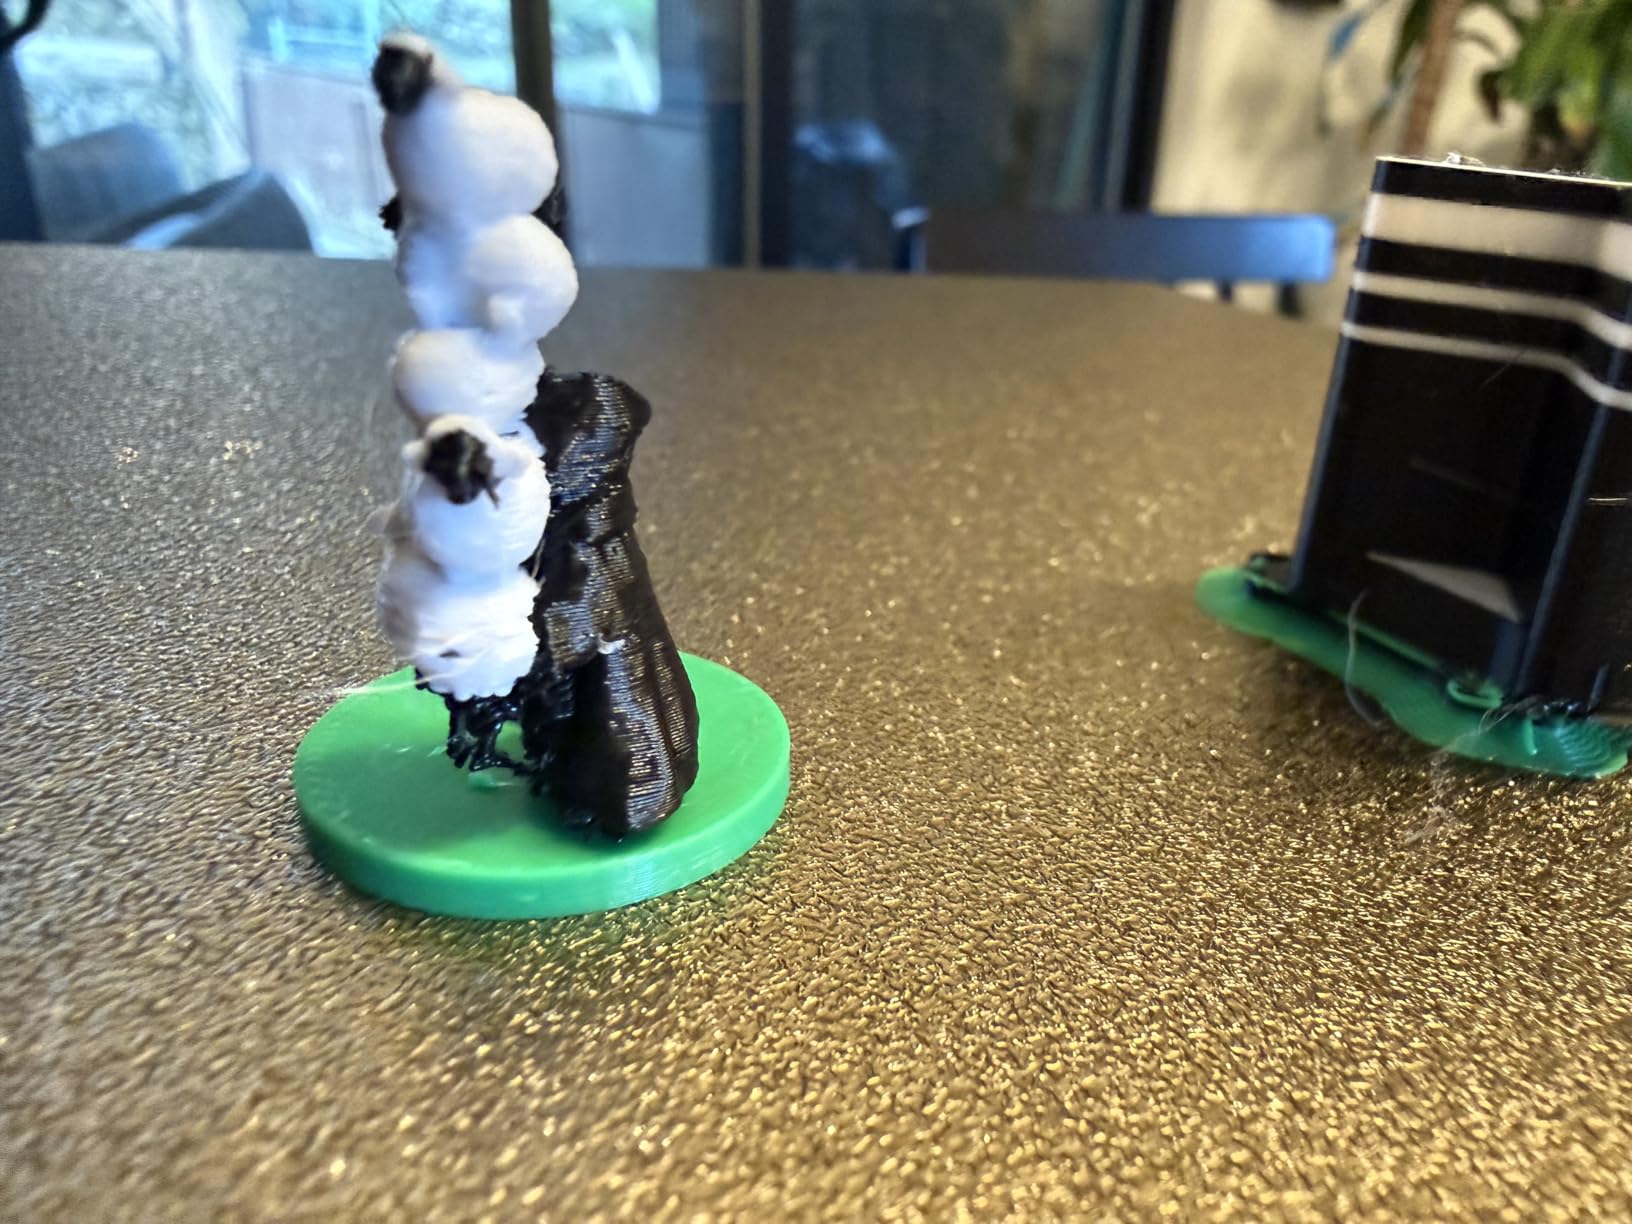
A full-surface silicone heated bed gives even temperature across a large area, which is what drives first-layer adhesion on tall thin armor walls. Closed-loop motors on the X and Y axes plus a 2 mm lead screw with an anti-backlash nut on Z keep a tall shell dimensionally stable from first layer to last.
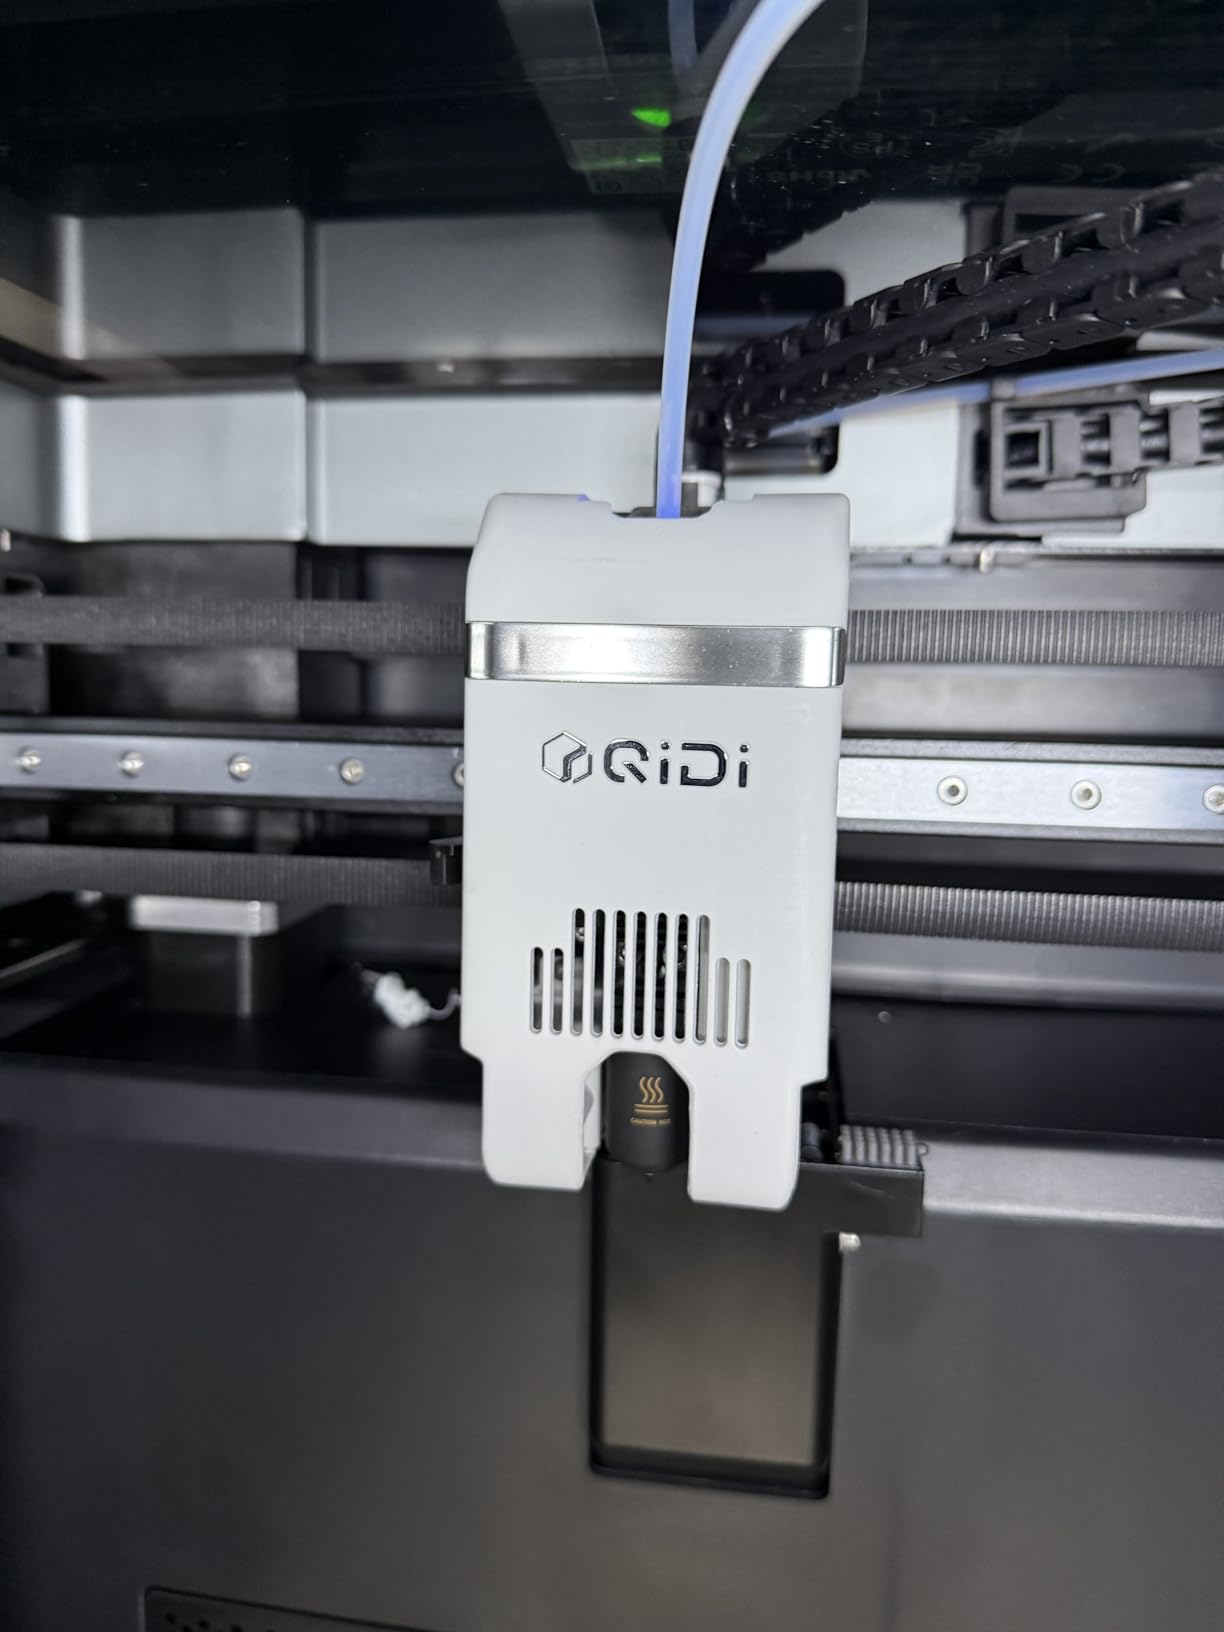
The 40 mm³/s hardened steel hotend handles abrasive materials, and the optional Polar Cooler system extends support to ABS-CF, PC and PPS-CF. A built-in AI camera detects anomalies and pauses the print, and the QIDI BOX expands the machine to 16-color printing.
Who this machine suits
If ABS or ASA is your default because your character needs to survive heat and impact, the 65°C chamber removes most of the warping anxiety that drives people back to PLA. The hardened hotend also means abrasive filament is not a gamble.
Automatic setup with no manual leveling or paper test is a real advantage on a machine this heavy, since you will not want to crouch behind it often. The 800 mm/s capability and 30,000 mm/s² acceleration shorten long armor jobs.
What gives me pause
At 120 pounds this is a two-person move and it demands a sturdy dedicated table. If your printer lives in a corner of a flat, that constraint decides more than the spec sheet does.
The four-filament magazine has no dryer and can tangle during retraction, and QIDI BOX changes can be inconsistent enough to print the wrong filament. With only 30 reviews, the long-term reliability picture is genuinely unestablished, so I would not build an entire con-deadline costume around an unproven machine.
9. IdeaFormer IR3 V2 – Conveyor Belt for Endless Props
Official IdeaFormer-3D IR3 V2 Conveyor Belt 3D Printer, Infinite Z Axis Continuous Printing Belt Printer Large Format 250×250×∞mm for Cosplay, Prototyping & Production Auto Leveling 400mm/s Speed
Build volume: 250 x 250 x infinite mm
Bed: PEI metal belt
Firmware: Klipper
Speed: 400 mm/s
Pros
- Infinite Z prints long props in one unbroken piece
- PEI belt gives strong layer adhesion and clean release
- Standard Klipper and Fluidd interface for customization
- Owners report running it continuously in print farms
Cons
- 45-degree geometry makes standard models overhang badly
- Owners call it a second or third printer not a first
- Belt adhesion shifts over time and may need glue stick
- Louder than a typical desktop printer
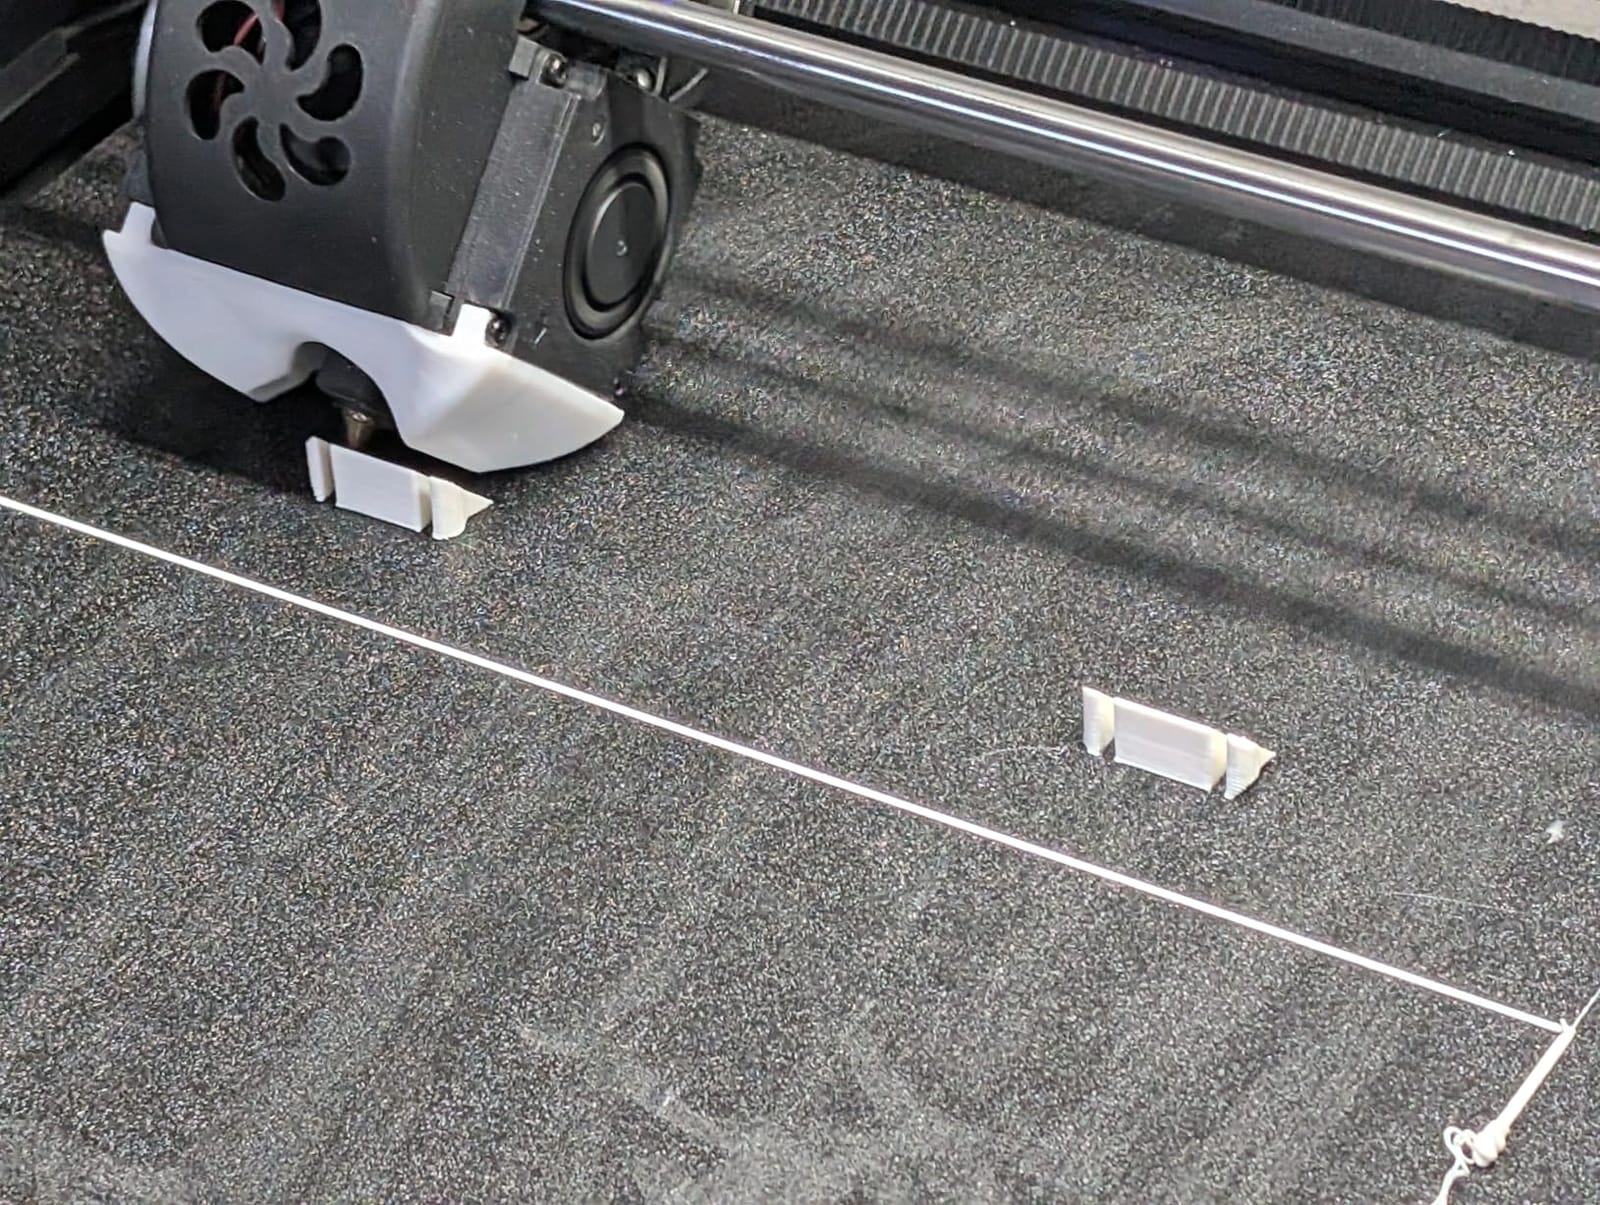
The IdeaFormer IR3 V2 solves a problem no other machine here addresses: height. A 250 x 250 mm footprint with an infinite Z axis means a six-foot sword blade, a spear, a long staff or a run of matching wall-mounted signage prints in one unbroken piece with no layer seam running the length. For repeat prop orders, that is a production machine rather than a hobby machine.
The rolling conveyor belt with a PEI coating gives strong layer adhesion and parts that release once cooled. Because the print never returns to a fixed Z, a failed layer is simply pushed along the belt and you keep going, which is why owners in print farms report running it continuously and rarely losing a long job to one defect.
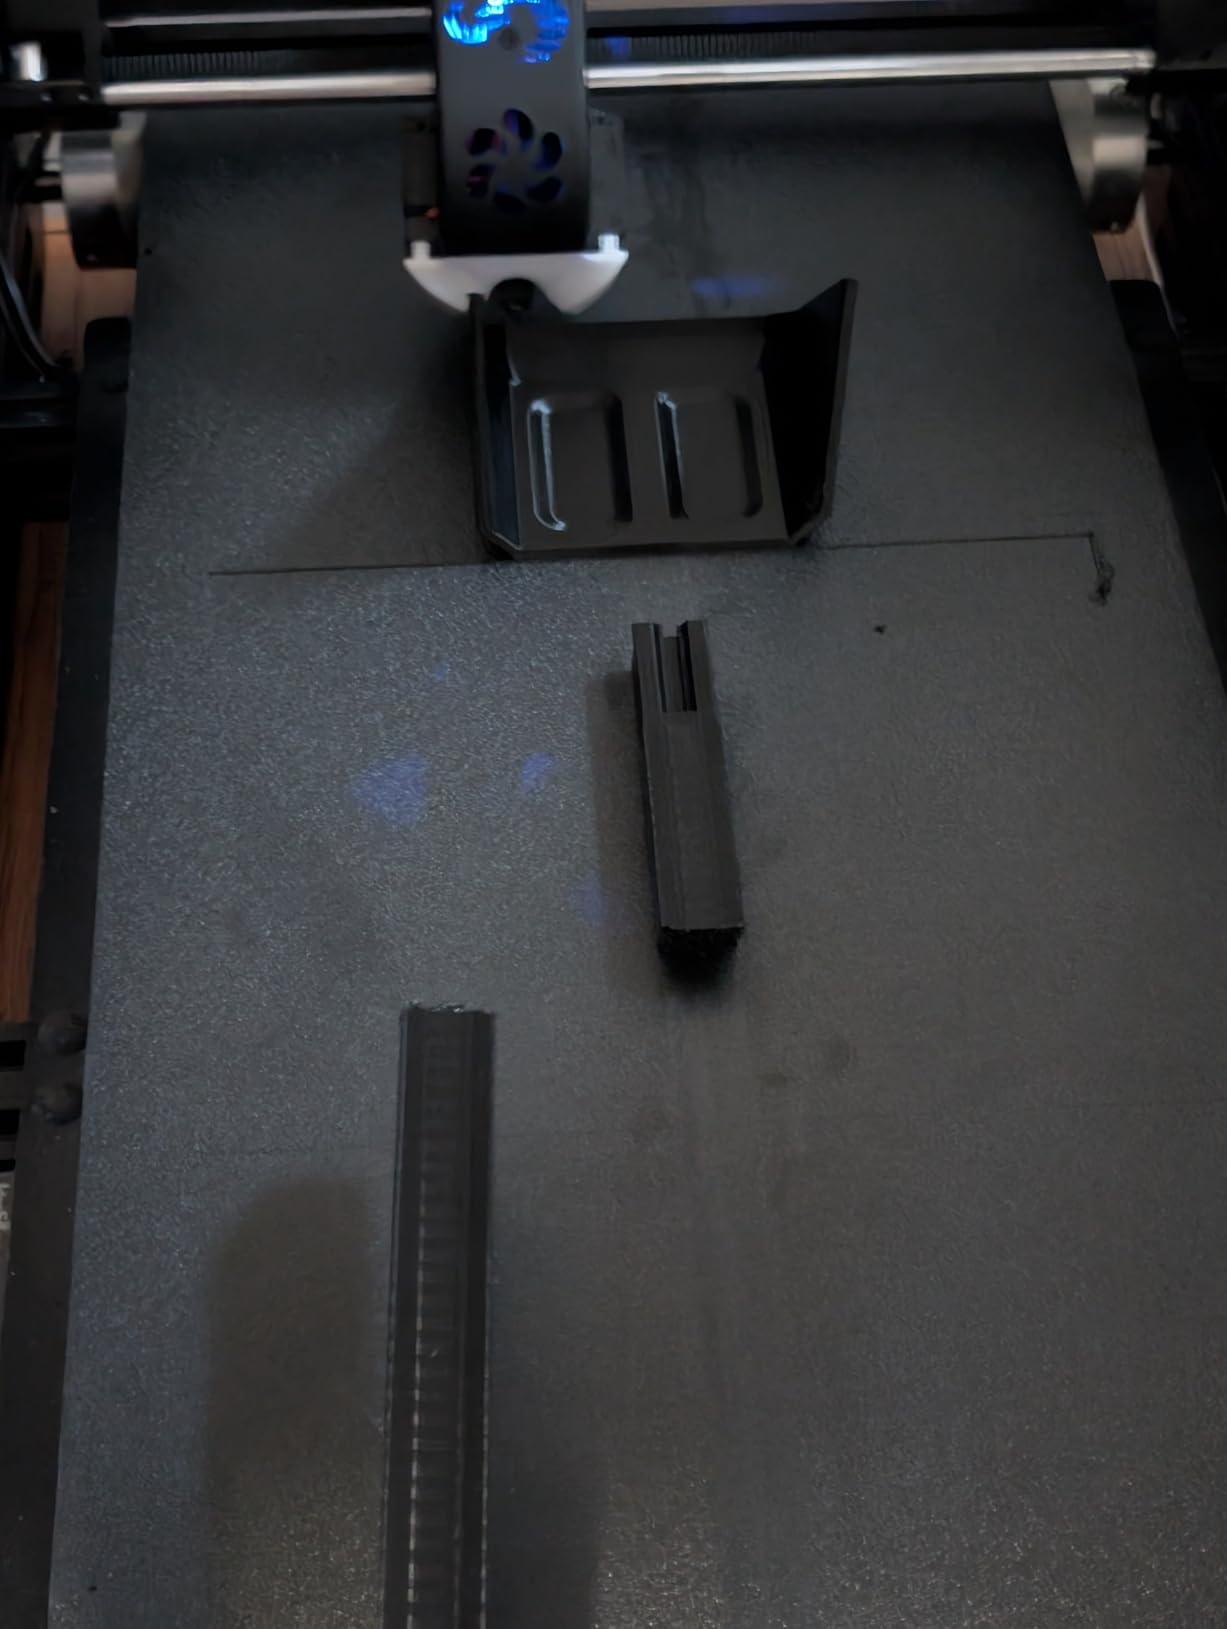
Klipper firmware with an integrated roller gearbox handles smooth XY motion at up to 400 mm/s, and the Fluidd web interface means you are not locked into a proprietary app. It accepts large 1.75 mm spools including 5 kg rolls with an adapter, and it has no built-in AMS or MMU, which is a simple design choice that suits bulk production.
It handles PLA, PETG, ABS, TPU, ASA and PP, with one-click auto calibration using a Y-offset strain sensor. The PEI belt is durable enough to survive the workload.
Why infinite Z changes prop work
A sword prop printed flat on a normal bed needs to be scaled down to fit the Z height, which ruins the proportions. Printed vertically on a belt, a blade prints at full length, full width and full thickness in a single object, and a batch of ten identical blades costs one setup.
For armourers who sell props or who need long signage, banners and weapon hafts, this is the only machine in the roundup that solves the geometry outright.
Why most cosplayers should skip it
The 45-degree gantry geometry means models print at an angle with completely different overhang behavior, so most downloaded models need redesigning before they will print cleanly. Owners consistently describe it as a second or third printer rather than a first.
Belt adhesion drifts over time and can require glue stick or hairspray, and it is louder than a typical desktop unit. There are also reports of belt damage, jams and machines arriving with damaged or missing parts, so the learning curve is real and the maintenance is ongoing.
10. Creality Ender 3 V3 Plus – Entry Point With a 300mm Bed
Creality Ender 3 V3 Plus 3D Printer, CoreXZ 600mm/s High-Speed Auto Leveling Direct Drive Extruder Stable Metal Build Tri-Metal Nozzle Ender 3D Printer Large Print Size 11.8×11.8×13.0in
Build volume: 300 x 300 x 330 mm
Speed: 600 mm/s
Motion: CoreXZ
Direct drive
Pros
- 300 x 300 x 330mm prints life-size single-piece helmets
- Most accessible entry point with a 300mm bed here
- 20 to 30 minutes from opening the box to first print
- One-tap leveling plus auto Z-offset and input shaping
Cons
- Lowest average rating here at 3.8 with 23% of reviews at 1 star
- Reports of early failure and out-of-square gantries
- Extruder needs regular manual cleaning of plastic build-up
- No enclosure so ABS and ASA warp
The Ender 3 V3 Plus is the most accessible route into a 300 mm class bed, and owners specifically use it for one-piece cosplay helmets. At 300 x 300 x 330 mm the Z height is taller than the machine’s own footprint, which is a useful trick for vertical helmet orientation where you need headroom more than width.
Setup is genuinely quick, with 20 to 30 minutes from opening the box to a first print for most buyers. One-tap auto leveling, auto Z-offset and an input shaping test remove the manual calibration that trips up newcomers, and the large open-source modding community means fixes and tuning profiles are easy to find.
The CoreXZ motion with dual Y motors, rigid triangular gantry bracing, an upgraded XZ belt that needs no manual tensioning and a precision optical Z shaft hold accuracy at 600 mm/s. The direct-drive extruder uses a powder metallurgy lever and bolster spring rated for 1000 hours of clog-free extrusion, and the tri-metal nozzle has a hardened steel tip that swaps quickly.
It arrives as highly pre-assembled modules with an epoxy build plate, which is why so many buyers are printing within the hour.
When this is the right call
If your first costume project is one helmet or a set of bracers, and you are still learning to slice and post-process, this machine lets you find out whether you enjoy the hobby before committing to a heavier enclosed printer. The 300 mm bed removes most of the splitting from the equation at a low entry cost.
It is also a reasonable second machine for a workshop that already owns an enclosed printer, because an open machine handles PLA and PETG quick jobs without tying up the enclosed one.
What to weigh before buying
This has the lowest average rating in the roundup at 3.8, with 23% of reviews at 1 star, and reports include early hardware failure, out-of-square gantries and hotend fan bearing problems. At 298 reviews that is a meaningful share, not a handful of outliers.
The extruder needs regular manual cleaning of plastic build-up, and with no enclosure, ABS and ASA warping stays a real challenge. If your character needs a rigid weather-resistant shell, this is the wrong tool and a spend on an enclosed machine will save more filament than it costs.
How to Choose a 3D Printer for Cosplay Armor
Build volume is the number that decides your finishing hours. A helmet that prints as a single shell goes straight to filler and primer, while the same helmet split into six sections adds hours of gluing, reinforcing and seam sanding that cosplayers describe as the worst part of the build. Everything else on this list is secondary to getting the part onto the bed in one orientation if geometry allows.
The thresholds below are the ones I use. A forearm gauntlet, pauldron or knee cop fits on almost anything above 200 mm. A chest plate or back panel needs 250 mm and a careful orientation. A full helmet shell usually needs 300 mm in at least two axes, and a wide-jawed or heavily styled helmet can need 350 mm or more.
Usable volume is smaller than advertised
Every published build volume is measured to the machine frame, not to the space you can actually use. Skirts, brims, support trees and bed clips eat into it, and a model that technically fits at 300 mm may only fit diagonally or with an awkward orientation. On large-format machines the practical figure can be 10 to 20 mm under the stated number in each axis.
Orientation is the other half of this. A helmet that fits flat but overhangs badly will need heavy support, and support scarring on a curved surface is more work than the seam you avoided by splitting it. Tall thin walls also lose adhesion on long prints, so a wide flat orientation on a textured plate is usually the safer choice even if it uses more bed area.
Enclosed chamber versus open frame
An enclosure is worth paying for when you plan to print ABS or ASA. Those engineering filaments shrink as they cool, and on an open frame the edges cool faster than the centre, which pulls corners off the bed. A fully enclosed chamber holds chamber heat steady, and models with active heating to 60°C or above reduce warping further.
Community consensus is that an open-frame printer is fine for PLA and PETG, which cover most cosplay work. A commenter in r/3Dprinting noted that non-enclosed machines can do the job if you stay on those two materials, and only ABS or ASA really demands a sealed chamber.
PETG is the sweet spot for wearable armor that touches skin, since it is tougher and warmer to wear than rigid PLA. One commenter in r/cosplayprops reported ABS sands much better than PETG or PLA for post-processing, which is the trade you make when you want easy finishing instead of comfort.
Can the machine finish a 30-hour job
Armor prints are long. A chest plate at 0.2 mm layers with 15% infill can easily run past 20 hours, and a full helmet shell on a big machine can exceed 40. The questions that matter are whether the machine resumes after a power cut, whether it detects a failed first layer, and whether filament runout pauses it.
Power loss recovery is close to standard on current machines, and built-in cameras with automatic failure detection, as on the Creality K2 models and the QIDI Max4, are worth more than raw speed on a deadline build. A print that restarts at hour 30 costs a night, not a week, but a print that silently fails at hour six costs the whole day.
Direct drive and why TPU matters
A direct-drive extruder pushes filament straight into the hotend with minimal retraction distance, which is what makes TPU printable without jams. Bowden setups with long PTFE tubes struggle with flexible filament because the retraction stroke is too short and too fast for soft material. Nearly every machine on this list is direct drive for that reason.
CoreXY kinematics, common on the large-format machines here, keep the moving mass low and let the printer hold accuracy at high acceleration. That directly benefits tall vertical armor shells, where a lighter toolhead produces less wobble at direction changes.
Noise, heat and small flats
A 40-hour print runs at least overnight, and open-frame machines put both noise and heat into a small room. Enclosed printers contain more of both. If you share a flat, position the machine away from your sleeping space, put it on a solid surface rather than a hollow desk, and check whether your building has any noise restrictions before a long job starts.
Vibration matters more than most buyers expect. A reinforced frame and a rigid bed reduce the ringing that shows up as a wave across a large flat armor panel, and all-metal frames like the Ender 5 Max exist specifically for that reason.
What each budget tier buys
Entry-level open-frame machines give you a 300 mm bed and fast setup. You will section helmets and stick to PLA and PETG, but you can start building this week with the least outlay.
The mid tier adds an enclosure, a heated chamber up to 60°C, multi-color filament handling and cameras. This is where ASA becomes practical and where most full builds actually live.
Large-format machines above 350 mm buy you seam reduction rather than speed. The QIDI Max4, Sovol SV08 MAX and Ender 5 Max exist to stop you cutting a chest plate into four pieces. If your character is bulky, that is the single biggest quality-of-life upgrade available.
Which Filament to Use for Cosplay Armor
PLA is the fastest to print and the easiest to sand, and it is the right choice for fit checks, props and display pieces. It is also rigid and brittle, so it cracks at stress points and its sharp edges are uncomfortable against skin, which is the complaint that pushes people to something else.
PETG is tougher, warmer to wear and easier to print than ABS, which makes it my default recommendation for chest plates, bracers and anything worn for hours. r/3Dprinting posters repeatedly put PETG ahead of bare PLA for armor durability and comfort against skin.
ABS sands beautifully and holds paint well, and it is the traditional armor material, but it needs a hot chamber to avoid cracking and warping on large panels. ASA is the outdoor alternative, with better UV resistance for convention wear in daylight, and it shares most of ABS handling behavior. Where paint and fabric finishes matter more than skin contact, our sublimation printer guide covers the badge and fabric side of a build.
TPU is the material most cosplayers under-use. Multiple commenters recommend high-Shore TPU over PLA or bare PETG for straps, joints and trim because it flexes with the wearer instead of pressing into skin, and hard TPU is far more durable than soft.
TPU Shore hardness for wearable armor
95A is the sweet spot for straps, edging and trim that must flex without sagging, and it prints more reliably than softer grades. 85A suits joints, gussets and pieces that need to stretch around a shoulder or knee. 70A is soft enough for comfort padding and grip, but it clogs more often and needs a slower, well-tuned profile, so it is a specialist choice rather than a default.
If your printer struggles with TPU, a slower speed, a larger nozzle and a direct-drive extruder are the fixes. Nearly every machine on this list is direct drive already, which is why TPU appears across the whole roundup rather than on one or two picks.
Frequently Asked Questions
What is the best 3D printer for making cosplay armor?
The best 3D printers for cosplay armor are large-format FDM machines with a build volume of at least 250 x 250 x 250 mm. The Sovol SV08 MAX is our top pick because its 500 x 500 x 500 mm cube prints chest plates, pauldrons and helmet shells without splitting the model. Look for an enclosed chamber if you plan to use ABS or ASA, a direct-drive extruder for TPU, and power-loss recovery for 20 to 40 hour prints.
Which 3D printer is large enough to print a helmet in one piece?
A 300 mm build cube is the practical threshold for most one-piece helmet shells, and stylized helmets with a pronounced jaw need 350 mm or more. Remember that usable volume is smaller than the published figure once brims, skirts and support are accounted for, and that orientation decides whether a model fits. The Sovol SV08 MAX at 500 mm and the Creality Ender 5 Max at 400 mm give the most headroom.
Which filament is better for cosplay armor, PLA or PETG?
PETG is the better choice for wearable armor. It is tougher, warmer against the skin and less likely to crack at stress points than rigid PLA, which has sharp edges that rub and can split. PLA is still worth keeping for fast fit checks, props and display pieces because it prints faster and sands easily. Choose ABS or ASA instead when paint adhesion and outdoor UV resistance matter more than comfort.
Do I need an enclosed printer for cosplay armor?
Only if you plan to print ABS or ASA. Those filaments shrink as they cool and warp badly on open frames, so a chamber heated to 60 degrees or above is the fix. Community consensus is that an open-frame printer is perfectly capable with PLA, PETG and TPU, which covers most cosplay work. An enclosure does also contain noise and heat for overnight prints in a small flat.
Is there anything illegal to 3D print?
Printing your own cosplay parts is a personal-use activity and is generally fine. The usual concerns are intellectual property and trademark, which matter if you sell the finished piece or distribute files commercially. Printing a model for personal wear at a convention is not the same as producing and selling copies of a licensed design, so if you plan to sell, check the rights holder’s terms first.
Cosplay Armor Printer Verdict for 2026
The Sovol SV08 MAX is the best 3d printer for cosplay armor because a 500 mm cube removes more seams than anything else in this roundup, and seam removal is where your finishing hours actually go. If your character fits inside 300 mm and you want the simplest path to a finished piece, the Bambu Lab P1S Combo gets you printing within hours and stays enclosed. For multi-color trim without paint work, the Creality K2 Plus Combo pairs a 350 mm cube with 16 colors and a 60°C chamber.
Whichever one you choose, print a small fitting piece first, learn to split a model along seams you can hide, and start post-processing early. Armor is a finishing project that happens to begin with a printer, and the machine that lets you skip the least amount of glue work is the one that saves you the most time before the convention.