
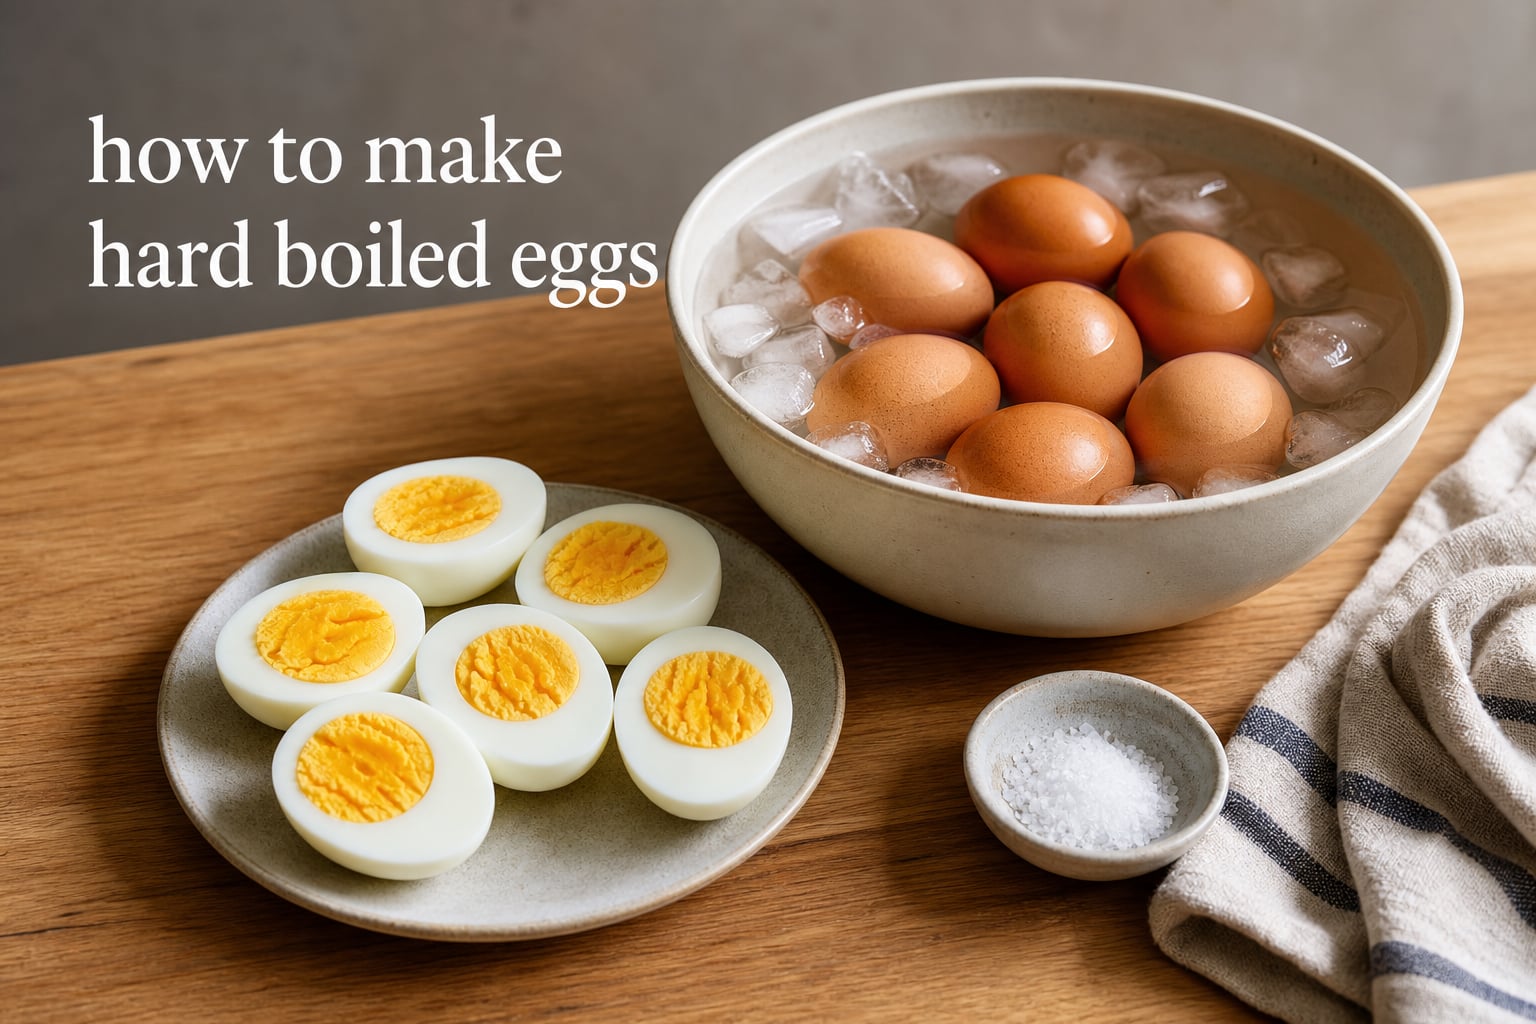
I have ruined more eggs than I care to admit. Rubber whites, chalky yolks, shells that refused to let go. After testing every method I could find, I landed on a simple stovetop routine that produces perfect hard boiled eggs every single time.
This guide walks you through exactly what to do, minute by minute, so you never second-guess the process again. Whether you need protein-packed snacks for meal prep, a dozen eggs for deviled eggs, or a batch for Easter egg dyeing, the steps below will get you tender whites and rich golden yolks with no greenish ring. I will also share the small tweaks that make peeling effortless and explain why an ice bath is non-negotiable.
Table of Contents
How to Make Hard Boiled Eggs (Step-by-Step)
This is the method I use every week, and it answers the most common question right away: hard boiled eggs take 12 minutes of covered cooking after the water reaches a rolling boil. Follow these six steps in order and you will get consistent results.
Step 1: Choose your eggs. Eggs that have been in the fridge for 7 to 10 days peel far easier than very fresh ones. Farm-fresh eggs are wonderful for frying, but for boiling, slightly older eggs are your friend.
Step 2: Place eggs in a single layer. Arrange your eggs in a saucepan large enough to hold them without stacking. Crowded eggs crack against each other, and cracks mean ragged whites.
Step 3: Cover with cold water by one inch. Add enough cold water to sit about an inch above the tallest egg. Starting cold gives the egg and shell time to heat together gently, which reduces cracking.
Step 4: Bring to a rolling boil over high heat. Stay nearby. The moment the water hits a full, rolling boil with large bubbles breaking the surface, move straight to the next step. Do not walk away, because a hard boil that runs too long toughens the whites.
Step 5: Cover, turn off the heat, and set a timer for 12 minutes. Put a tight lid on the pot, switch off the burner entirely, and leave the pot on the warm burner (for electric stoves, move it to a cool burner). The residual heat cooks the eggs gently and 12 minutes gives you fully hard boiled eggs with a set, golden yolk.
Step 6: Transfer to an ice bath immediately. Use a slotted spoon to move the eggs into a bowl of ice water. Let them sit for at least 5 minutes. This single step stops the cooking, protects the yolk color, and loosens the shell for easy peeling.
One quick note on extras: some cooks add a tablespoon of vinegar or a teaspoon of salt to the cooking water. I have tested both, and they do help if a shell cracks, since they coagulate leaking whites. They are optional, but a cheap insurance policy.
Hard Boiled Eggs Yolk Doneness Guide
Not every egg needs to be fully hard. The doneness you want controls the time, so pick a number that matches how you plan to use the eggs.
6 to 8 minutes: Jammy yolk. Soft, custardy, deep orange center. Perfect for ramen, toast, or eating with a sprinkle of salt.
10 minutes: Medium-firm yolk. Set but still slightly creamy in the very middle. Great for salads where you want some richness.
12 minutes: Fully hard boiled. Firm, pale golden yellow yolk that slices cleanly. The classic for deviled eggs, egg salad, and snacking.
14 minutes or more: Overcooked. The yolk turns chalky and pale, and a grayish-green ring often forms around the edge. Avoid this.
If you are new to this, run a test egg at each time stamp and cut it open. Seeing the difference once is worth reading about it ten times.
Why the Ice Bath Matters
An ice bath does two jobs that nothing else can replicate. First, it rapidly drops the egg’s temperature, which stops the cooking process instantly. Without it, residual heat keeps working on the yolk and pushes it past done.
Second, the cold water causes the egg inside to contract slightly faster than the shell. That tiny gap is what lets the shell slide off in clean pieces instead of tearing the white. Skip the ice bath and you will fight the shell every time.
The ice bath also prevents the greenish ring. That ring is a sulfur and iron reaction that happens when eggs cook too long or cool too slowly. A fast chill keeps yolks a clean, rich golden color.
How to Make Hard Boiled Eggs Easy to Peel
Peeling is the number one frustration I hear about, and the fix starts before you ever boil the water. Fresh eggs have a low internal pH, which makes the inner membrane cling tightly to the shell. As eggs age, the pH rises and that bond weakens.
Buy eggs a week ahead, or check the carton date and choose the oldest ones for boiling. If you only have very fresh eggs, the steaming method in the next section is your best option.
When it is time to peel, tap the egg gently on the counter to crack it all over, then roll it under your palm to loosen the shell. Peel under cold running water or while the egg is still submerged in the ice bath. The water sneaks between the membrane and the white and helps the shell release.
Start peeling from the wider end, where the air pocket sits. That pocket gives you a natural entry point and makes the rest come off in larger pieces.
Common Mistakes to Avoid
Most failed batches come down to a handful of repeat errors. Knowing them saves you from learning the hard way.
1. Boiling the whole time. A hard rolling boil for 12 minutes beats the eggs around and overcooks the whites. The cover-and-rest method is gentler and more reliable.
2. Skipping the ice bath. This is the step people cut for speed, and it is the one that matters most for both texture and peeling.
3. Using brand-new eggs. Fresh eggs fight you at peeling time. Plan ahead and buy eggs a week in advance for boiling.
4. Guessing the time. Set a timer the moment you cover the pot. Two extra minutes is the difference between golden and chalky.
5. Overcrowding the pot. Stacked eggs crack and cook unevenly. Cook in batches if your pot is small.
Alternative Method: Steaming Hard Boiled Eggs
If you buy farm-fresh eggs or just picked up a carton from the store, boiling can still leave you fighting the shell. Steaming solves this. Steam cooks the shell membrane in a way that makes even fresh eggs peel cleanly.
To steam, bring an inch of water to a boil in a pot with a steamer basket. Set the eggs in the basket, cover, and steam for 12 minutes for fully hard boiled eggs or 10 minutes for medium. Transfer to an ice bath exactly as you would with boiling.
I reach for this method whenever I have a carton of very fresh eggs. The results are noticeably easier to peel, and the texture of the whites stays tender.
Tips for High Altitude and Electric Stoves
Water boils at a lower temperature above 3,000 feet, which means your eggs cook more slowly. If you live at altitude, add about 1 minute of covered resting time for every 1,000 feet above sea level. At 5,000 feet, for example, try 14 minutes instead of 12.
Electric stoves hold heat longer than gas burners. After you turn off the heat, an electric coil keeps radiating warmth. Move the covered pot to a cold burner to prevent the eggs from overcooking during the rest period.
Gas stoves cool quickly when switched off, so you can usually leave the pot in place. Either way, trust your timer, not your eyes.
Storing and Serving Hard Boiled Eggs
Store hard boiled eggs in the shell in the refrigerator for up to 7 days. Peeled eggs keep for about 3 days in an airtight container, ideally covered with a damp paper towel to keep the whites from drying out.
Hard boiled eggs are endlessly useful in the kitchen. Slice them over a Cobb salad, mash them into egg salad, halve them for deviled eggs, or eat them whole with salt and pepper for a high protein snack.
For meal prep, I boil a half dozen on Sunday and grab one each morning. They travel well, need no reheating, and keep me full until lunch.
FAQ
How long should eggs boil to be hard?
How long do you cook an egg for?
Do I put the eggs in before or after the water boils?
Is 10 minutes long enough to hard boil eggs?
Why are my hard boiled eggs hard to peel?
How long do hard boiled eggs last in the fridge?
Conclusion
Learning how to make hard boiled eggs comes down to a few reliable steps: cold start, rolling boil, 12 minutes covered off the heat, and an immediate ice bath. Stick to that sequence and you get tender whites, golden yolks, and shells that release without a fight.
Try the method once with a timer in hand, then adjust the minutes to match your favorite doneness. Once you dial in your number, you will never need a recipe again, just your pot, your eggs, and a bowl of ice water.