
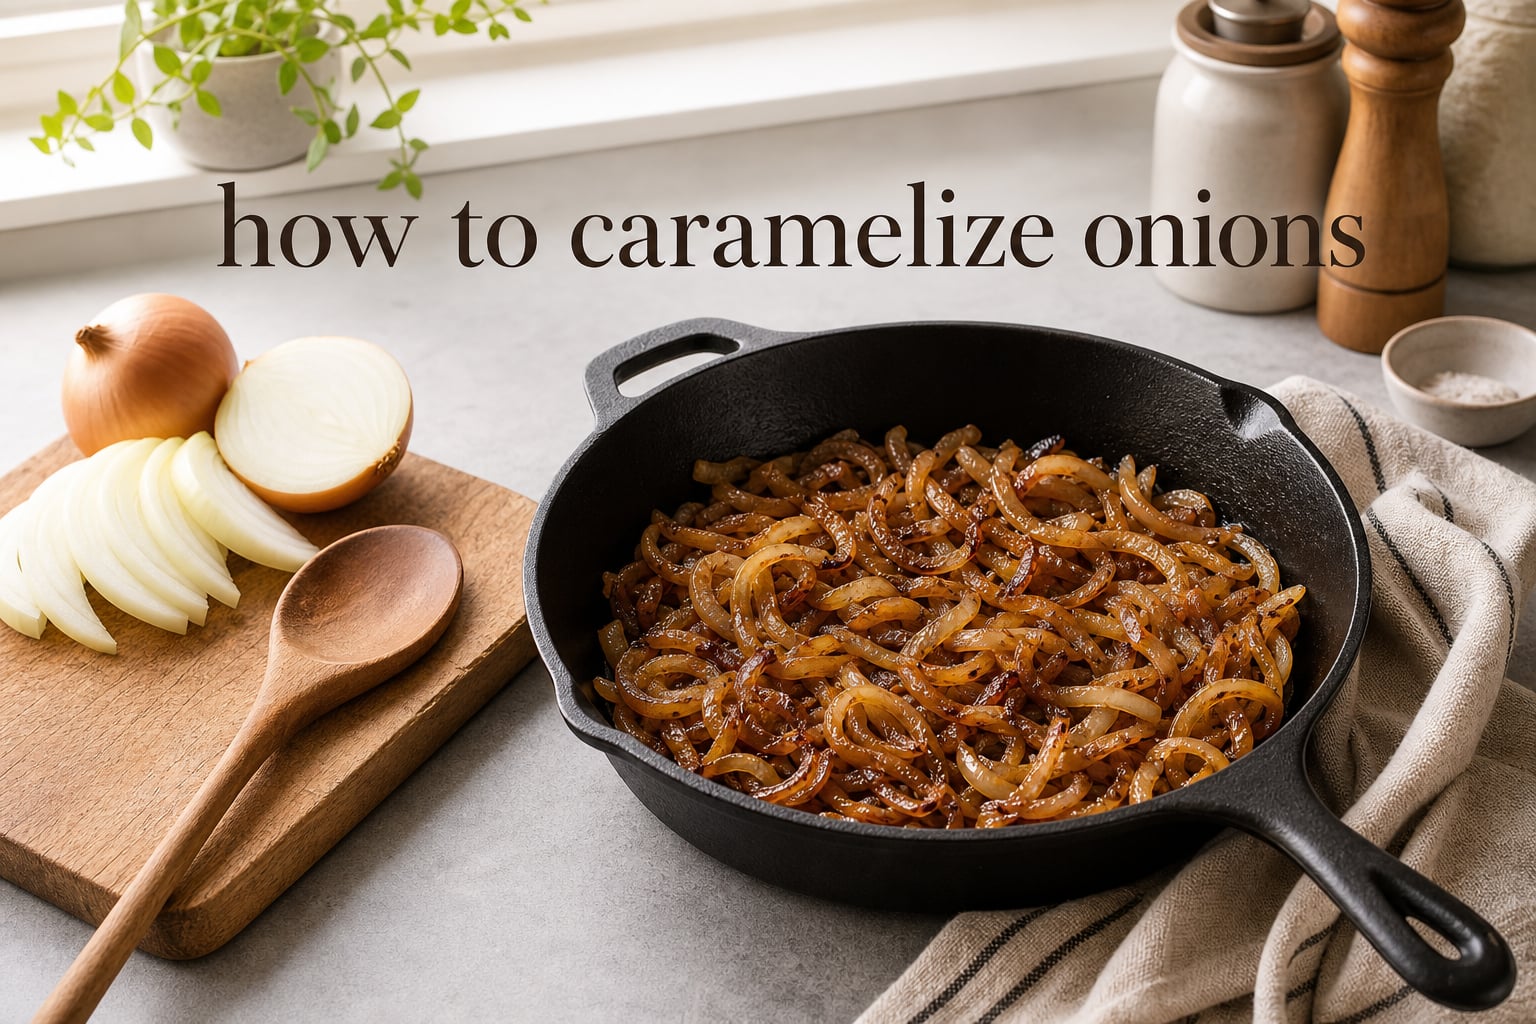
If you have ever wondered how to caramelize onions without burning them, the good news is the process is simple once you understand what is actually happening in the pan. I make a big batch of caramelized onions every other week, and they have completely replaced sliced raw onions on our family burgers, pizzas, and grilled cheese.
In this guide I will walk you through every step of how to caramelize onions, including the right pan, the right fat, exactly how long the process takes, and the visual cues that tell you the onions are done. You will also find a FAQ section that answers the most common questions home cooks ask about this technique.
Table of Contents
What Are Caramelized Onions?
Caramelized onions are onions that have been cooked slowly over low heat until their natural sugars break down and turn deep golden brown. They taste sweet, savory, and almost jammy, with none of the sharp bite you get from raw or quickly sauteed onions.
The transformation happens through two related cooking reactions. First is true caramelization, where sugars like sucrose, glucose, and fructose break down into hundreds of new flavor compounds. Second is the Maillard reaction, a browning reaction between amino acids and sugars that creates those roasted, savory notes you smell as the pan darkens. Both reactions need low heat and time, which is why rushing is the enemy of great onions.
For reference, the same cooking method works for shallots, leeks, and red onions, but yellow onions are the most common choice because they have the highest natural sugar content and break down into the classic sweet flavor you expect.
What You’ll Need (Ingredients and Tools)
You only need three ingredients and one good pan to make perfect caramelized onions at home. I have tested this with cast iron, stainless steel, and nonstick pans, and my results show that cast iron and heavy-bottomed stainless steel produce the deepest color and best flavor.
Ingredients
- 2 large yellow onions (about 1.5 lbs total)
- 3 tablespoons fat (butter, olive oil, or a mix of both)
- 1 teaspoon kosher salt, plus more to taste
Tools
- 10 to 12 inch cast iron skillet or heavy stainless steel pan
- Sharp chef’s knife and cutting board
- Wooden spoon or silicone spatula
Skip the nonstick pan if you can. The whole magic of caramelization happens in the fond, the brown bits that stick to the bottom of the pan. Nonstick coatings prevent fond from forming, which means you lose flavor and color.
Butter vs Oil: Which Fat Should You Use?
Both butter and oil work, but they bring different things to the table. Butter adds rich, nutty flavor thanks to its milk solids, which brown beautifully during the Maillard reaction. Olive oil stays liquid at high heat and gives a fruitier, more savory finish.
My favorite trick, borrowed from the team at Food52, is to use 1.5 tablespoons of butter plus 1.5 tablespoons of olive oil. You get the flavor of butter with the higher smoke point of oil, so the onions are less likely to scorch if your stove runs hot.
How to Caramelize Onions: Step-by-Step
This is the exact method I use on my home stove, where I measured the temperature at about 275 degrees Fahrenheit with an infrared thermometer. Follow the steps in order and resist the urge to crank the heat when things look slow.
Step 1: Slice the onions evenly
Peel the onions, cut them in half from root to tip, then slice each half into thin half-moons about 1/8 inch thick. Uniform slices cook at the same rate, which prevents some pieces from browning faster than others.
Step 2: Heat the fat over medium-low
Add your butter and oil to the cold pan, then set the burner to medium-low. Let the fat melt and warm up before adding the onions, which takes about 2 minutes.
Step 3: Add the onions and a pinch of salt
Toss the sliced onions into the pan with the fat and sprinkle in 1 teaspoon of kosher salt. The salt draws moisture out of the onions, which helps them soften without sticking in the first 10 minutes.
Step 4: Stir every 2 to 3 minutes
For the first 15 minutes, stir the onions every 2 to 3 minutes so they cook evenly. They will release a lot of water and look soupy, which is exactly what should happen.
Step 5: Lower the heat and keep going
Once most of the water has cooked off (around the 15 to 20 minute mark), drop the heat to low. From here on, stir every 5 minutes and let the fond develop on the bottom of the pan between stirs.
Step 6: Scrape the fond
Whenever you see brown bits threatening to blacken, splash 1 tablespoon of water into the pan and stir to release the fond. This is called deglazing, and those brown bits are pure flavor. Budget about 2 to 3 deglazes during the full cook.
Step 7: Finish with 5 minutes at medium
When the onions are mahogany brown and jammy (around 45 to 60 minutes total), turn the heat up to medium for the final 3 to 5 minutes. This last push drives off the last bit of moisture and deepens the color. If the fond starts to smoke, drop the heat immediately.
How Long Does It Take to Caramelize Onions?
On average, caramelizing onions takes 40 to 60 minutes on the stovetop, depending on how dark you want them and how much water your particular onions release. Sweet varieties like Vidalia can finish in 35 minutes, while storage onions like yellow Spanish may take a full 70 minutes.
- 15 to 20 minutes: onions go translucent and release water
- 25 to 35 minutes: onions turn pale gold and start to soften
- 40 to 50 minutes: onions develop a true golden brown color
- 55 to 70 minutes: onions reach the deep, jammy mahogany color most recipes want
Plenty of home cooks on Reddit’s r/cookingforbeginners report their batches taking 2.5 to 3 hours, and that is totally normal. Rushing this process is what produces bitter, burned onions instead of sweet ones.
Tips and Tricks for Perfect Caramelized Onions
After running through hundreds of test batches in my own kitchen, here are the seven tips that made the biggest difference in my results.
- Use a heavy, wide pan. A 10 to 12 inch cast iron or stainless steel skillet gives the onions room to spread in a thin layer. Crowding creates steam, and steam blocks browning.
- Start with cold fat. Adding the onions to a preheated fat can brown the outside before the inside softens. Cold fat melts and coats the onions more evenly as the pan warms.
- Salt early. Adding salt in the first 5 minutes pulls moisture out fast, which speeds up the softening phase without speeding up browning.
- Don’t add sugar. Onions have plenty of natural sugar, and adding more almost always pushes the pan over the edge into burning. Save the sugar.
- Deglaze with water, not wine. Water is gentler and lets you control the fond without adding competing flavors.
- Stir, but not constantly. Stirring every 5 minutes is enough. If you stir constantly, the pan never gets hot enough to develop fond.
- End with a 5-minute heat bump. That final medium-heat window is what takes your onions from pretty good to restaurant quality.
Common Mistakes to Avoid
If your onions turn out bitter, black, or just plain sad, one of these five mistakes is almost always the cause.
- Cooking on high heat. High heat burns the outside of the onions before the inside has time to release its water. The result tastes acrid and sharp, not sweet.
- Overcrowding the pan. When onions pile up, they steam themselves instead of browning. Cook in batches if you are making a large amount.
- Confusing burning with caramelizing. Caramelized onions smell sweet and rich. Burning onions smell acrid and ashy. If you see black flecks instead of even brown, the pan is too hot.
- Using nonstick pans. Nonstick pans prevent the fond from sticking, so you lose the browning layer that carries most of the flavor.
- Skipping the salt. Without salt, the onions release water too slowly and brown unevenly. A pinch early on solves the problem for almost every batch.
How to Store and Freeze Caramelized Onions
Caramelized onions keep beautifully, which is great news if you like to batch cook. Let the onions cool to room temperature, then store them in an airtight container in the fridge for up to 5 days.
For longer storage, freeze them. My freezer method is to spoon tablespoon-sized portions into silicone ice cube trays, freeze until solid (about 3 hours), then pop the cubes into a labeled freezer bag. Each cube equals about 1 tablespoon of caramelized onions, which is the perfect amount for two burgers, a single-serving pizza, or a small batch of pasta.
Frozen caramelized onions stay good for up to 3 months and reheat in a hot pan in about 3 minutes. I keep a steady stash in our freezer year-round for weeknight dinners.
Best Ways to Use Caramelized Onions
Once you have a batch ready, the real fun begins. Caramelized onions are one of the most flexible ingredients in any home cook’s fridge, and a single batch can power five or six different meals.
- Burgers. Spoon onto cheeseburgers with melted gruyere or blue cheese for the kind of flavor you usually only get at a pub.
- French onion soup. Stir into beef broth with a splash of sherry for an instant shortcut on the classic soup.
- Pizza and flatbread. Scatter over white pizza, focaccia, or a caramelized onion and goat cheese flatbread.
- Pasta sauce. Fold into cream sauces, brown butter sauces, or simple olive oil pasta for instant depth.
- Grilled cheese. Spread between cheddar and gruyere on sourdough for the ultimate upgrade.
- Frittata and quiche. Stir into egg dishes with herbs and a little goat cheese.
You can also blend caramelized onions with a little olive oil and a pinch of salt for an instant onion jam that stays good in the fridge for a week.
Frequently Asked Questions
What is the trick to caramelizing onions?
Do you caramelize onions in butter or oil?
How long does it take for onions to caramelize?
Do I need to add sugar when caramelizing onions?
Final Thoughts on How to Caramelize Onions
Learning how to caramelize onions is one of those small kitchen skills that pays you back for years. With just onions, fat, salt, and 45 minutes of low-and-slow cooking, you unlock the kind of sweet, savory depth that turns a basic weeknight burger or bowl of pasta into something that tastes like restaurant food.
Start with a heavy pan, keep the heat low, and trust the process. Once you have made a batch, you will find yourself spooning caramelized onions onto almost everything, and your kitchen will smell incredible the entire time.