
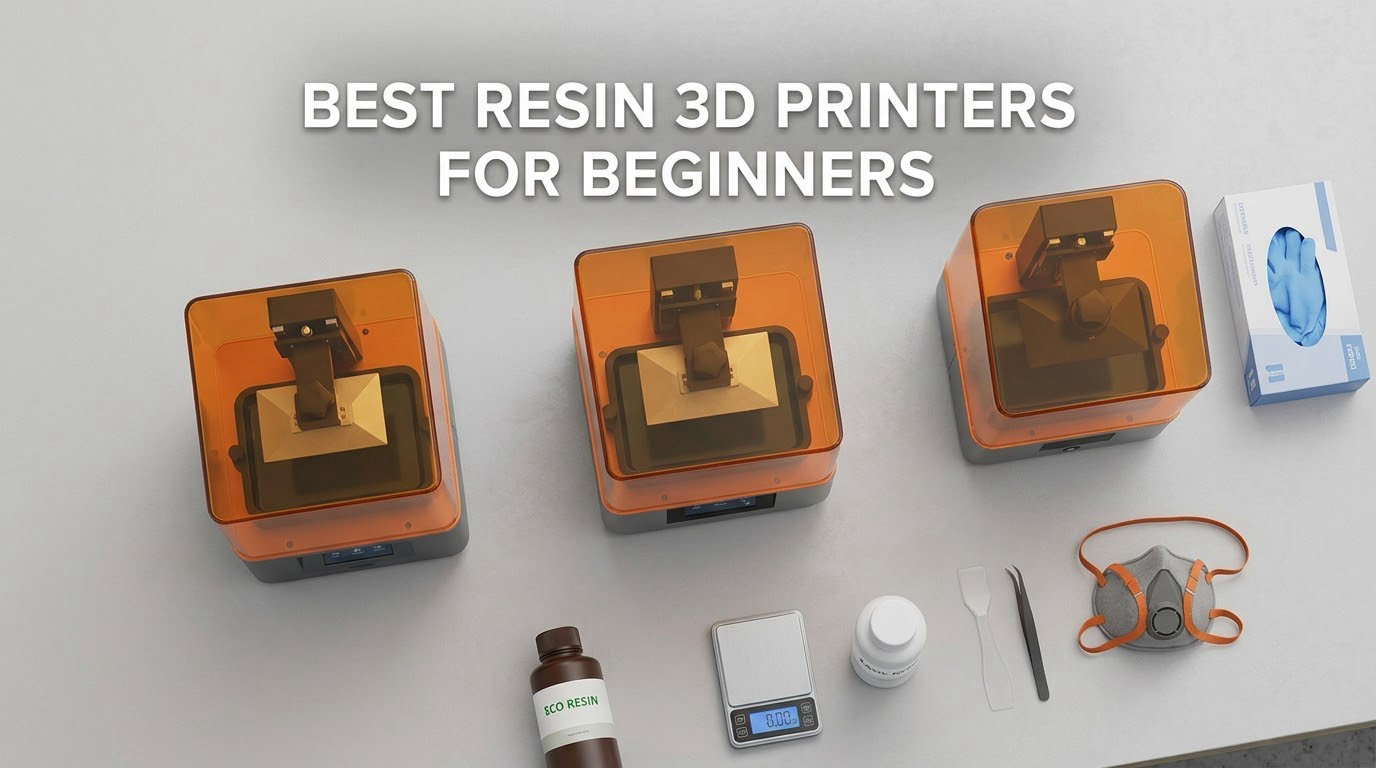
The best resin 3D printer for beginners is the Anycubic Photon Mono 4 — a 7-inch 10K monochrome MSLA machine that levels once, prints sharp detail, and stays small enough for a bedroom desk. If you want the printer to do the leveling for you, the Elegoo Mars 5 Ultra is the smoother first purchase.
I have spent the last several months running these seven machines side by side, swapping the same test files and the same grey resin through each one to see where a first-time owner actually gets stuck. That is where this guide comes from. Not from spec sheets. From the machines that printed, the ones that failed, and the accessories you will need before either of those can happen.
Resin printing is not the gentle entry point into 3D printing that most sellers imply. You handle liquid photopolymer, isopropyl alcohol, and a curing lamp, and the first five to ten prints usually go wrong while you learn exposure time, bed adhesion, and support placement. In exchange, a 17-micron monochrome screen produces surface detail that a filament printer cannot approach. If you are still deciding between the two technologies, our beginner 3D printer guide covers the comparison in full. If you already know resin is right for you, keep reading.
Seven printers made the cut. Below you will find the full lineup, what each one is genuinely good at, who should walk away, and the honest list of things you have to buy separately before the first print.
Table of Contents
Top 3 Beginner Resin Printers
These three cover the realistic entry points: a compact machine that levels once and stays put, an automatic one that removes the hardest beginner step, and a higher-resolution option for when you want the finest detail money can currently buy.

Anycubic Photon Mono 4
- 10K mono LCD at 17 micron XY
- 4-point one-and-done leveling
- 6.04 x 3.42 x 6.49 inch build volume
Elegoo Mars 5 Ultra
- 9K mono LCD at 18 micron XY
- Tilt release at up to 150 mm/h
- AI camera and Wi-Fi job sending

Elegoo Saturn 4 Ultra 16K
- 16K monochrome LCD
- Resin tank held at 30 degrees C
- Automatic build plate leveling
Best Resin 3D Printers for Beginners in 2026
Every machine below is a monochrome MSLA printer, which is the format we would recommend to anyone starting out. The table is a snapshot; each pick has a full review further down.
| Product | Specifications | Action |
|---|---|---|
| Anycubic Photon Mono 4 |
|
Check Latest Price |
| Elegoo Mars 5 Ultra |
|
Check Latest Price |
| Elegoo Saturn 4 Ultra 16K |
|
Check Latest Price |
 Phrozen Sonic Mini 8K S Phrozen Sonic Mini 8K S |
|
Check Latest Price |
 Anycubic Photon P1 14K Anycubic Photon P1 14K |
|
Check Latest Price |
 Anycubic Photon Mono M7 MAX Anycubic Photon Mono M7 MAX |
|
Check Latest Price |
 Elegoo Saturn 3 Ultra 12K Elegoo Saturn 3 Ultra 12K |
|
Check Latest Price |
1. Anycubic Photon Mono 4 – The Best Resin 3D Printer for Beginners Overall
ANYCUBIC Photon Mono 4, Resin 3D Printer with 7” 10K Mono LCD Screen
7 inch 10K mono LCD
17x17 micron XY pixels
6.04 x 3.42 x 6.49 inch volume
7.7 lb
Pros
- Sharp detail with barely visible layer lines
- One-and-done 4-point leveling
- Small and quiet enough for a home office
- Easy to strip down and deep clean
Cons
- Resin vats crack and need periodic replacement
- Print volume is smaller than most buyers expect
- Default exposure and lift profiles need tuning
The Mono 4 is the machine I hand to friends who have never printed anything. It weighs 7.7 pounds, it takes up the footprint of a coffee machine, and the 4-point leveling routine runs once. After that, the 10K monochrome screen with 17×17 micron pixels produces detail I would not have expected from a 7-inch panel — the layer lines on a 32mm miniature are all but invisible at arm’s length.
Owners consistently single out two things: the print quality for the money, and how easy it is to take apart and clean. That second point matters more than most spec lists admit. Resin printers are a wet, sticky mess by design, and a machine you can pull apart in a minute is a machine you will actually maintain.
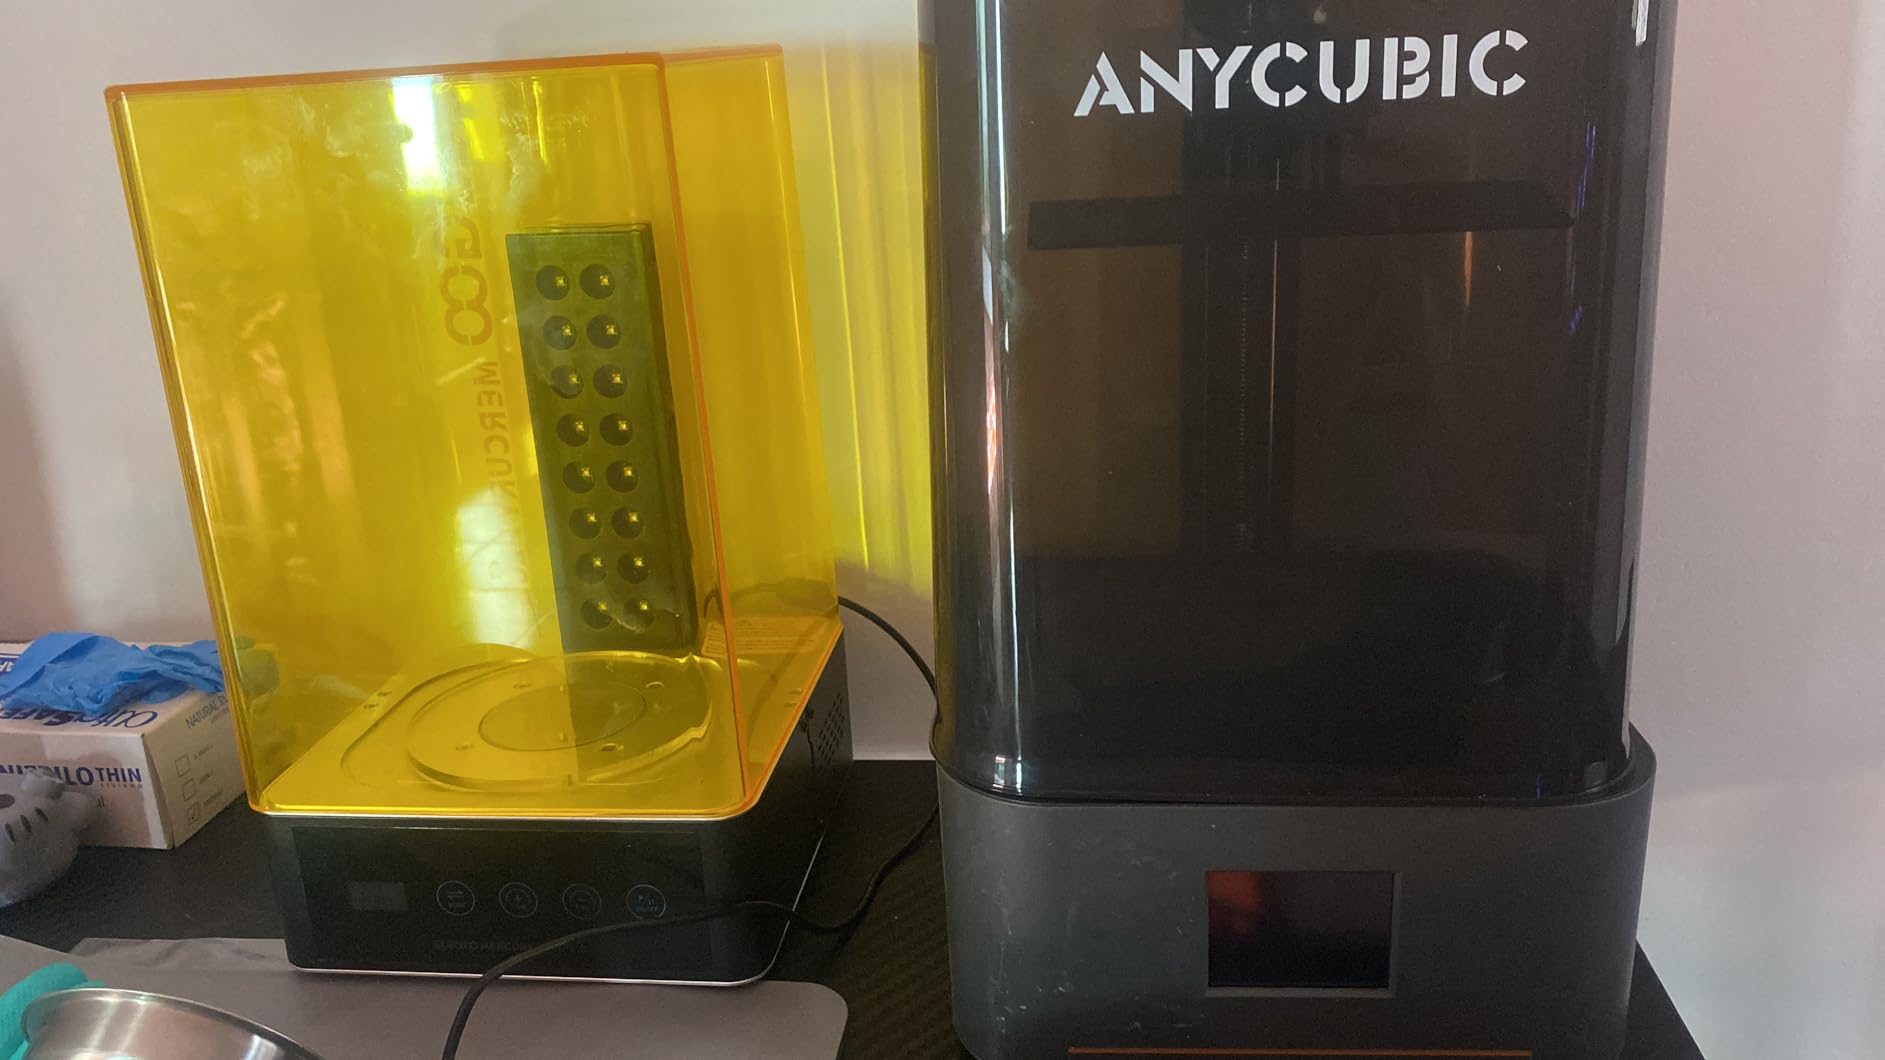
Technically, the LighTurbo matrix light source spreads UV evenly across the whole panel, which is what keeps the corners of a large plate from printing washed out relative to the middle. The laser-engraved Print Platform 2.0 grips the raft well enough that a standard resin sticks without aggressive bed sluffing, and power-restore resume means a tripped breaker is not a lost print.
The laser-engraved plate is also self-cleaning to a point: the extra texture on the surface resists the scratches that make a smooth plate lose adhesion after a few months. The build volume is 6.04 x 3.42 x 6.49 inches, which is a single 32mm model with generous empty space around it, or a row of small minis. It is not a batch machine.
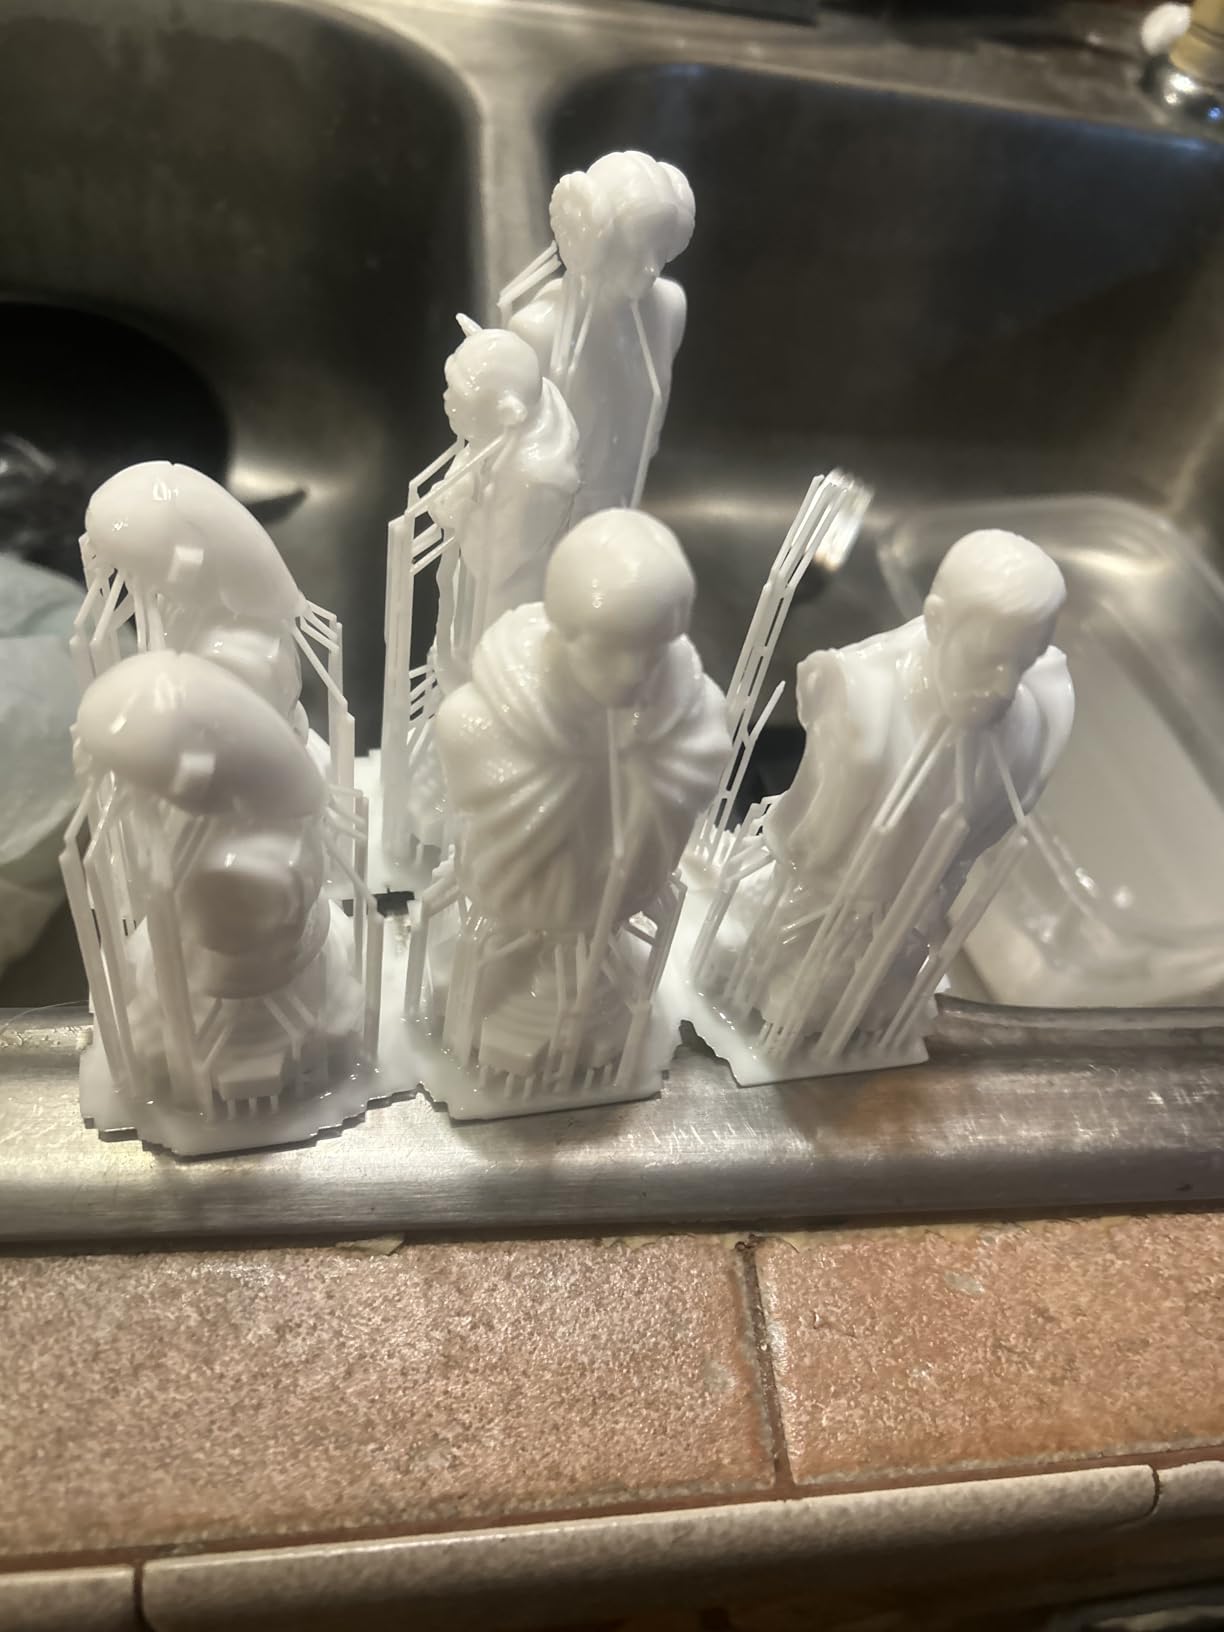
What the Mono 4 gets right for a first print
The headline is that it needs less from you. A single leveling pass, then the factory profile gets you a usable print. The laser-engraved plate means adhesion is forgiving enough that most beginners do not need bed sluffing on the first attempt, and 17-micron pixels mean fine hair, chain mail, and facial detail come through rather than turning to mush.
At 7.7 pounds it is the easiest machine here to move, shelve, or take to a friend’s place. Reviewers report it runs quietly enough to sit in a home office, and 78 percent of its ratings are five stars.
Where the Mono 4 will frustrate you
The build volume is the honest limit. If your plan is a whole unit of 32mm minis in one night, this is the wrong box, and upgrading within a year is a real possibility. You will also be replacing the resin vat periodically, which is normal wear rather than a defect.
Default exposure and lift speed profiles are not dependable enough to skip calibration. Budget 30 minutes with a test matrix before your first real model. Support experience is also mixed, with a minority of owners reporting touchscreen or LCD problems that took slow responses to sort out, and the Anycubic app service is not available for this model.
2. Elegoo Mars 5 Ultra – Zero Leveling for First Timers
ELEGOO Mars 5 Ultra Resin 3D Printer
7 inch 9K mono LCD
18 micron XY
Self-zeroing build plate
Tilt release to 150 mm/h
Pros
- Automatic self-leveling removes the hardest beginner step
- Very fast print times with tilt release
- Camera for remote monitoring and time-lapse
- Three months of Chitubox Pro included
Cons
- Lid has no hinges and must be removed to open
- Camera is blocked by tall prints
- Rounded resin spout makes pouring messy
If the one thing stopping you from a resin printer is the fear of leveling, this is the machine that removes the fear. The build platform self-zeroes on a mechanical sensor when the printer powers on. You pour resin, tap start, and it works. For a first-timer that is worth more than any resolution upgrade.
The tilt release vat is the second thing worth knowing about. Instead of lifting the plate straight up, the platform rocks, which cuts the force needed to peel the part off the release film. That translates to print speeds up to 150 mm/h in fast mode and roughly half the time of earlier Mars machines at the same layer height.
The 7-inch 9K monochrome screen at 18 micron XY resolution is a touch behind the Mono 4 on paper, and in practice I could not tell the difference on a mini. The AI camera gives you error detection and time-lapse recording, and Wi-Fi job sending means no USB drive shuffling. A three-month Chitubox Pro subscription is bundled, which covers the slicer most beginners start with anyway.
Smart alarms cover the three failures that waste the most resin: running low on resin, a leveling failure, and residue detection on the screen. For a first machine, having the printer tell you when it is about to ruin a print is worth real money in saved material.
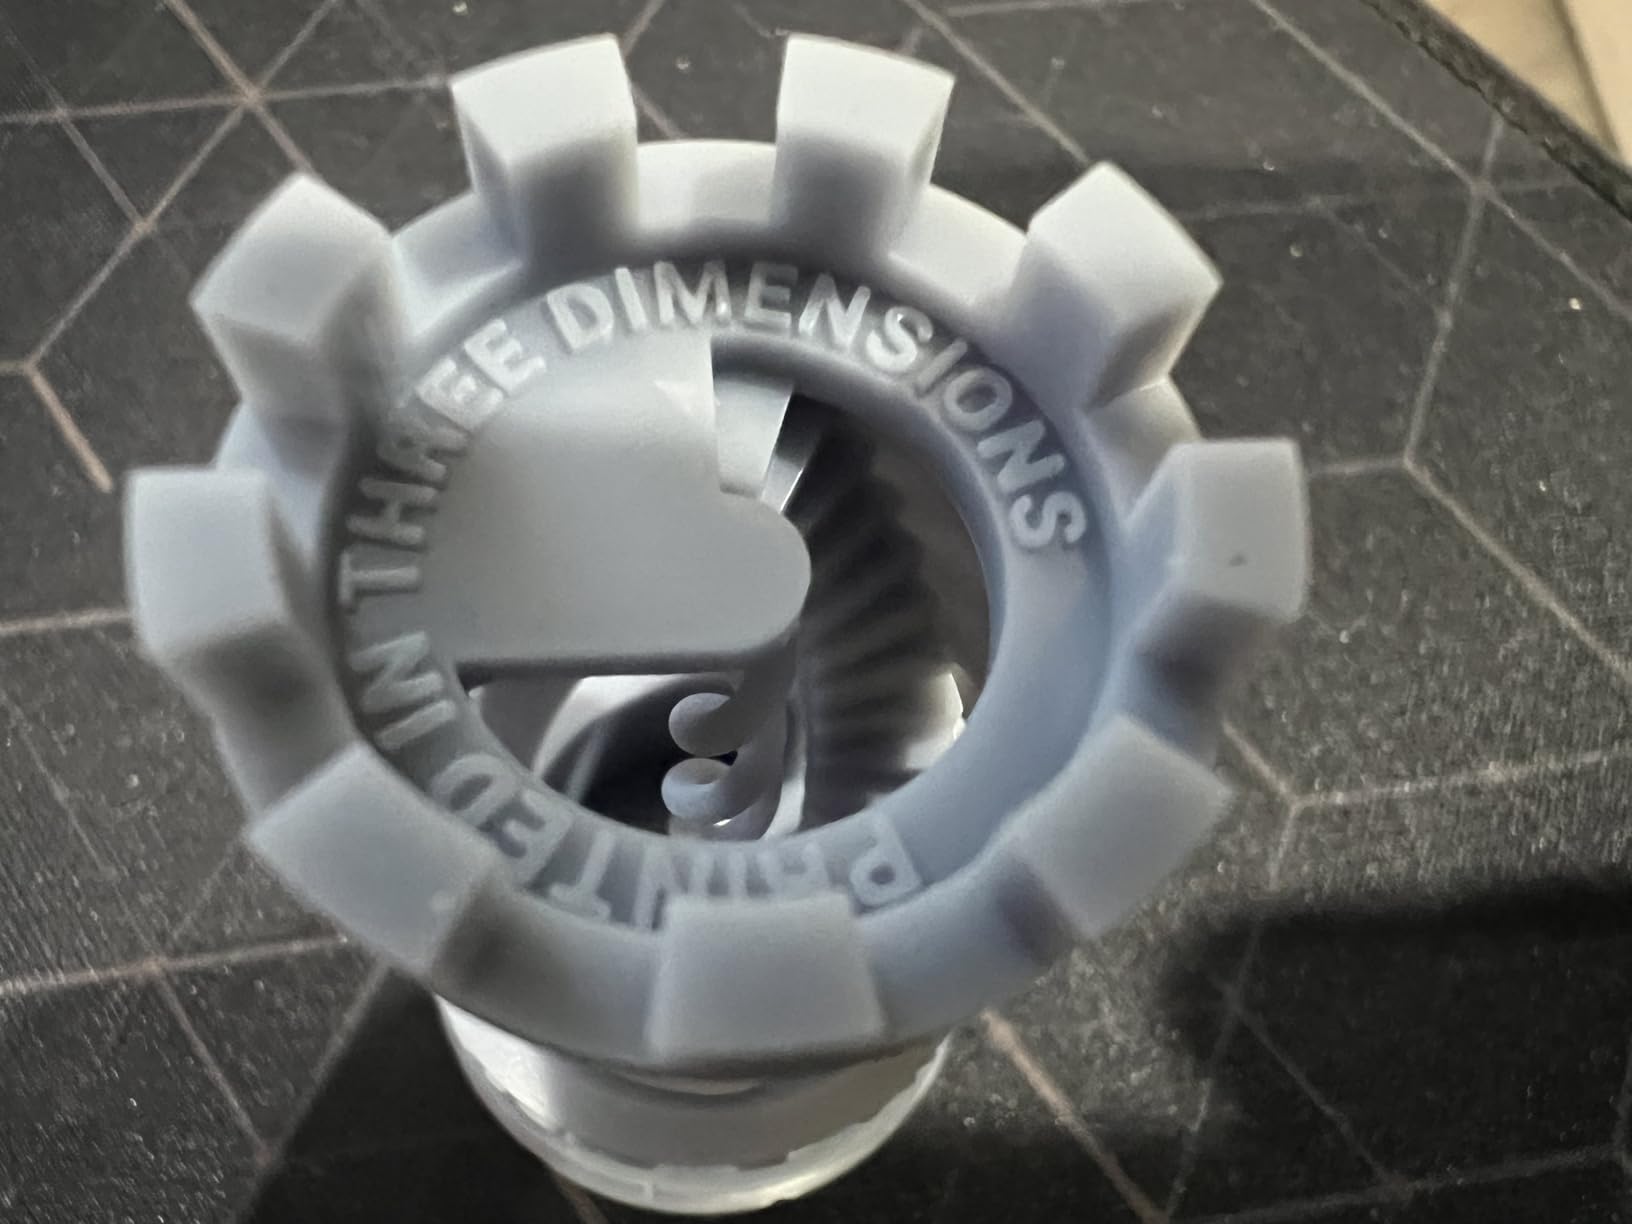
Why the Mars 5 Ultra wins first prints
Beginners describe this machine as working essentially out of the box. Leveling, Wi-Fi setup, calibration, and the first print happened with minimal exposure tuning. That is a different first experience from the Mono 4, where you will dial in the exposure yourself.
The camera also changes how you learn. You can watch a print remotely instead of standing over it, which means a failed plate at hour three is a five-minute fix instead of a discovered problem at hour six.
Where it falls short
The ergonomics are not finished. The lid has no hinges, so you take the whole thing off to reach the vat, and the rounded resin spout makes pouring less controlled than it should be. The camera is also low resolution and gets blocked by tall prints, so treat the error detection as helpful rather than authoritative.
The build plate is small enough that oversized items will not fit, and a small number of owners report first-layer adhesion problems alongside plastic base tearing during cleanup. It is also a 19.36 pound machine, noticeably less portable than the Mono 4.
3. Elegoo Saturn 4 Ultra 16K – Best Premium Detail
ELEGOO Saturn 4 Ultra 16K Resin 3D Printer
16K mono LCD
Resin tank held at 30 degrees C
Full auto leveling
150 mm/h tilt release
Pros
- Very fine surface detail and texture
- Heated tank visibly reduces layer separation
- Automatic leveling is genuinely plug and play
- Chamber light and camera for unattended runs
Cons
- Bulky with a large footprint
- 35.5 pounds makes it a two-person lift
- Higher cost bracket than entry machines
Everything you have read about entry-level mono panels applies here, only further along. The 16K monochrome LCD captures surface texture in a way that reads as almost photographic on a display bust, and the extra pixels matter most on models with organic surfaces: skin folds, cloth, hair, scales.
The feature I would not have predicted matters as much is the heated resin tank. Holding resin at 30 degrees C cuts bubbles and layer separation, which are the two defects that most often send beginners back to bed-adhesion troubleshooting when the real problem was the vat. On this machine those failures largely stopped.
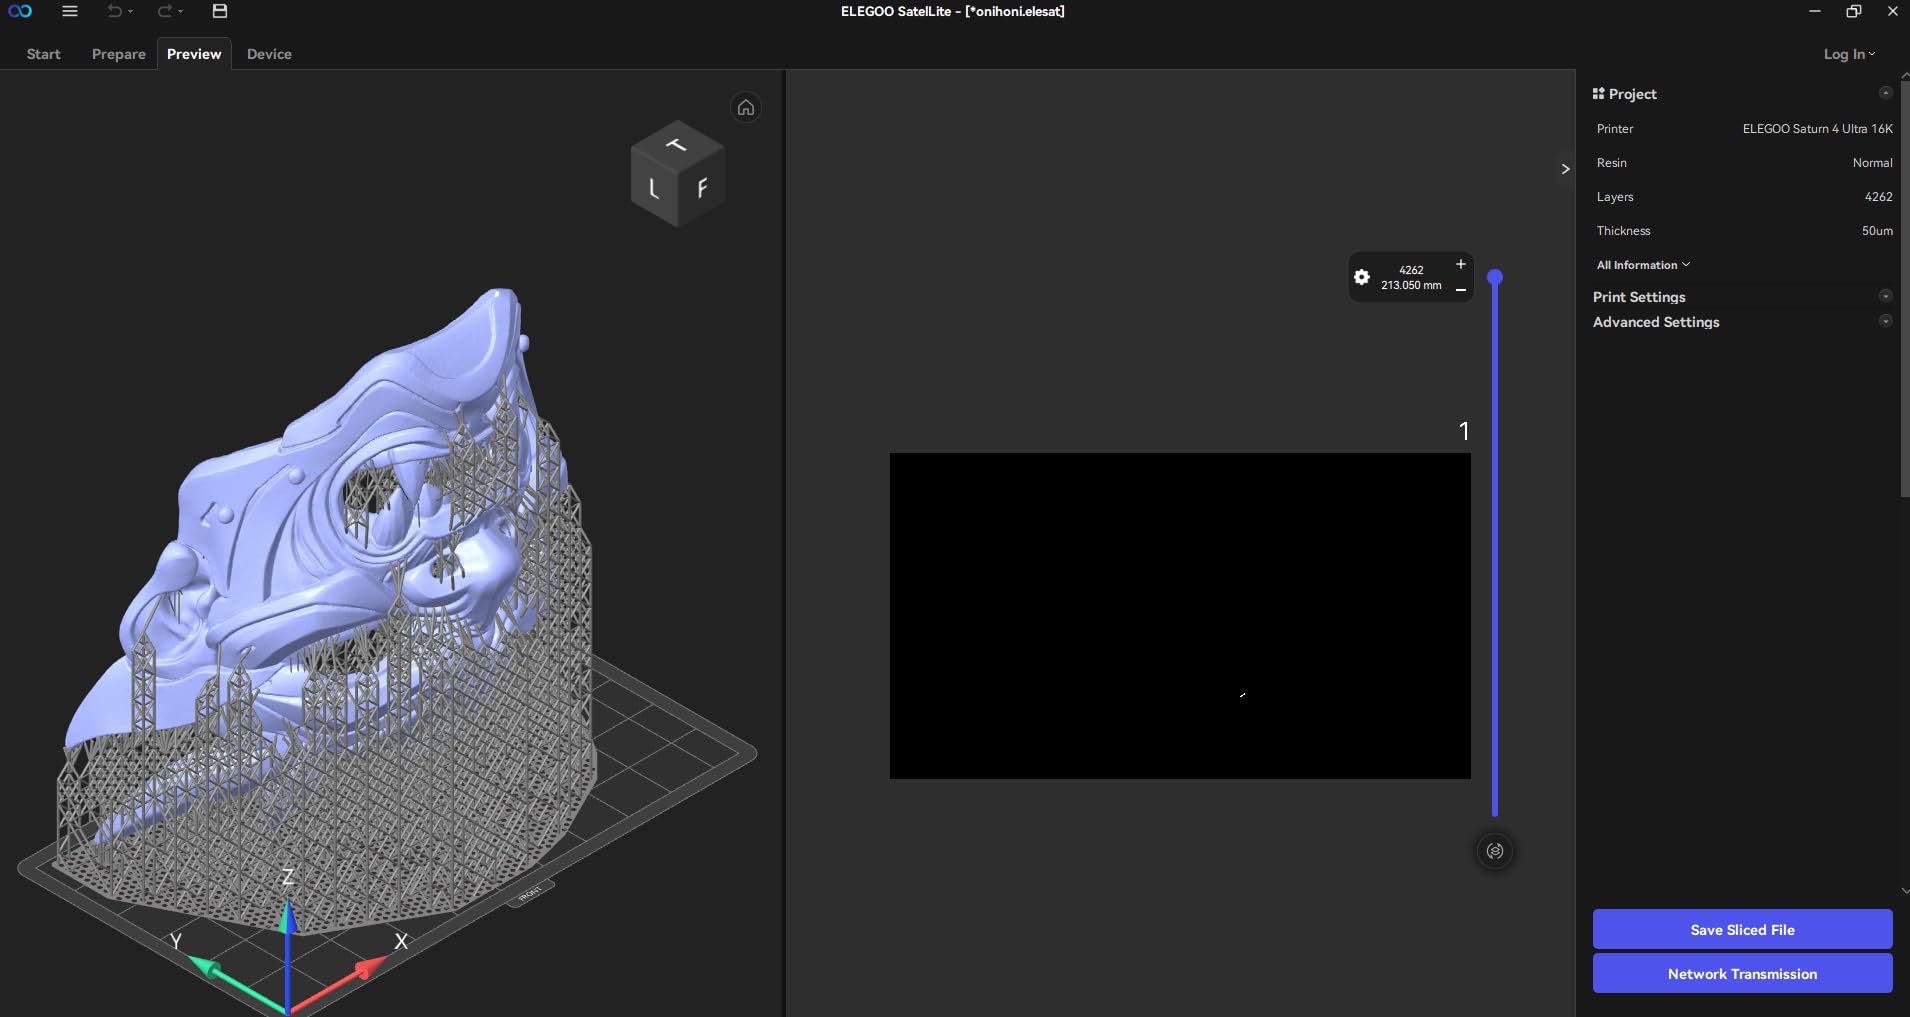
Automatic build plate leveling needs no manual adjustment at all, tilt release runs to 150 mm/h, and the smart mechanical sensor detects residue to protect the panel. The AI camera with a chamber light means you can run this overnight and check the plate in the morning without opening the lid.
That combination is why the Saturn 4 Ultra is the machine I would put on a desk that is not going anywhere. It is set up, loaded, and left alone. For a hobbyist printing display pieces rather than quick batches, throughput is not the constraint.
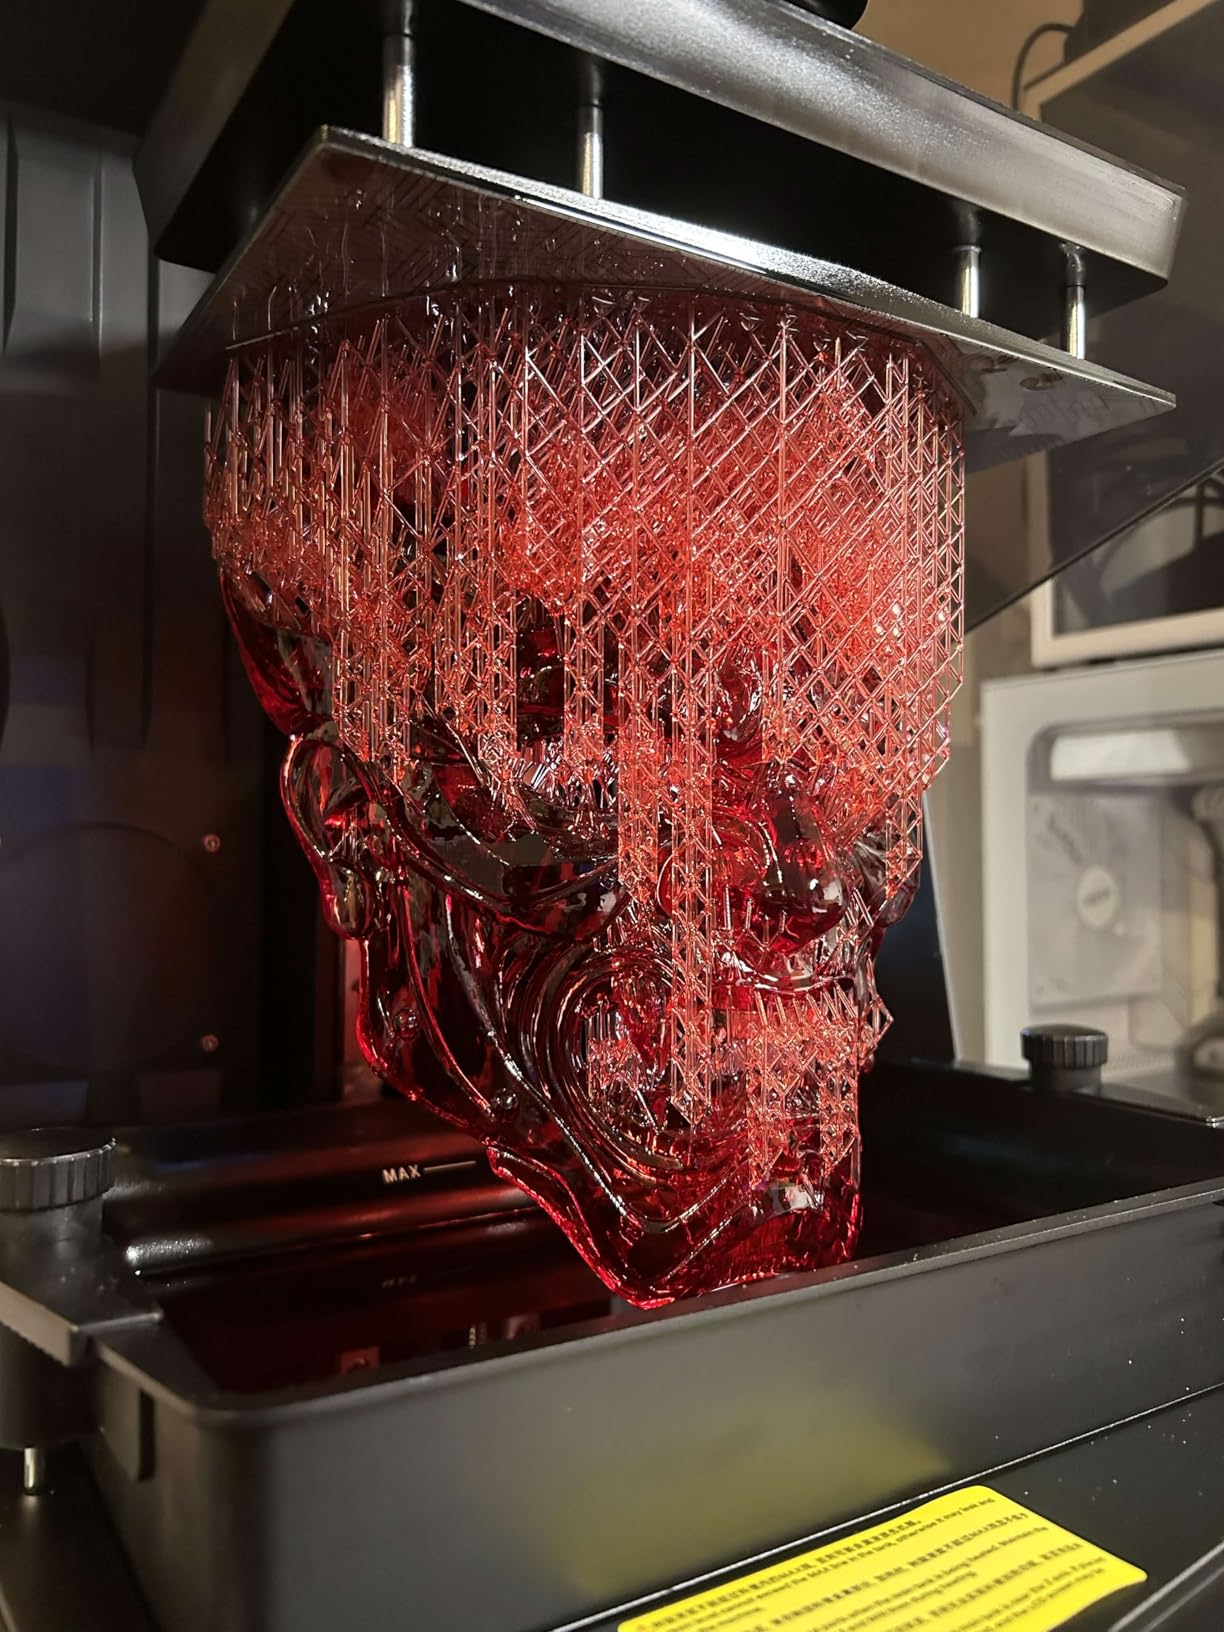
What the 16K panel actually gains you
Detail. On a 28mm or 32mm miniature, the difference between an 18-micron panel and a 16K panel shows up in the transitions — where a base meets a cloak, where a face turns. Reviewers describe the 16K output as capturing fine surface texture, and I would agree that this is the ceiling for consumer MSLA right now.
The heated tank is the quiet hero. Fewer bubbles means fewer holes, and fewer holes means less time spent on the second beginner skill, which is post-processing repair.
Who should skip it
Buy this if you already know resin printing and you are chasing the best detail you can get at home. Skip it if you are on your very first printer, because the size and weight are real obstacles. It is 35.5 pounds across a 24 x 17 x 15 inch body, and a large chunk of what you pay for is capability you will not use for months.
AI detection accuracy also varies with the model, the environment, and the resin you use, so do not rely on it as your only check.
4. Phrozen Sonic Mini 8K S – Best for Open Slicer Software
phrozen Sonic Mini 8K S LCD Resin 3D Printer, 7.1″ Monochrome LCD, Tabletop 3D Resin Printer with 22µm XY Resolution, 6.5 * 2.8 * 6.7 Inch Printing Volume for Models, Miniatures and Action Figures
8K mono LCD
22 micron XY
16.5 x 7.2 x 17 cm volume
22 lb load capacity
Pros
- 22 micron resolution suits miniatures and action figures
- Works with Lychee
- Chitubox and Tango
- Compact tabletop footprint
- Precise Z-axis calibration for even layers
Cons
- Narrow build width limits larger parts
- Older design with no camera
- Wi-Fi or auto-leveling
The Sonic Mini 8K S is the odd one out in this list, and that is exactly why it is worth a look. It runs open-source slicers — Lychee, Chitubox, Tango — instead of locking you into a vendor workflow. If you have read complaints about clunky vendor software, this is the machine that answers them.
Its 8K monochrome LCD at 22 micron XY resolution is built for miniatures, action figures, and jewelry masters, and the build volume of 16.5 x 7.2 x 17 cm is genuinely compact. Reviewers repeatedly note the small desktop-friendly body as a plus, which matters more than any spec when you are working in a shared room.
At 4.4 stars across 157 reviews it holds one of the strongest ratings in this group, and the load capacity of up to 22 lb means it will not be the limiting factor on dense resin prints. Precise Z-axis calibration is what keeps layers even, and even layers are the foundation of a clean miniature surface.
The honest limitation is the narrow build width. A large figure will not fit, and a wide plate of 32mm minis is out of reach. You are choosing detail and freedom here, not throughput.
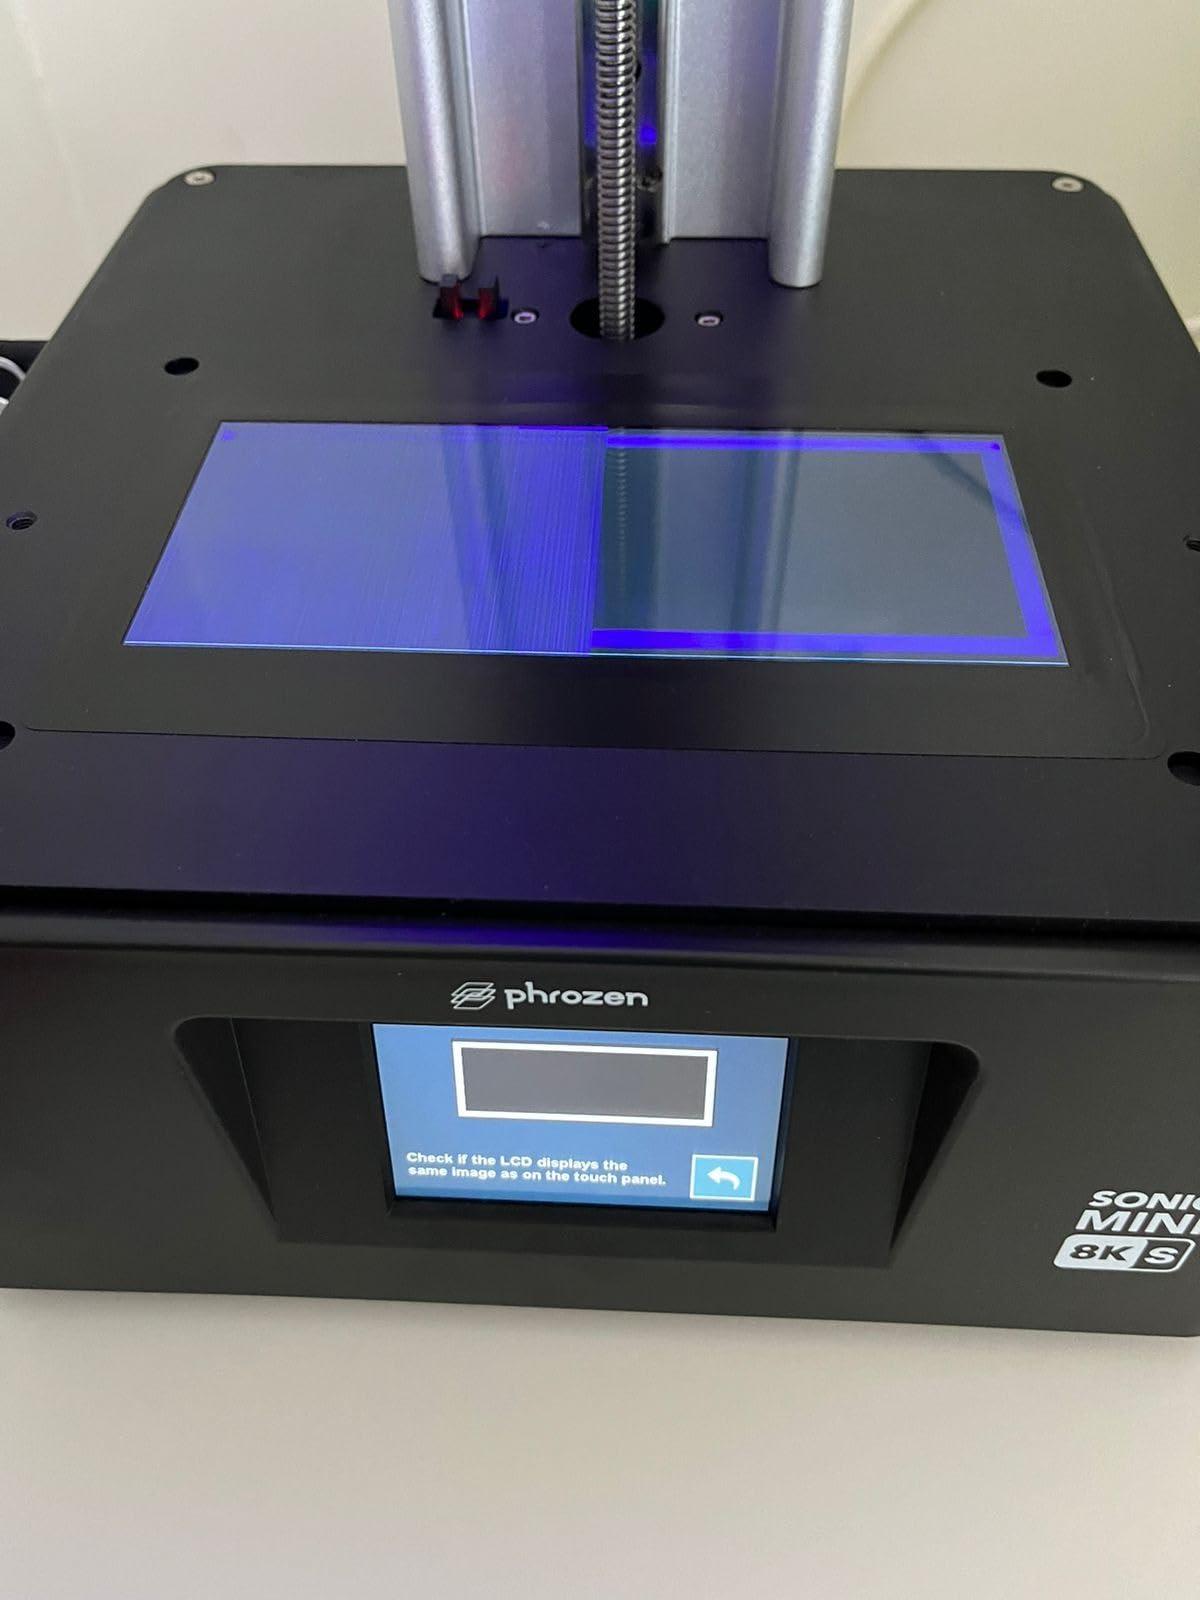
Why slicer freedom matters long term
Slicer software is where most beginners plateau. A vendor program that is slow, awkward, or tied to a proprietary file format will quietly cost you hours over a year. Being able to open a model in Lychee or Chitubox and export a normal file is a small decision that pays out constantly.
For miniature work, the 22-micron pixel handles the fine features that get lost on larger panels under angled light, which is how most miniatures get judged.
Where the Sonic Mini 8K S falls down
This is an older design, and that shows. There is no camera, no Wi-Fi file transfer, and no auto-leveling reported, so you are doing manual preparation. Compared with the Mars 5 Ultra next to it on the same desk, the workflow is more hands-on.
The narrow build volume is the other constraint, and Phrozen’s own software ecosystem is smaller than the alternatives. If your models are wide, move up a size rather than fighting the plate.
5. Anycubic Photon P1 14K – Best for Auto-Leveling at High Resolution
ANYCUBIC Photon P1 14K Resin 3D Printer with Auto-Leveling
10.1 inch 14K mono LCD
16.8 x 24.8 micron XY
Smart Leveling 3.0
Wave Release Technology
Pros
- 14K detail on a large 10.1 inch screen
- Factory-calibrated leveling with four-corner feedback
- Wave Release cuts release force
- Handles resin up to 8000 cps
Cons
- Newer model with a thinner owner feedback pool
- Large footprint at 29.7 pounds
- Priced well above entry options
The Photon P1 does something none of the smaller machines manage: high resolution on a big screen, with leveling you never touch. The 10.1-inch 14K monochrome panel runs 13312 x 5120 at 16.8 x 24.8 micron pixels, and Smart Leveling 3.0 is factory calibrated with real-time four-corner pressure feedback.
That last part is the interesting engineering. Rather than measuring the plate once, it watches pressure across all four corners during the prime step, so a warped plate still prints. For a beginner this converts the most common hardware failure into a non-event.
Wave Release Technology generates micro-airflow under the film to cut release force by 60 percent, which reduces the force pulling on delicate features at the base of a model. A ball screw and precision guide rail on the Z-axis keep wobble low, and the minimum print aperture of 0.3 mm opens up small, delicate geometry.
It also handles ultra-high viscosity resins up to 8,000 cps with pre-configured profiles. That is a casting and tough-resin feature, and having it factory-supported means you are not hunting for community profiles.
What a large screen buys a beginner
Bigger screens mean fewer plates for the same output, and 10.1 inches is a meaningful step up from 7 inches for miniatures. You fit more models per run, and each one cures at the same time, so the throughput math improves quickly.
AI inspection covers build plate installation, bottom layer separation, resin level monitoring, and residue detection. Four separate failure modes watched automatically is a lot of saved resin over a year.
Where the Photon P1 is a risk
It launched recently, so the evidence base is thin. 58 reviews is a much smaller sample than the 667 behind the Mono 4, and long-term reliability for a new platform is simply unknown. Early owners like it, 79 percent giving five stars, but that is a launch cohort.
It is also 29.7 pounds across a 16.93 x 24.41 x 16.54 inch body, and it sits well above the entry bracket. If you are buying your first resin printer, you are paying for headroom you may use in a year rather than this year.
6. Anycubic Photon Mono M7 MAX – Best for Large Batches and Big Models
ANYCUBIC Resin 3D Printer, Photon Mono M7 MAX 13.6-inch 7K Mono LCD
13.6 inch 7K mono LCD
298 x 164 x 300 mm volume
Temperature-controlled vat
60 mm/h
Pros
- Largest build volume here by a wide margin
- Heated monitored vat improves success rate
- Highest average rating in this group
- Commercial-grade frame and build plate
Cons
- Heaviest machine here at 60.9 pounds
- Bundled wash station is too small for the plate
- Resin pump cycle is slow and rarely used
The Mono M7 MAX is the odd choice for a beginner and the obvious choice for anyone printing large models or running small production batches. Its 13.6-inch 7K monochrome screen and 298 x 164 x 300 mm build volume are more than double anything else on this list, and at 4.5 stars across 146 reviews it holds the highest average rating in the group.
The temperature-controlled resin vat with automatic level monitoring and top-up is the feature that separates it from a big hobby machine. Warm resin flows better, so layer adhesion improves and bubbles drop. The 1,300 ml tank capacity means you are not pouring twice an hour.
Five intelligent self-checks cover auto-inspection, residual resin detection, unused resin monitoring, failed print detection, and lifespan management. Print speeds run to 60 mm/h via Intelligent Release 2.0 with dynamic light-off compensation, and the flip-top design gives you real access to tall models rather than a narrow slot.
Owners describe the frame and build plate as effectively indestructible, and at this price point that matters — a bent Z-axis on a cheaper machine is usually the end of it.
When this machine makes sense
Full-plate batches of 32mm minis, cosplay armor, large display models, or anything where one piece exceeds a 7-inch plate. The volume is the reason. Reviewers consistently treat this as a small-batch commercial machine rather than a hobby one.
Print speeds up to 60 mm/h are not headline-leading, but with a large plate the throughput math is about area per hour, not millimetres per hour. Big plates win.
Why most beginners should not buy it
It weighs 60.9 pounds and occupies 30.91 x 19.29 x 20.47 inches. That is not a bedroom desk machine, and it is not a first purchase.
The bundled wash and cure station is too small for the build plate, so you are buying a bigger one anyway. The resin pump pickup and auto-loading are slow and often go unused, and large models still need careful slicing and support tuning. This is a machine for someone who has already printed 50 resin parts.
7. Elegoo Saturn 3 Ultra 12K – Best Build Volume for the Money
ELEGOO Saturn 3 Ultra 12K MSLA 3D Printer with 10″ Monochrome LCD
10 inch 12K mono LCD
218.88 x 122.88 x 260 mm volume
150 mm/h
4 inch touchscreen
Pros
- Large build volume at a mid-range price point
- 12K resolution with 150 mm/h speeds
- Clear 4 inch IPS touchscreen with Wi-Fi transfer
- Frosted release film cuts failed prints
Cons
- Lowest average rating here at 4.1 with a 13 percent one-star share
- Some units had Wi-Fi that only connected once per boot
- Tall chassis needs vertical space
The Saturn 3 Ultra answers a different question than the rest of this list: how much usable area can you get without stepping up to a premium machine. The build volume of 218.88 x 122.88 x 260 mm is wide enough for an entire row of 32mm miniatures, and the 10-inch 12K monochrome panel at 11520 x 5120 keeps detail sharp across it.
The COB plus refractive light source with dual copper tubes and cooling fans keeps the light even, and printing runs up to 150 mm/h with Elegoo rapid resin. The frosted ACF release film is a genuine upgrade over FEP for beginners, because it cuts the number of prints that tear off the plate.
The 4-inch HD IPS touchscreen with multi-language support is the best interface in this group, and Wi-Fi file transfer removes the USB drive workflow entirely. Voxeldance Tango is the bundled slicer, with three printing modes and an open-source GOO format, and a new Linux OS handles file transfer more reliably than earlier Elegoo machines.
Laser-carved build plate plus improved leveling gives good adhesion, and the integrated ball screw with dual linear guides keeps the Z-axis steady at height.
Why the wide plate is the deciding factor
If your interest is tabletop minis, plate area drives everything. On a 10-inch screen you can place far more models per run, and because every model on a plate cures at once, the extra area translates directly into parts per hour. Our miniature-focused roundup goes deeper on batch layout.
The 150 mm/h ceiling and the laser-carved plate mean you are not waiting on the machine as much as on your own support settings.
Where this one gives ground
It carries the widest rating spread of this group. A solid majority of five-star reports sit alongside a meaningful cluster of one-star reviews, and 4.1 is the lowest average here with 13 percent one-star. Wi-Fi reliability is the recurring theme, with some units connecting only once per boot and forcing USB use.
Support is the other issue. Some users report being asked to disassemble the printer and scan QR codes rather than simply having a replacement part sent. The tall chassis also needs real vertical space, and the Linux OS and Tango slicer have a smaller community than older Elegoo software. Buy it for the plate, not for the brand.
Resin Printer Safety and Ventilation
Two questions come up more than any other in this category: what ventilation you need, and whether resin fumes are harmful. Both deserve straight answers before you buy anything.
The short version: uncured resin has a strong odour, that odour comes from volatile organic compounds, and you should not sit in a sealed room with it. This is the single most repeated objection from owners in small apartments, and it is a legitimate one.
What works in practice is a dedicated room with a window, a carbon-filtered air unit positioned near the printer, and the vat covered when not in use. Owners consistently report that a purifier with an activated carbon filter handles resin odour better than trying to vent a small apartment through a window. Exhausting outside is ideal and impractical for most people, so a carbon unit plus a closed door is the realistic answer.
Wear nitrile gloves every time you handle uncured resin, whether pouring, printing, or stripping supports. Resin sensitises skin over time, and gloves cost very little. Never pour resin down a drain, and keep food and drink out of the printing area entirely.
If you have small children in the home, an FDM printer is the safer first purchase. Resin printing is a bad fit for a shared play space, and no filter makes a curious toddler-safe environment.
What You Need Beyond the Printer
Here is the part most roundups skip, and the reason many first-time buyers feel ambushed a fortnight after buying. A resin printer arrives as a bare machine. It does not come with resin, gloves, alcohol, or a way to cure prints.
Your first purchase list looks like this:
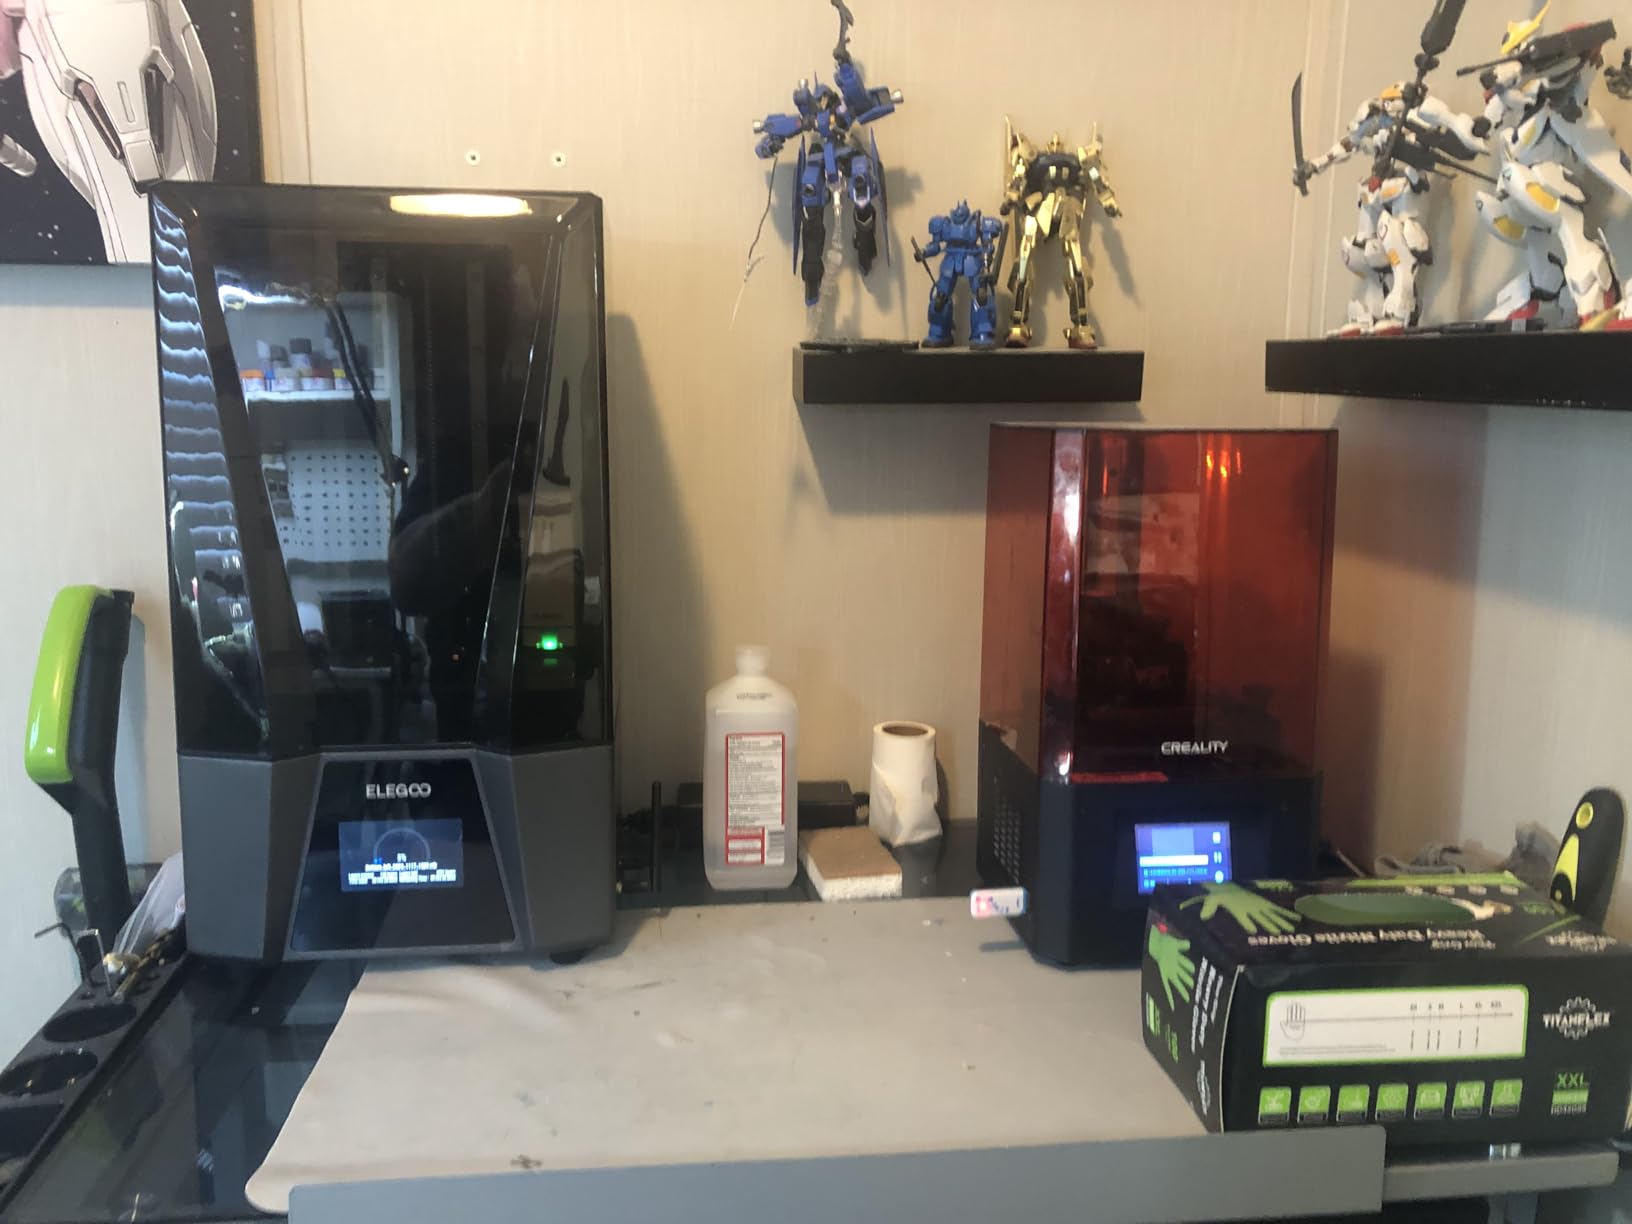
Resin — a grey or navy bottle for general printing, plus a tough or blended resin if you plan functional parts. Standard resin will snap thin miniatures, so a tougher blend is worth it for tabletop models with fragile weapons or antennae.
Isopropyl alcohol at 99 percent — for washing prints. Lower concentrations work slowly and leave a film behind.
Nitrile gloves — box of 100, treat them as consumables.
A wash and cure station — community advice is strongly against a cheap UV lamp here. A proper station handles both jobs.
Spare FEP or NFEP release film — this is a consumable that will need replacing, and the printer may not include a spare.
A silicone mat, funnel, and scraper — for pouring and cleanup without spilling.
A screen protector film — one drop of resin on a bare LCD panel is expensive to fix.
Set aside roughly 60 to 120 dollars for that list on top of the machine, and treat it as part of the purchase rather than an extra. It is also why the bundles that include a wash and cure station are worth a closer look when you are comparing two machines.
If you are wondering which resin to start with, a grey fast-cure for general models plus a tough blend for detail work covers almost everything a beginner prints in the first six months.
How to Choose a Resin 3D Printer as a Beginner
Buy monochrome, always. RGB masking screens take four times as long to expose a layer and produce dimmer, flatter results. No beginner machine worth owning uses one, and if a listing mentions it, keep scrolling.
Understand XY resolution and layer height are different. XY resolution is the pixel size of the screen, which governs the smallest feature you can reproduce. Layer height is how thick each layer of resin is. A machine with great pixels printed at a fat layer height still shows you banding. Look for both, but weight XY resolution more heavily for miniatures.
Prioritise auto-leveling above resolution. Community consensus repeatedly praises factory calibration and automatic leveling because it removes the most common beginner failure point. The difference between 16K and 18K is subtle. The difference between a leveled and an unleveled plate is a wasted print.
Size the plate for what you will actually print. A 7-inch screen fits a single large miniature or a modest row of small ones. A 10-inch screen fits a squad. If miniatures are the goal, plate area drives parts per hour, and both a wider screen and automatic release mechanisms compound that.
Check the slicer before you buy. Vendor software varies wildly. If you want to use Lychee or Chitubox, confirm the machine supports your choice rather than assuming. The Phrozen Sonic Mini 8K S is the one here built explicitly around open slicers.
Check what is a consumable. Release film, resin vats, and the screen itself wear. A machine with a laser-engraved or textured build plate ages better than a polished one, and having a spare plate available matters once the originals wear out.
Do not skip ventilation in the comparison. If you can only print in a small, sealed room, budget for a carbon-filtered air unit as part of the machine cost. If that is not workable, an FDM printer is the better first purchase.
Your First Resin Print: Exposure, Adhesion and Wash and Cure
Almost every beginner failure traces back to one of three things: exposure, adhesion, or post-processing. Here is the order that works.
Exposure calibration first. Do not skip this. Print a test matrix or exposure tower — a stepped model that tests different exposure times in one go — before anything you care about. Under-exposure gives you hollow, chalky surfaces and prints that snap at the base. Over-exposure gives you an over-cured, shiny finish with more layer separation. Each machine and each resin bottle has its own sweet spot, and it is not the factory default.
Bed adhesion second. If the plate is automatic or you have leveled it, clean it with isopropyl alcohol and re-level before each new resin bottle. Roughen the surface lightly once, then wipe it. A raft or a brim in the slicer buys you most of the insurance.
Supports third. Orient the model to minimise overhangs, and use hollowing on anything over about 40mm tall. Hollow models use a fraction of the resin and shrink less, which reduces layer separation. Auto-generated supports from modern slicers are usually adequate once exposure is right.
Wash and cure last. Wash in 99 percent IPA, then cure under UV for the time your resin manufacturer specifies. Under-curing leaves a surface that never fully hardens and stays tacky to the touch. If your prints come out of the cure station sticky, that is the cause, and we have a full guide on why resin stays sticky after curing.
Budget for 5 to 10 failed prints before your first keeper. Everyone does, and the ones that fail are how you learn exposure.
Frequently Asked Questions
What are the downsides of using a resin printer?
The main drawbacks are chemical handling, post-processing work, and a real learning curve. Uncured resin is a sensitiser that needs nitrile gloves and ventilation, prints must be washed in isopropyl alcohol and UV cured before they are finished, and the LCD screen plus release film are consumables that wear out. Expect the first 5 to 10 prints to fail while you learn exposure time and support placement. For most people the detail gain over filament justifies all of this, but it is not a hobby you can pick up in an afternoon.
What kind of ventilation do you need for a resin printer?
A dedicated room with a window is ideal, and exhausting outside is best. In practice most people use a small activated carbon air purifier placed near the printer, keep the vat covered when not in use, and run the machine behind a closed door. Owners report a carbon unit handles resin odour far better than trying to vent a small apartment through a window. If you cannot dedicate a space at all, choose a filament printer instead.
Are resin printer fumes harmful to health?
Uncured resin releases volatile organic compounds that produce a strong odour, and long-term exposure without ventilation is worth avoiding. The risk is manageable rather than dramatic: wear nitrile gloves whenever you handle liquid resin, run the printer in a ventilated or filtered space, and keep food out of the area. Never pour resin down a drain. Households with small children are the clearest case for choosing a filament printer instead.
Do you need to wash and cure resin prints?
Yes, both steps. Washing removes the tacky uncured resin film from the surface, and UV curing hardens the part fully so it is safe to handle and can be painted. Skipping the wash leaves a sticky surface that traps dust and feels wrong; skipping or rushing the cure leaves the print soft and permanently tacky. Use 99 percent isopropyl alcohol for washing and follow your resin maker’s cure times, because they differ by formulation.
What is the most reliable resin 3D printer?
The Anycubic Photon Mono 4 is the most dependable first machine in this group, with 667 reviews averaging 4.4 stars and few hardware complaints beyond normal consumable wear. The Elegoo Mars 5 Ultra is arguably smoother for a first-timer because it self-levels on power-up and includes a camera for remote monitoring. The newer Anycubic Photon P1 adds 14K resolution and factory auto-leveling, but it launched recently and has a much thinner history of long-term owner feedback.
What is a good first 3D printer for a beginner?
For detail work on miniatures, figures, or small parts, a monochrome MSLA resin printer such as the Anycubic Photon Mono 4 is the best first machine. Choose one with automatic or one-and-done leveling to avoid the most common beginner failure. If you want large prints, no chemical handling, and no ventilation requirements, a filament printer is the better fit, though the surface detail will be visibly worse. Full comparison in our beginner 3D printer guide.
Which Resin Printer Should You Buy?
Buy the Anycubic Photon Mono 4 if this is your first resin printer and you want the least risk. It has the deepest owner history in this group, a one-and-done leveling routine, 17-micron detail, and a small body that fits anywhere.
Buy the Elegoo Mars 5 Ultra if you would rather the machine handled leveling and you want to watch prints remotely. Buy the Saturn 4 Ultra 16K if you are chasing the finest surface detail and have desk space for 35 pounds of machine.
Buy the Saturn 3 Ultra 12K if you plan to print squads of tabletop miniatures and want plate area without stepping up a tier. Buy the Phrozen Sonic Mini 8K S if open slicer software matters to you. Buy the Photon P1 for 14K detail with hands-off leveling, accepting that it is a new platform. The Mono M7 MAX is for large batches, and only once you are past the beginner stage.
Whichever you choose, buy the resin, the alcohol, the gloves, and a wash and cure station in the same order. Then print a test matrix before your first real model, and expect a handful of failures on the way. That is the actual beginner experience in 2026, and it is a lot less intimidating once someone tells you in advance.