
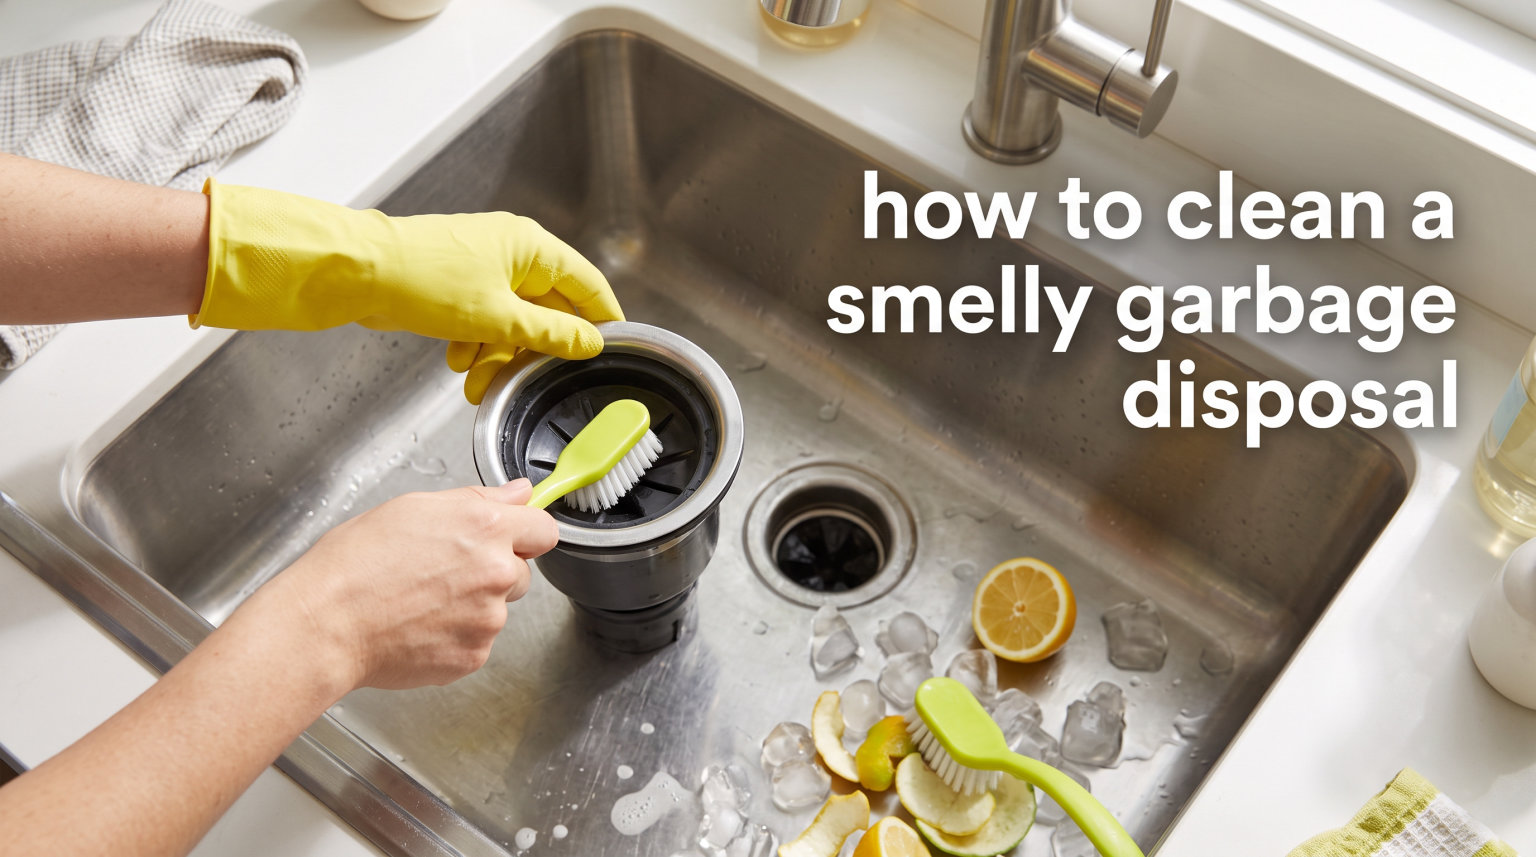
If your kitchen has started smelling like a dumpster every time you walk near the sink, your garbage disposal is probably the culprit. Learning how to clean a smelly garbage disposal is not complicated, but it takes more than dropping a lemon wedge down the drain and hoping for the best.
I have dealt with this problem in my own kitchen more times than I care to admit. After testing every method I could find, from the classic baking soda and vinegar combo to ice-and-salt scrubs, I figured out what actually works and what is just temporary perfume.
The smell coming from your disposal is a sign that food particles, grease, and bacteria have built up inside the grinding chamber. Left unchecked, that buildup can damage the unit and create a persistent odor that no amount of air freshener will mask.
In this guide, I will walk you through six proven cleaning methods using ingredients you probably already have in your kitchen. I will also cover why your disposal smells in the first place, how often you should clean it, and what to do when basic methods are not cutting it.
You do not need fancy commercial products or a plumber’s expertise for most of these steps. Just a few household staples, an old toothbrush, and about 15 minutes of your time.
Let’s get your kitchen smelling fresh again.
Table of Contents
Why Does Your Garbage Disposal Smell? The Root Causes
Garbage disposals develop odors for a straightforward reason: they grind up food waste, and tiny particles of that food get left behind. When those particles decompose inside the warm, moist grinding chamber, bacteria multiply and produce sulfur compounds that smell like rotten eggs or sewage.
The rubber splash guard (that flappy cover over the drain opening) is one of the biggest odor sources. Food sludge and grease splatter onto its underside every time you run the disposal, and most people never think to clean it.
Grease is another major offender. Even if you are careful about scraping plates, cooking oils and fats slip down the drain and coat the inside of the grinding chamber. Cold water hardens that grease into a sticky layer that traps food particles and resists simple flushing.
The impellers, those spinning metal arms that grind food, can also collect residue in hard-to-reach spots. Over time, this gunk builds up into a biofilm that regular water flow cannot remove.
If your disposal smells like sewage rather than rotting food, the problem might extend beyond the disposal itself. A dry P-trap, a clogged vent pipe, or food trapped deeper in the plumbing can all produce sewage-like odors that will not respond to disposal cleaning alone.
Understanding the root cause matters because it tells you which cleaning method will actually work. A grease problem needs boiling water or ice and salt. A bacteria problem needs baking soda and vinegar. A splash guard problem needs manual scrubbing.
How to Clean a Smelly Garbage Disposal: Method 1 — Baking Soda and Vinegar
The baking soda and vinegar method is the most effective DIY approach for killing disposal odors. The chemical reaction between these two ingredients foams up inside the grinding chamber, loosening stuck-on food particles and neutralizing the bacteria that cause smells.
Here is how I do it in my own kitchen:
Step 1: Pour 1/2 cup of baking soda directly into the disposal drain. Make sure the disposal is turned off and the water is off too.
Step 2: Pour 1 cup of white vinegar down the same drain. You will hear it fizz immediately, and that is the reaction working.
Step 3: Let the mixture sit undisturbed for 10 to 15 minutes. Do not run water during this time. The fizzing action needs time to break down buildup inside the grinding chamber.
Step 4: After the waiting period, turn on the hot water and let it run for about 30 seconds. Then run the disposal for another 15 to 20 seconds with the water still flowing to flush everything out.
The hot water helps melt away any grease that the baking soda and vinegar have loosened. I recommend doing this treatment once a week as part of your regular kitchen cleaning routine.
One thing to keep in mind: this method works best for moderate odors. If your disposal has not been cleaned in months and the smell is overwhelming, you may need to combine it with the ice-and-salt method or do a deep clean of the splash guard first.
I tested this method on a disposal I inherited from a previous tenant. The smell was so bad I could detect it from the living room. The baking soda and vinegar treatment alone cut the odor by about 70% on the first pass.
Method 2: Ice and Salt Scrub
The ice and salt method does double duty by physically scrubbing the grinding chamber walls while helping maintain the disposal’s grinding components. This is the method I reach for when baking soda and vinegar alone are not enough.
Step 1: Fill the disposal with about 2 cups of ice cubes. Dump them straight down the drain.
Step 2: Add 1 cup of coarse salt or rock salt on top of the ice. Kosher salt works well if you do not have rock salt on hand.
Step 3: Turn on the cold water to a steady stream, then run the disposal. The ice will be loud as it grinds, and that is completely normal.
Step 4: Let the disposal run until the grinding sound stops, usually about 30 to 60 seconds. The combination of hard ice and abrasive salt scrapes away grease and food residue from the grinding chamber walls.
Step 5: Keep the cold water running for another 15 seconds after the disposal stops to flush everything through the system.
Cold water is important here because it keeps any grease solid. Hot water would melt the grease and let it coat the walls again before the ice and salt could scrub it away.
This method is especially good for disposals that have developed a slimy film inside. I have found that doing the ice-and-salt treatment right after the baking soda and vinegar method gives you a one-two punch that handles even stubborn smells.
Method 3: Citrus Peels for Fresh Scent
Running citrus peels through your disposal is the simplest way to leave your kitchen smelling fresh. It will not deep-clean the grinding chamber, but it is excellent for routine deodorizing between deeper cleans.
Step 1: Cut a lemon, lime, or orange into small wedges. You can use peels and rinds you would normally throw away.
Step 2: Drop the citrus pieces into the disposal one at a time with the cold water running.
Step 3: Turn on the disposal and run it until the grinding sound stops. Keep the cold water flowing for another 10 seconds.
The natural citrus oils in the peels coat the inside of the disposal and leave behind a clean, fresh scent. Lemon works best for cutting through strong odors, while oranges leave a sweeter smell.
I keep a jar of citrus peels in the freezer specifically for this purpose. Whenever I cook with lemons or oranges, I save the rinds and run one or two through the disposal every few days.
Citrus is also a good way to test whether your disposal is working properly. If the peels come through without grinding completely, your unit might be wearing out or overloaded.
One caution: avoid putting large amounts of citrus through at once, especially if you have a lower-horsepower disposal. The fibrous rinds can jam weaker units and leave you with a bigger problem than a bad smell.
Method 4: Deep Clean the Splash Guard
If you have tried all the methods above and your disposal still smells, the splash guard is almost certainly the problem. This rubber baffle sits just inside the drain opening, and its underside collects a shocking amount of grime that no amount of baking soda can reach.
Here is how to clean it properly:
Step 1: Unplug the disposal or turn off the breaker that powers it. This is non-negotiable. Never put anything into the disposal while it is connected to power.
Step 2: Reach into the drain and pull the splash guard up slightly, or remove it entirely if your model allows. Some splash guards just snap out, while others need to be cleaned in place.
Step 3: Use an old toothbrush or a small scrub brush with dish soap and warm water to scrub the underside thoroughly. You will probably be disgusted by what comes off.
Step 4: Rinse the splash guard clean and snap it back into place.
The first time I did this, I found a layer of black sludge that had been fermenting for what looked like years. Cleaning the splash guard eliminated an odor I had been fighting for weeks with other methods.
I now scrub the splash guard once a month as part of my regular kitchen maintenance. It takes about five minutes and makes a bigger difference than any other single step in this guide.
If your splash guard is cracked or damaged, replace it. A torn splash guard lets food particles escape into places they should not go and creates new odor sources you cannot easily clean.
Method 5: Boiling Water Flush
A boiling water flush is the quickest way to melt away grease deposits inside your disposal. I use this method as a finishing step after other cleaning methods or as a quick refresh between deep cleans.
Step 1: Boil a kettle or pot of water. You will need about 4 to 6 cups.
Step 2: Pour the boiling water directly into the disposal drain in a slow, steady stream. Do not dump it all at once.
Step 3: Let the hot water run for a few seconds after you have poured it all, then run the disposal briefly to circulate the water through the chamber.
The boiling water dissolves grease that cold-water methods leave behind. This is especially helpful if you cook with a lot of oils or butter.
Important safety note: never pour boiling water into a disposal connected to PVC pipes without first running warm tap water to warm up the plumbing. Sudden temperature changes can crack PVC drain lines and create an expensive leak.
I typically do a boiling water flush once a week, usually right after running the disposal for dinner cleanup. It keeps grease from accumulating in the first place, which is far easier than removing it later.
For disposals with persistent odors, combine the boiling water flush with the baking soda and vinegar method. The hot water helps activate the cleaning reaction more aggressively and flushes out what the reaction loosens.
Method 6: Commercial Cleaners and Borax
When household methods are not enough, commercial disposal cleaners and borax can handle the tougher jobs. Foaming disposal tablets are designed specifically to clean and deodorize grinding chambers, and they require zero prep work.
To use a commercial cleaner, simply drop the tablet into the disposal with hot water running, then turn on the disposal for 15 to 30 seconds. The tablet foams up and scrubs the interior surfaces. Most brands recommend using them weekly or monthly.
I have found commercial cleaners most useful for maintenance rather than tackling severe odors. They are convenient, but they cost money and contain chemicals that some people prefer to avoid in their kitchens.
Borax is a middle-ground option that is more powerful than baking soda but still a common household staple. Here is how I use it:
Step 1: Pour 2 to 3 tablespoons of borax into the disposal.
Step 2: Let it sit for 10 minutes.
Step 3: Run the disposal with hot water for 30 seconds to flush it through.
Borax is effective at killing odor-causing bacteria and breaking down grease deposits. It is stronger than baking soda, so use it sparingly and keep it away from pets and children.
Whichever option you choose, remember that commercial products work best as part of a regular routine, not as a one-time fix for a badly neglected disposal. A disposal that has been ignored for a year needs the full arsenal of methods, not just a single tablet.
What NOT to Put in Your Garbage Disposal
Preventing disposal odors starts with knowing what should not go down the drain in the first place. Many common foods will clog, damage, or stink up your disposal if you grind them.
Never put these items in your garbage disposal:
Grease and cooking oil: These coat the grinding chamber and harden, creating a sticky trap for other food particles. Pour grease into a jar, let it solidify, and throw it in the trash instead.
Fibrous foods: Celery, asparagus, corn husks, and onion skins have stringy fibers that wrap around the impellers and can jam the motor.
Starchy foods: Potato peels, pasta, and rice expand with water and can form a paste that clogs your drain. These are better off in the compost bin.
Eggshells: The membrane lining sticks to the grinding components, and the shells create a sandy grit that settles in your pipes over time.
Coffee grounds: They seem harmless, but they clump together and accumulate as a dense sludge that is hard to flush out.
Bones and fruit pits: These can dull or break the grinding components and should always go in the trash.
Non-food items: Twist ties, rubber bands, and fruit stickers are all common offenders that find their way into disposals and cause problems.
A good rule of thumb: if you would not eat it, do not grind it. And when in doubt, throw it in the trash or compost.
How Often Should You Clean Your Garbage Disposal?
The right cleaning frequency depends on how heavily you use your disposal, but here is the schedule I recommend based on years of trial and error in my own kitchen.
Daily: Run cold water for 15 seconds after each use to flush food particles through the system. This takes almost no effort and prevents most buildup.
Weekly: Do a baking soda and vinegar treatment or a citrus peel refresh. This keeps odors from developing and maintains the grinding chamber in good condition.
Monthly: Deep clean the splash guard and run an ice-and-salt scrub. This handles the deeper buildup that weekly maintenance misses.
Quarterly: Do a full deep clean combining multiple methods, or use a commercial disposal cleaner for extra sanitizing power.
If you cook a lot, host frequently, or have a large household, you may want to move to a bi-weekly schedule for the deeper methods. The key is consistency. A disposal that gets regular maintenance will rarely develop serious odors.
If you have just moved into a new home or apartment, do a full deep clean immediately. You do not know what the previous occupant put down that drain, and the results can be genuinely unpleasant.
Troubleshooting: Why Your Disposal Still Smells After Cleaning
If you have tried every cleaning method and the smell persists, the problem may not be the disposal itself. Here are the most common causes of stubborn odors that refuse to go away.
The splash guard is the usual suspect. If you have not removed and scrubbed it, that is your first step. Food sludge on the underside is the single most common cause of persistent disposal odors.
Food trapped in the grinding chamber: Sometimes a bone fragment, fruit pit, or large food chunk gets wedged in the disposal and slowly rots. Turn off the power, use tongs (never your hands) to check for foreign objects, and remove anything you find.
The P-trap needs cleaning: The curved pipe under your sink is designed to hold water and block sewer gases, but it can also collect food debris over time. If your disposal smells like sewage, place a bucket under the trap, unscrew it, and clean it out.
A dry P-trap: If a sink is not used regularly, the water in the P-trap evaporates and sewer gases flow back up into your kitchen. Run water in the sink for a full minute to refill the trap.
Biofilm in the drain lines: Years of use can create a biofilm coating inside the pipes that simple cleaning cannot remove. This may require a professional drain cleaning or an enzyme-based drain treatment.
A failing disposal seal: If the disposal’s internal seals are deteriorating, food and water can leak into the motor housing and create a persistent sour smell. This usually means the disposal needs to be replaced.
If you have addressed all of these and still have odors, it may be time to call a plumber. Persistent sewage smells can indicate a vent pipe problem or a more serious plumbing issue that goes beyond the disposal.
Prevention Tips to Keep Your Disposal Fresh
The best way to deal with disposal odors is to prevent them from starting. These habits will keep your disposal and your kitchen smelling clean all year.
Always run cold water before, during, and after grinding. Cold water keeps grease solid so it can be ground and flushed rather than coating the chamber walls.
Run the disposal long enough. Keep it running for 5 to 10 seconds after the grinding noise stops to make sure all food particles are fully flushed through the system.
Do not overload it. Feed food in gradually rather than packing the disposal full. Overloading means some food will not grind completely and will decompose inside.
Use it regularly. A disposal that sits idle is more likely to develop odors because trapped food particles stagnate. Regular use keeps everything moving through the system.
Clean the splash guard monthly. This is the single most impactful maintenance step you can take, and it takes less than five minutes.
Keep citrus peels on hand. Running a lemon or orange through every few days maintains a fresh scent between deeper cleans without any effort.
Avoid chemical drain cleaners. These can damage the disposal’s rubber components and do not address the root cause of odors. Stick to the natural methods in this guide.
With these habits, you will rarely need to do more than a quick weekly refresh to keep things fresh.
FAQ
What kills smell in a garbage disposal?
Is it okay to pour vinegar down the garbage disposal?
Can I put Clorox in my garbage disposal?
What is the best garbage disposal cleaner and deodorizer?
How often should I clean my garbage disposal?
Why does my garbage disposal smell like rotten eggs?
Wrapping Up
Learning how to clean a smelly garbage disposal does not require expensive products or professional help. With household staples like baking soda, vinegar, ice, salt, and citrus, you can tackle most odors in under 15 minutes.
The key is consistency. A weekly baking soda and vinegar treatment, combined with monthly splash guard cleaning, will keep most disposals fresh indefinitely. When those methods are not enough, the ice-and-salt scrub and the troubleshooting steps in this guide will help you find and eliminate the source of stubborn smells.
Remember that prevention matters just as much as cleaning. Keep grease out of the disposal, run cold water every time, and do not grind foods that cause problems. With these habits in place, your disposal and your kitchen will stay fresh all through 2026 and beyond.