
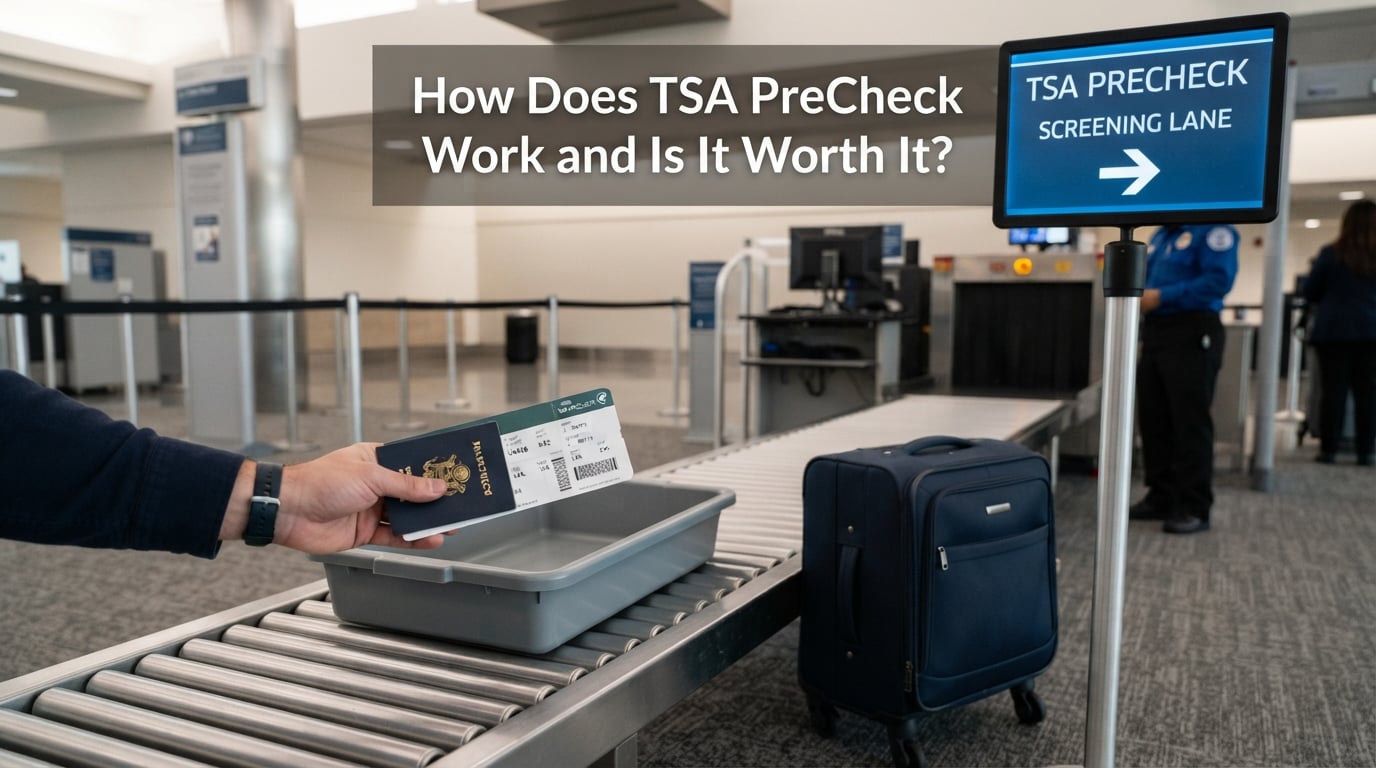
TSA PreCheck is a trusted traveler program that lets approved travelers use dedicated airport security lanes. In those lanes, you can usually leave shoes, belts, light jackets, laptops, and 3-1-1 liquids in your carry-on, making the security checkpoint less of a packing-and-unpacking exercise.
How does TSA PreCheck work and is it worth it? You apply, complete a background check and an in-person appointment, then add the Known Traveler Number you receive to flight reservations. For people who fly more than occasionally or hate the uncertainty of a standard screening line, the answer is commonly yes—but the details matter.
This guide explains what actually changes at the airport, what does not change, how the shoe-policy update affects the calculation, and when Global Entry or CLEAR may suit you better. It also covers the small but frustrating details travelers frequently ask about: a missing PreCheck indicator, bringing children, renewal, and using the benefit on an international itinerary.
Table of Contents
TSA PreCheck is a pre-approved airport screening program.
TSA PreCheck is run by the Transportation Security Administration as a trusted traveler program for people the agency has screened in advance. It is not a promise that you will never wait, and it is not a pass around security; it is a different, generally faster screening process at participating U.S. airport checkpoints.
Approval gives you a Known Traveler Number, usually shortened to KTN. Think of the KTN as the number that tells an airline you are eligible; when the airline sends your passenger information to TSA, the airline can put the TSA PreCheck indicator on your boarding pass.
The program is for air travel departing from participating U.S. airports. It does not replace a passport, visa, airline check-in, customs declaration, or any documentation required for your destination.
TSA PreCheck works when your KTN produces an indicator on your boarding pass.
The process has two parts: becoming eligible and having that eligibility attached to a particular reservation. Approval alone is not enough at the airport, because the gate agent or screening officer needs to see the PreCheck indicator on that day’s boarding pass.
TSA PreCheck begins with an application and identity check.
You start an online application through a TSA enrollment provider, choose an appointment location, and attend an in-person visit. The visit includes identity-document review, fingerprints, and a photograph as part of the background-check process.
After TSA approves the application, you receive your KTN. Keep that number in a secure place and add it to each airline loyalty profile you use, as well as to existing bookings when the airline allows edits.
TSA PreCheck appears only after the airline matches your passenger details.
Your name, date of birth, and KTN should match the information in your PreCheck record. A nickname, omitted middle name, changed last name, or simple digit error can prevent the indicator from appearing, even when your membership is active.
At check-in, look for “TSA PRECHECK” or the program’s indicator on the boarding pass. If it is absent, ask the airline whether the KTN is on the reservation and whether your booking details match; a TSA officer cannot add the indicator at the checkpoint.
TSA PreCheck still allows extra screening when TSA needs it.
PreCheck is not a guarantee of a particular line, amount of time, or screening outcome. TSA can direct any passenger to standard screening or conduct additional screening, so pack legally and arrive with a realistic airport-time buffer.
That limitation surprises some first-time members, but it is the right expectation to set. The program reduces the usual friction; it does not remove the agency’s authority to screen travelers or respond to changing security conditions.
TSA PreCheck makes screening simpler, not security optional.
The headline benefit is a dedicated TSA PreCheck lane at participating checkpoints. That lane often moves faster because eligible travelers follow a lighter routine, and the group tends to include people who are already prepared for the process.
In a typical PreCheck lane, you may keep your shoes, belt, and light jacket on. You may also keep electronics and compliant 3-1-1 liquids in your bag, which can make a meaningful difference if you travel with a laptop, camera gear, medications, or a carefully packed carry-on.
The shoe-policy change narrowed one benefit but did not erase the rest.
The recent standard-lane shoe-policy change means shoe removal is no longer the clean dividing line it once was for many travelers. That is important context: if your only reason for considering TSA PreCheck was keeping shoes on, the time-saving case is weaker than it used to be.
PreCheck still differs in ways that matter on a busy travel day. Its lane is separate, and the usual ability to leave laptops and compliant liquids in your bag reduces the stop-start routine that creates backups at standard screening.
For many members, the value is less about one item of clothing and more about predictability. Forum discussions repeatedly describe waits of five minutes or less, especially compared with the uncertainty of peak holiday, early-morning, and business-travel periods; those reports are personal experiences, not a guaranteed result.
TSA PreCheck helps most when your carry-on routine is complicated.
A traveler with only a phone and a small personal item may not feel a dramatic difference. A traveler carrying a laptop, toiletry bag, charger pouch, and jacket has more to unpack and repack in standard screening, so the lighter PreCheck routine can feel far more useful.
It can also make the checkpoint easier for people who find the standard routine physically awkward or stressful. You still need to listen to officers and follow posted instructions, because lane procedures can vary by airport and equipment.
TSA PreCheck has an enrollment fee and a five-year membership period.
The published initial enrollment fee ranges from $78 to $85, depending on the enrollment provider, and membership lasts five years. Divide that amount across five years and the decision becomes less about a single airport visit and more about how often you expect to use expedited screening.
Renewal is required before the membership expires if you want the benefit to continue. Online renewal is available in many cases, while some members may need or choose to renew in person; start checking your expiration date well before a trip rather than discovering it at check-in.
Seniors pay the same membership fee unless another benefit covers it.
There is no general age-based waiver that makes TSA PreCheck free for seniors. A senior who enrolls as an applicant pays the applicable enrollment or renewal fee, although a credit-card benefit or another reimbursement arrangement may cover an eligible charge for some people.
Do not assume a travel companion’s status transfers to another adult. Each adult normally needs their own approved status and boarding-pass indicator to use the TSA PreCheck lane.
Some card benefits reimburse an eligible enrollment charge.
Some travel-focused payment cards offer a statement credit for an eligible TSA PreCheck, Global Entry, or similar trusted-traveler application fee. Terms, timing, eligible providers, and renewal coverage differ, so read your card’s current benefit guide before treating reimbursement as automatic.
The sensible order is to check whether you already have a benefit, confirm which provider it covers, then apply. Avoid opening or keeping a financial product solely for this perk without considering its full terms and whether it fits your regular spending.
TSA PreCheck enrollment takes an online form and an in-person appointment.
The application process is designed to be straightforward, but it rewards preparation. Use the official TSA PreCheck site to compare available enrollment providers and locate an appointment near you, rather than relying on unofficial advertisements or third-party lookalike sites.
- Step 1: Start the online application. Provide the requested personal information accurately and select an enrollment provider and appointment location.
- Step 2: Book an appointment. Pick a time that leaves room to gather the identity documents requested in your confirmation instructions.
- Step 3: Bring the required identification. Follow the provider’s document list exactly. The appointment is for verifying identity, taking fingerprints and a photo, and collecting the required fee.
- Step 4: Wait for the background-check decision. Approval timing can vary, so do not schedule enrollment on the assumption that it will apply to an immediate trip.
- Step 5: Save your KTN. Once approved, add the number to airline accounts and future reservations.
A Real ID-compliant driver’s license may be useful for domestic flying requirements, but it is not the same thing as TSA PreCheck. Real ID addresses what identification can be accepted for certain federal purposes; PreCheck is a separate trusted-traveler screening benefit.
TSA PreCheck approval should be completed before you count on it for a flight.
“How long does TSA PreCheck take?” has no single reliable answer because background checks and applications vary. Treat the program as a future-travel improvement, not as a last-minute way to bypass a long security line tomorrow morning.
If an appointment is not convenient near home, check official provider listings for alternatives near work or an airport you already use. Airport enrollment events can exist, but availability changes, so verify the event and documentation requirements directly with the official provider.
TSA PreCheck at the airport starts with checking your boarding pass.
Once you have been approved, your airport routine is simple. The key is doing the small setup work before you leave home, because the indicator—not a membership card or a spoken explanation—gets you into the TSA PreCheck lane.
- Step 1: Confirm your KTN is on the booking. Check the passenger details in the airline app or website before check-in.
- Step 2: Check in and inspect the boarding pass. Look for the TSA PreCheck indicator as soon as the pass is issued.
- Step 3: Find the marked TSA PreCheck lane. Follow airport signs, but remember that not every checkpoint at an airport operates the lane at every time.
- Step 4: Follow the local officer’s instructions. Usually you can leave the permitted items in place, but posted instructions and officers’ directions come first.
- Step 5: Keep your documents ready. You still need an acceptable ID and boarding pass, even when the airport offers an optional identity-verification feature.
Arrive early enough to absorb normal airport variables: checked bags, road traffic, a closed checkpoint, an airline counter issue, or a line that happens to be busy. TSA PreCheck can shorten screening, but it cannot speed up every part of the airport.
Children may use TSA PreCheck with an eligible parent in many cases.
Children 17 and under may accompany an eligible parent or guardian through the TSA PreCheck lane when the child’s boarding pass carries the indicator. TSA’s current family rules can depend on the child’s age and travel circumstances, so check the official policy before a family trip instead of assuming every child will qualify automatically.
Teenagers who travel alone and adults should plan on having their own eligibility. That distinction matters for families with mixed itineraries or older children flying separately.
International itineraries can include TSA PreCheck for the U.S. departure or connection.
TSA PreCheck applies to airport security screening in the United States, including a domestic leg that begins an international itinerary when the participating airline issues the indicator. It does not provide faster security overseas, and it does not provide expedited immigration when you return to the United States.
That last distinction is why frequent international travelers often look at Global Entry. Global Entry includes TSA PreCheck eligibility for approved members, while its primary extra function is a faster U.S. customs-and-immigration process after international travel.
TSA PreCheck, Global Entry, and CLEAR solve different airport problems.
The easiest way to compare them is by asking where your delay occurs. TSA PreCheck changes the physical security screening routine, Global Entry addresses U.S. arrival processing from international travel and includes PreCheck eligibility, and CLEAR focuses on moving eligible members through identity verification before the screening line.
TSA PreCheck is best for faster U.S. security screening.
Choose it when your main pain point is domestic airport security or the need to unpack at the checkpoint. It gives eligible members access to the lighter screening routine when the indicator appears on a boarding pass.
Global Entry is best for people who return to the United States from abroad.
Choose Global Entry if customs and immigration after international trips are your bigger delay and you are comfortable with its separate application requirements. Approved Global Entry members receive TSA PreCheck eligibility, so applying for both separately is usually unnecessary.
CLEAR is best for identity-line delays at participating airports.
CLEAR is separate from TSA PreCheck and does not replace it. It can help with the identity-verification part of entering a checkpoint, while PreCheck changes what happens during security screening; at airports where both are available, eligible travelers may use both services in sequence.
There is no universal “better” choice. A domestic traveler who rarely leaves the country may get little from Global Entry’s arrival benefit, while a traveler whose home airport lacks CLEAR may get no practical use from a CLEAR membership there.
Before enrolling, check the airports and airlines you use most. Participation and checkpoint hours matter more than a feature list, because a benefit is only useful when it is available on your actual itinerary.
TSA PreCheck is worth it when fewer security hassles matter to your travel pattern.
For frequent flyers and business travelers, the answer is often straightforward. Repeating a shorter, more predictable security routine several times a year can be worth more than the fee spread across five years, particularly if arriving late is costly or stressful.
Families with children may also find value in a simpler checkpoint process. Laptops, jackets, shoelaces, bins, and tired children create many small tasks; reducing some of them can make the beginning of a trip calmer, even if the line is already short.
Occasional travelers should use a five-year test rather than a one-flight test.
For one flight, TSA PreCheck is rarely a practical purchase because approval is not immediate and the fee is not tied to a single trip. Over five years, though, even an occasional leisure traveler may take enough trips to value shorter screening and less carry-on reshuffling.
Ask yourself three questions: Do I fly from airports with participating TSA PreCheck lanes? Do I usually bring a carry-on with electronics or liquids? Would a more consistent security experience reduce stress enough to matter to me?
TSA PreCheck has real downsides that should shape your decision.
The downside is that you pay and complete an application for a benefit that is not available at every checkpoint or on every itinerary. You can also be directed to standard screening, and the indicator can go missing when a reservation does not match your KTN record.
There is also an opportunity-cost question. If you travel internationally often, Global Entry may better match your needs; if your local airport’s main bottleneck is the ID line and CLEAR is available, a different service or combination may help more.
TSA PreCheck Touchless ID is optional and airport-specific.
Some airports offer TSA PreCheck Touchless ID, an optional facial-comparison process intended to confirm identity without handing an officer a physical ID in the usual way. It can reduce another small point of friction, but it is not the same thing as TSA PreCheck enrollment and it is not available everywhere.
Availability depends on the airport, airline, and program conditions. Bring your physical identification anyway, follow the signage, and opt out if you prefer the regular document-check process where that choice is offered.
A missing TSA PreCheck indicator usually starts with airline record checks.
First, compare your KTN, name, and date of birth in the airline reservation with your TSA PreCheck record. Next, ask the airline for help before heading to the checkpoint, because airline systems issue the boarding pass and TSA staff cannot manually add the benefit there.
If the details match and the problem continues across bookings, use the official TSA support path to review your status. Do not post your KTN, passport details, or enrollment documents in a public forum while seeking help.
TSA PreCheck answers common first-time traveler questions.
Is TSA PreCheck even worth it anymore?
What is the downside of TSA PreCheck?
What do I do at the airport if I have TSA PreCheck?
Do seniors have to pay for TSA PreCheck?
What is better, CLEAR, Global Entry, or TSA PreCheck?
What is the $45 TSA rule?
Do I really need Global Entry if I have TSA PreCheck?
Is Global Entry more difficult than TSA PreCheck?
TSA PreCheck is worth considering before your next several trips.
TSA PreCheck remains a practical way to make U.S. airport security less disruptive, even after the shoe-policy change reduced one former advantage. The stronger reasons are the dedicated lane, the ability to leave most carry-on items packed, and a screening routine that TSA says puts about 99% of members through in less than 10 minutes.
Use the five-year view: confirm that your usual airports and airlines participate, decide whether domestic security or international arrivals are your larger problem, then apply through the official TSA PreCheck channel when the benefit fits. Add the KTN to every booking, check the indicator before leaving home, and you will know exactly how TSA PreCheck works when travel day arrives.