
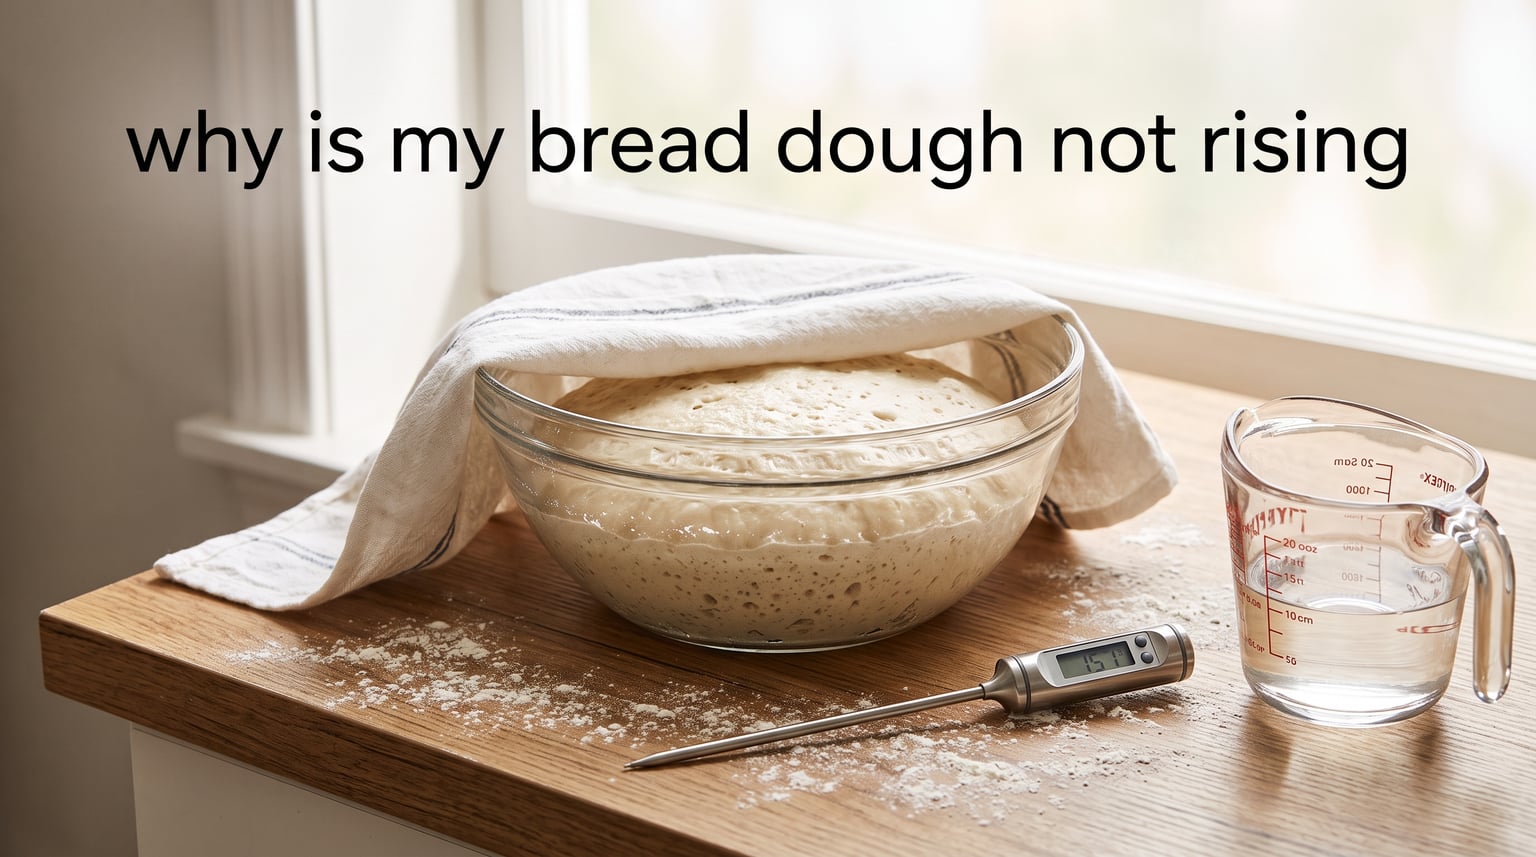
You mixed, kneaded, and waited. Two hours passed, then three, and your dough still looks like the same flat lump you started with. If you are staring at a bowl of stubborn dough and wondering why is my bread dough not rising, you are in good company. This is one of the most common frustrations home bakers face, and the good news is the fix is usually simple.
I have been baking bread for over a decade, and I have had my share of dense, leaden loaves before I understood what yeast actually needs. In this guide, our team breaks down the eight most common reasons bread dough fails to rise. You will also learn how to rescue dough that seems lifeless, how to read the signs of a proper rise, and how to set up your kitchen for reliable proofing all year round.
Whether you are making sandwich bread, sourdough, cinnamon rolls, or pizza dough, the principles below apply to every yeast-leavened recipe. Let us figure out exactly what went wrong and get your dough rising again.
Table of Contents
Quick Answer: Why Is My Bread Dough Not Rising?
Your bread dough is not rising because one of the core conditions for yeast activity is missing or broken. Yeast needs warmth, moisture, food (sugar or flour), and time to ferment and produce the carbon dioxide that inflates the dough. When any of those elements fall outside the right range, fermentation slows or stops entirely.
Here are the eight most common reasons bread dough fails to rise, in order of how often our team sees them:
The yeast is old or dead. Yeast is a living organism that loses potency over time, especially once the package is opened.
Your liquid was the wrong temperature. Water hotter than 120F (49C) kills yeast. Water colder than 70F (21C) puts it to sleep.
The yeast touched salt directly. Direct contact with salt draws moisture out of yeast cells and can kill them before fermentation starts.
Your kitchen is too cold. Yeast thrives between 75F and 80F (24C to 27C). A chilly room drastically slows fermentation.
You under-kneaded the dough. Without enough gluten development, the dough cannot trap the gas yeast produces.
You did not give it enough time. Cold rooms and small yeast amounts mean longer proofing, sometimes two or three hours.
You used the wrong flour. Low-protein flours like cake or pastry flour cannot build the gluten structure bread needs.
Your sourdough starter is weak. A young, hungry, or inactive starter will not produce enough gas to leaven dough.
Now let us walk through each cause in detail so you can pinpoint which one sabotaged your loaf.
The Eight Causes Explained (and How to Fix Each One)
1. Your Yeast Is Old or Dead
This is the number one culprit behind flat dough. Yeast is a living single-celled fungus, and it has a shelf life. Active dry yeast and instant yeast typically stay viable for about two years unopened, but once you break the seal, that window shrinks to roughly four months if stored at room temperature.
Heat and moisture are the enemies of stored yeast. A packet left in a warm pantry or a humid kitchen loses potency fast. I keep my yeast in an airtight container in the freezer, where it can last well past its printed date.
How to test yeast: Before you commit a full recipe, proof your yeast. Mix one teaspoon of yeast with one-quarter cup of warm water (about 105F to 110F) and a pinch of sugar. Wait five to ten minutes. If the mixture becomes bubbly and frothy on top, your yeast is alive and ready. If it sits flat and lifeless, toss it and open a fresh package.
This simple test takes ten minutes and saves you from wasting an entire afternoon plus a bowl of flour.
2. Your Liquid Temperature Was Wrong
Water temperature matters more than almost any other variable when you mix dough. Yeast activates best in liquid between 105F and 115F (41C to 46C). That feels warm to the touch, similar to bathwater, but not hot.
If your water is hotter than 120F (49C), you cook the yeast and kill it instantly. If the water is below 70F (21C), the yeast stays dormant and barely ferments. Both scenarios leave you with a flat, heavy dough.
I recommend using a digital kitchen thermometer until you develop a feel for the right temperature. After a few dozen loaves, your wrist will tell you when water is in the correct range. Until then, a thermometer removes the guesswork.
One note: instant yeast is more tolerant of temperature swings than active dry yeast, but even instant yeast cannot survive truly hot liquid.
3. The Yeast Touched Salt Directly
Salt is essential for bread flavor and for controlling fermentation speed, but direct contact with yeast is destructive. Salt is hygroscopic, meaning it pulls water toward itself. When salt sits directly against yeast cells, it draws the moisture out of them and can kill them before the dough even comes together.
The fix is simple. Always mix your salt into the flour first, then add the yeast separately. Or dissolve the yeast in your liquid before combining everything. Either method keeps the two ingredients from making direct contact while the yeast is in its most vulnerable dry state.
Once the dough is fully mixed and hydrated, salt becomes a fermentation regulator rather than a yeast killer. It slows fermentation slightly, which is actually desirable because it builds better flavor.
4. Your Kitchen Is Too Cold
This is the silent saboteur, especially from late fall through early spring. Yeast ferments fastest and most reliably between 75F and 80F (24C to 27C). When your kitchen sits at 65F (18C), which is comfortable for humans but chilly for yeast, fermentation can take twice as long.
I see this come up constantly in baking forums. First-time bakers report dough that sat for eight hours with no activity, and the answer is almost always a cold apartment. One Reddit user noted their bread only rose when they moved the bowl into direct sunlight, which confirmed the temperature was the entire problem.
Warm spots that work well include a turned-off oven with the light switched on, a microwave with a steaming cup of water beside the bowl, or a warm laundry room. If you bake often, a dedicated proofing box is a worthwhile investment that takes the temperature variable off the table completely.
5. You Under-Kneaded the Dough
Rising is not magic. It is the result of yeast producing carbon dioxide gas that gets trapped inside a stretchy web of gluten. If the gluten network is weak or underdeveloped, the gas escapes through the dough instead of inflating it.
Under-kneading means the gluten strands have not formed enough to hold gas. The dough tears easily when you stretch it rather than forming a thin, translucent window. By hand, most bread doughs need eight to ten minutes of kneading. In a stand mixer, four to six minutes on medium speed usually does the job.
You can test for readiness with the windowpane test. Pull off a small piece of dough and stretch it gently between your fingers. If it stretches thin enough to let light through without tearing, the gluten is ready. If it rips quickly, keep kneading.
6. You Did Not Give the Dough Enough Time
Patience is a baking skill. Many recipes suggest a first rise of one to two hours, but that estimate assumes a warm kitchen around 75F (24C) and a healthy amount of yeast. In a cooler room, the same dough might need three or four hours.
Rushing the process by baking dough that has not fully risen produces a dense, heavy loaf. It is better to let the dough tell you when it is ready rather than watching the clock.
The reliable test is the poke test. Gently press a fingertip about half an inch into the dough. If the indentation springs back quickly and fully, the dough needs more time. If the indentation springs back slowly and leaves a visible impression, the dough is ready for the next step.
7. You Used the Wrong Flour
Bread needs protein to build gluten, and gluten needs protein-rich flour. All-purpose flour typically contains 10 to 12 percent protein, which works for most breads. Bread flour contains 12 to 14 percent protein and produces a stronger, chewier crumb.
Cake flour and pastry flour sit at 7 to 9 percent protein. They produce tender cakes and flaky pastries, but they cannot build the gluten structure bread requires. If you accidentally used one of these, your dough will be slack, weak, and unable to hold gas even with perfect yeast and temperature.
Whole wheat flour presents a different challenge. The bran and germ in whole wheat can cut gluten strands during kneading, which weakens the dough. Most bakers blend whole wheat with white bread flour, often at a 50/50 ratio, to get the nutty flavor of whole grains without sacrificing structure.
8. Your Sourdough Starter Is Weak
If you are baking sourdough, your starter replaces commercial yeast entirely. A healthy starter doubles in volume within four to six hours of feeding and smells pleasantly tangy, like yogurt or apple cider. A weak starter is the most common reason sourdough dough fails to rise.
Starters that are too young, have not been fed recently, or are kept too cold will not produce enough gas to leaven bread. If your starter has been neglected, give it two or three consecutive feedings at warm room temperature before you try baking with it again.
The float test is a quick way to check starter readiness. Drop a small spoonful of starter into a glass of water. If it floats, it is full of gas and ready to bake. If it sinks, it needs more feeding and fermentation time.
Desired Dough Temperature (DDT) Explained
Desired Dough Temperature, or DDT, is a professional baking concept that almost no home recipe explains. The idea is simple but powerful: you calculate the ideal final temperature of your mixed dough, then adjust your liquid temperature to hit that target.
For most breads, the ideal DDT is between 75F and 78F (24C to 26C). At this temperature, yeast ferments at a steady, predictable rate. If your dough comes together colder than that, fermentation drags. If it comes together warmer, fermentation races ahead and can produce off flavors.
The simplest way to apply DDT at home is to use warmer liquid in winter and cooler liquid in summer. If your flour, bowl, and kitchen are cold, warm your water toward the top of the 105F to 115F range. If everything is already warm, use water closer to 90F (32C). This small adjustment keeps your dough landing in that sweet spot every time, no matter the season.
How to Rescue Dough That Has Not Risen
Before you throw out that flat bowl of dough, try a rescue. Most underproofed dough can be saved with a few adjustments. Here is the step-by-step approach our team uses.
Step 1: Diagnose the problem. If you tested your yeast and it bubbled, the yeast was alive, so the issue is likely temperature or time. If the yeast test failed, your yeast is dead and no amount of waiting will help. Start over with fresh yeast in that case.
Step 2: Check the dough temperature. Press a thermometer into the center of the dough. If it reads below 72F (22C), the dough is too cold. Move it somewhere warmer right away.
Step 3: Create a warm proofing environment. The oven-with-the-light-on method is the most reliable home solution. Turn your oven on for one minute, then turn it off. Place the covered bowl inside along with a cup of hot water. This creates a humid, warm chamber around 80F (27C).
Step 4: Add fresh yeast if needed. If the dough has sat for more than three hours with zero activity and your yeast was questionable, dissolve a fresh teaspoon of yeast in two tablespoons of warm water with a pinch of sugar. Knead this gently into the dough for two minutes, then return it to the warm spot.
Step 5: Be patient. Rescued dough often needs an extra one to three hours to fully rise. Resist the urge to rush. Dough that doubles in size, even slowly, is still good dough.
Signs Your Dough Has Properly Risen
Knowing when to stop proofing is just as important as knowing how to start. Here are the reliable visual cues that tell you the dough has risen enough.
Volume: The dough should roughly double in size during the first rise. Use a clear or translucent bowl so you can see the sides, and mark the starting level with a piece of tape if it helps.
Dome shape: A properly risen dome is rounded and domed on top, not flat or sunken. A sunken center means the dough has overproofed and the gluten is collapsing.
Poke test: Press a finger half an inch into the dough. If the indent fills back in slowly and leaves a slight impression, the dough is perfectly proofed. If it springs back instantly, it needs more time. If the indent stays fully and the dough deflates, it is overproofed.
Surface texture: The surface should look smooth and slightly puffy, with small bubbles visible near the edges. A wrinkled or cracked surface means the dough has dried out or overproofed.
Tips for Cold Weather and Winter Baking
Cold weather is the enemy of reliable bread. When your kitchen drops below 68F (20C), expect every dough to take noticeably longer to rise. These strategies keep your baking on track through the colder months.
Warm your bowl. Run your mixing bowl under hot water and dry it before adding dough. A cold bowl can drop your dough temperature by several degrees instantly.
Bring flour to room temperature. Flour stored in a cold pantry pulls heat out of your dough. Measure it out an hour ahead so it warms up.
Use the oven proofing trick. The oven-with-the-light-on method is the most reliable winter technique. It creates a stable microclimate around 80F (27C) regardless of your kitchen temperature.
Plan for longer timelines. In a cold kitchen, a first rise that takes one hour in summer might take three hours in January. Build that time into your schedule, or start your dough the night before and let it rise slowly in the refrigerator overnight. Cold slow fermentation, called retardation, actually develops deeper flavor.
FAQ
What to do if your bread dough doesn’t rise?
Is 2 hours too long for dough to rise?
Can I still use my dough if it didn’t rise?
Why has my dough not doubled in size?
Conclusion
Understanding why is my bread dough not rising comes down to four things: live yeast, correct liquid temperature, a warm enough environment, and enough time. Get those four right and your dough will rise reliably every single time.
Start by always testing your yeast before you bake, then aim for liquid between 105F and 115F and a proofing spot near 80F. Give the dough time to double on its own schedule rather than the clock’s. And if a batch falls flat, use the rescue steps above before you give up on it.
Bread baking rewards patience and observation. Once you can read what your dough is telling you, flat loaves become a thing of the past. Grab your thermometer, trust the process, and happy baking.