
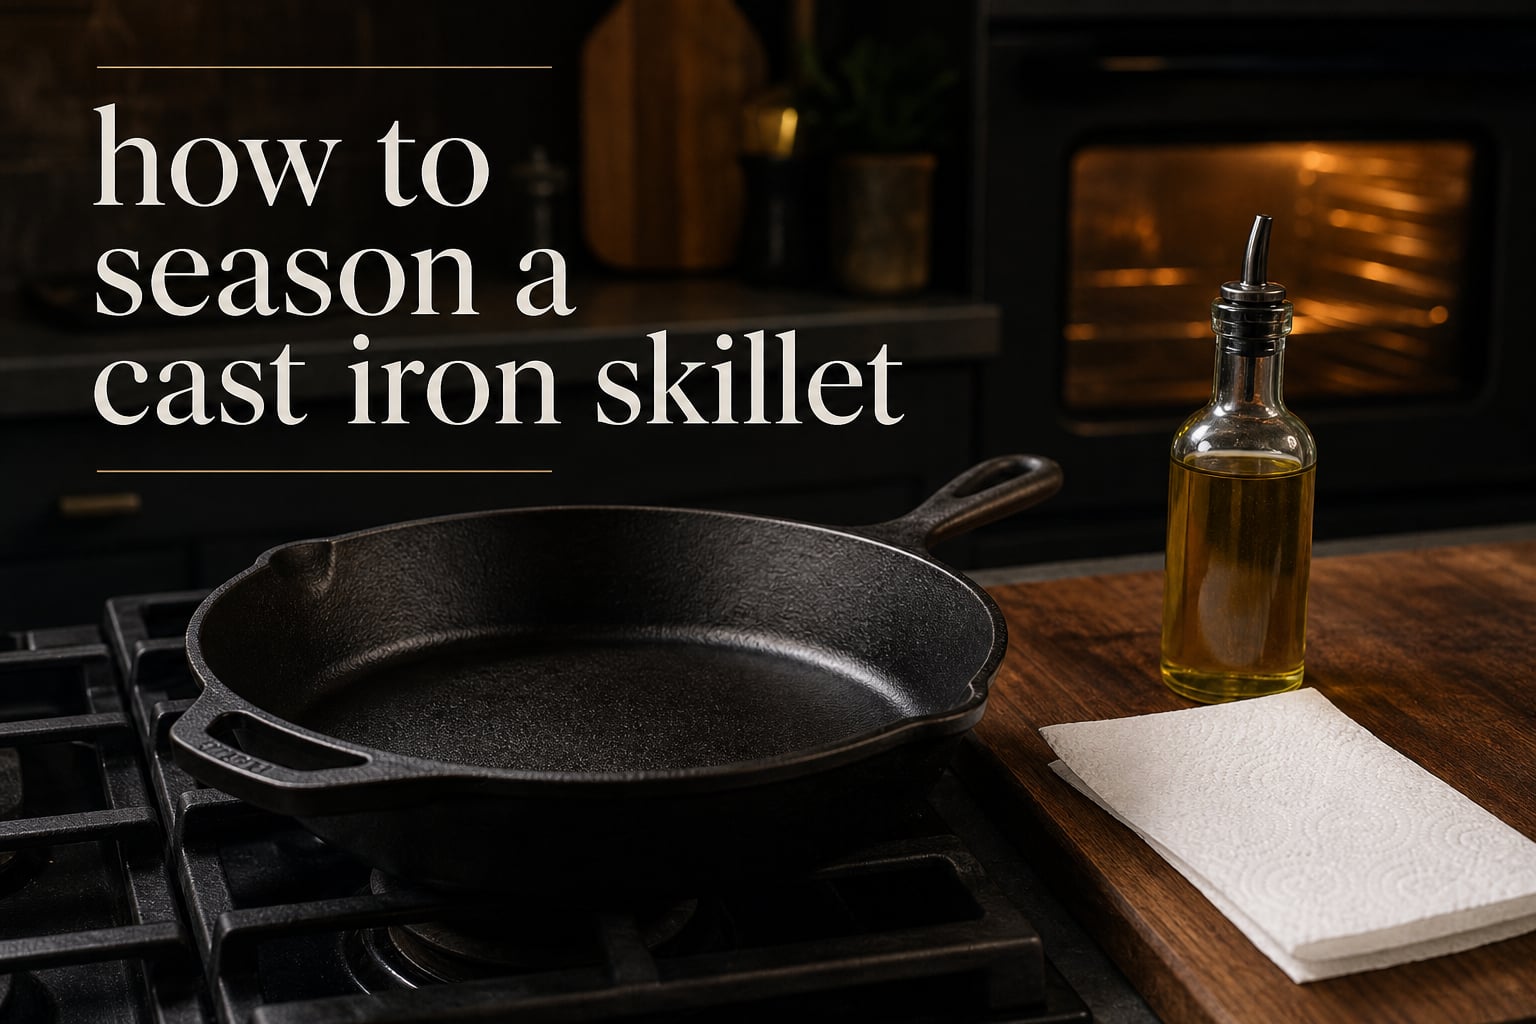
Learning how to season a cast iron skillet is the single most important skill for anyone who owns cast iron cookware. A properly seasoned pan develops a natural non-stick surface that rivals any coated skillet, and it only gets better the more you cook with it.
The quick version: seasoning a cast iron skillet means baking a micro-thin layer of oil onto the metal through a process called polymerization. You wash and dry the pan, rub on a thin coat of oil, buff off the excess, then bake it upside down in a 450 degree Fahrenheit oven for one hour. Let it cool, and repeat two to three times for a strong base layer.
If you are starting with a brand new skillet, restoring a rusty hand-me-down, or just trying to fix a sticky patchy surface, this guide walks you through every step. We cover the oven method, the stovetop alternative, the best oils to use, and the most common mistakes people make along the way.
Everything here is based on hands-on experience, manufacturer guidelines, and the collective wisdom of cast iron communities that have been cooking on these pans for decades. By the end, you will know exactly how to build and maintain a seasoning layer that lasts a lifetime.
Table of Contents
What Is Cast Iron Seasoning?
Cast iron seasoning is the hard, slick, dark layer that forms on the surface of the metal when oil is heated until it bonds to the iron. This layer is what gives a well-maintained skillet its natural non-stick properties and protects the metal underneath from rust.
The science behind it is a process called polymerization. When you expose cooking oil to high heat, the fat molecules break apart and re-link into a hard plastic-like polymer. This polymerized oil fuses to the porous surface of the cast iron, creating a durable coating that will not wash off or scrape away easily.
Think of each seasoning session as adding one ultra-thin coat of protection. No single coat looks like much. But stacked over weeks and months of cooking, these layers build into a glossy black finish that food slides right off of.
A brand new Lodge skillet comes pre-seasoned from the foundry, but that factory layer is thin and basic. Most experienced cast iron owners add several rounds of home seasoning on top of it before they consider the pan fully ready for delicate cooking like eggs or fish.
Seasoning matters for three reasons. First, it creates that slick easy-release surface that makes cast iron so rewarding to cook on. Second, it seals the bare iron against moisture that would otherwise cause rust within days. Third, a good seasoning layer smooths out the slightly rough texture of new cast iron, making it more pleasant to cook on over time.
One thing seasoning is not: it is not a permanent shell. It wears down with use, acidic cooking, and aggressive scrubbing. That is normal. The good news is you can always rebuild it, and everyday cooking with a little oil actually reinforces it.
How to Season a Cast Iron Skillet: Step-by-Step Oven Method
The oven method is the most reliable way to season a cast iron skillet, especially for a first-time seasoning or a full restoration. It delivers even heat across the entire pan, which produces a uniform coating without sticky spots.
Step 1: Wash and Fully Dry the Skillet
Start with a clean pan. If the skillet is new, give it a quick wash with warm water and a few drops of dish soap to remove any factory residue or dust. Yes, a small amount of modern dish soap is safe for cast iron. The old rule about never using soap comes from when soap contained lye, which stripped seasoning. Today’s dish soap does not.
If you are re-seasoning an older pan with built-up grime or flaky seasoning, scrub it with warm water and a chainmail scrubber or a stiff brush until the surface is smooth and clean. For a rusty pan, use steel wool to remove every bit of rust down to bare metal.
Drying is the step most people rush, and it causes problems. After washing, dry the skillet with a towel, then place it on a stovetop burner over medium-low heat for two to three minutes. The residual warmth evaporates every last drop of water from the pores of the iron. Any moisture left behind will create steam during seasoning, which leads to an uneven, blotchy layer.
Step 2: Apply a Thin Coat of Oil
Pour a small amount of your chosen oil into the pan. You need less than you think. A half teaspoon is plenty for a standard 10 or 12 inch skillet.
Use a paper towel or lint-free cloth to spread the oil over every surface. Coat the inside cooking surface, the outside bottom, the handle, and the sides. Seasoning the entire pan, not just the cooking surface, protects all of the metal from rust and helps the whole skillet heat evenly.
The goal is the thinnest possible film of oil. If you can see pooled oil or the surface looks wet and glossy, you have used too much. A properly oiled pan looks almost dry, with just a faint sheen.
Step 3: Buff Off the Excess
This is the step that separates a smooth seasoning job from a sticky disaster. Take a clean paper towel and wipe the pan down as if you are trying to remove all the oil you just applied.
You are not actually removing it all. A microscopic layer remains bonded to the metal. But wiping away the visible excess ensures that what goes into the oven is a near-invisible film, not a puddle. Thick oil does not polymerize properly. Instead it turns into a tacky, gummy residue that food sticks to.
The community on cast iron forums repeats one rule more than any other: if you think you have buffed enough, buff again. This single habit prevents the most common seasoning complaint, which is a sticky surface after baking.
Step 4: Bake in the Oven
Preheat your oven to 450 degrees Fahrenheit. This temperature is high enough to trigger polymerization in most common seasoning oils but not so high that it damages the seasoning already on the pan.
Place the skillet upside down on the middle oven rack. Putting it upside down prevents oil from pooling in the base and drying into a thick sticky layer. If you want to protect your oven from any drips, slide a sheet of aluminum foil on the rack below to catch stray drops.
Bake the skillet for one full hour. You will likely see some smoke, especially on the first round. This is the oil smoking as it polymerizes, and it is completely normal. Turn on your range hood or open a window to keep your kitchen ventilated.
Step 5: Cool and Repeat
After one hour, turn off the oven but leave the skillet inside to cool gradually. Letting it cool slowly helps the polymerized oil set hard and reduces thermal shock to the iron. Wait until the pan reaches room temperature before handling it, which usually takes about two hours.
One round of seasoning lays down a single thin layer. For a new or freshly stripped pan, repeat the entire process, oil through bake, two to three more times. Each round darkens the surface and adds depth to the protective coating.
After three or four rounds, your skillet should have a uniform dark brown to black finish with a soft sheen. It is now ready to cook on. From here, regular cooking with a little oil will continue to build and reinforce the seasoning naturally.
Best Oils for Seasoning Cast Iron
Any cooking fat can technically season cast iron, but some produce a harder, more durable coating than others. The key factor is smoke point, the temperature at which an oil begins to break down and smoke. You want an oil with a smoke point at or above your seasoning temperature so it fully polymerizes rather than burning.
Canola oil is the most popular choice among both manufacturers and home cooks. It has a smoke point around 400 degrees Fahrenheit, it is inexpensive, and it produces a hard dark seasoning layer. Lodge uses a soy-based vegetable oil at the foundry for their factory pre-seasoning, and it performs almost identically to canola.
Vegetable oil and Crisco shortening are two other excellent options. Crisco has a smoke point near 360 degrees Fahrenheit, so you would season at a slightly lower temperature, around 375 to 400 degrees. Many long-time cast iron users swear by Crisco because it goes on evenly and creates a smooth finish.
Grapeseed oil is a premium pick with a smoke point around 420 degrees Fahrenheit. It produces an especially hard and glossy layer, and many experienced seasoners prefer it for restoration projects. The trade-off is that it costs more than canola or vegetable oil.
Then there is flaxseed oil, which is the most debated seasoning oil in cast iron communities. Flaxseed oil has a low smoke point around 225 degrees Fahrenheit, yet some people report it creates an incredibly hard, glass-like finish when applied in many thin coats at low temperatures. The problem is that flaxseed seasoning has a reputation for chipping and flaking off after a few months. Some users love it, but many have had to strip and restart. For reliability, stick with canola, vegetable oil, Crisco, or grapeseed.
Can You Use Olive Oil?
You can use olive oil, but it is not the best choice. Extra virgin olive oil has a low smoke point around 375 degrees Fahrenheit and a strong flavor that can carry over into the seasoning. Regular or light olive oil performs better, with a smoke point closer to 425 degrees, but it still does not polymerize as hard as canola or grapeseed. If olive oil is all you have on hand, it will work in a pinch, just do not expect the most durable result.
How to Maintain Your Seasoning
Seasoning is not a one-time event. It is a living surface that you either build up or wear down with every use. The good news is that normal cooking is the best way to maintain it.
Stovetop Seasoning: A Quicker Alternative
The oven method is ideal for building a base layer, but for quick touch-ups and maintenance coats, stovetop seasoning is faster and uses less energy. This is also the method to use if you do not have an oven or want to refresh the seasoning after a rough cleaning session.
Here is how to do it. Place the clean, dry skillet on a burner over medium heat. Once the pan is warm, rub a thin film of oil over the cooking surface with a paper towel, then buff off the excess just as you would for oven seasoning. Let the pan heat for ten to fifteen minutes until it just begins to smoke, then turn off the burner and let it cool in place.
Stovetop seasoning does not penetrate and harden as deeply as the oven method because the heat is concentrated on the bottom and sides, not evenly distributed. Use it for maintenance, not for building your initial layers from scratch.
Signs Your Pan Needs Re-Seasoning
Watch for a few clear signals that your seasoning needs attention. If food starts sticking where it used to slide freely, the seasoning has thinned. If you notice dull gray patches or light rust spots appearing, the protective layer has worn through. If the surface feels rough or looks patchy rather than uniform and dark, it is time for a maintenance coat.
A well-seasoned pan should have a smooth, dark, slightly glossy appearance. Run your hand across it and it should feel slick, not tacky. When a fried egg slides around the pan with just a thin film of butter underneath, you know the seasoning is in good shape.
Daily Cleaning and Care
For everyday cleaning, wipe the skillet out with a paper towel while it is still warm. If food is stuck on, scrub with hot water and a brush or chainmail scrubber. Avoid soaking the pan or putting it in the dishwasher, as prolonged water exposure strips seasoning and promotes rust.
After cleaning, dry the pan thoroughly and set it on a warm burner for a minute to evaporate any moisture. Rub a drop or two of oil into the surface with a paper towel while it is still warm. This tiny maintenance coat keeps the seasoning fed between full sessions.
Be cautious with acidic foods. Tomato sauce, wine-based reductions, and citrus can break down the polymerized oil layer over time. A well-seasoned pan can handle a quick deglaze, but simmering an acidic sauce for an hour will wear on the seasoning. If you cook acidic dishes often, plan to do a maintenance seasoning coat more frequently.
Troubleshooting Common Seasoning Problems
Even with careful technique, things go wrong. Here is how to diagnose and fix the most common seasoning issues, drawn directly from questions that come up again and again in cast iron communities.
Sticky or Tacky Seasoning
This is the number one complaint, and the cause is almost always too much oil. A thick layer of oil never fully polymerizes and instead cures into a gummy, sticky mess. The fix is straightforward. Put the pan back in a 450 degree Fahrenheit oven for another hour to push the oil through further polymerization. If it is still tacky after that, scrub the sticky layer off with hot water and steel wool, then re-season from scratch with less oil and more aggressive buffing.
Patchy or Uneven Seasoning
Uneven seasoning usually comes from oil pooling in low spots or from not buffing evenly. To fix it, give the pan a light scrub to knock down any high spots, then apply a new thin coat of oil with extra attention to buffing every area evenly. A couple of maintenance coats usually smooth things out.
Flaking or Chipping Seasoning
If your seasoning is peeling off in flakes, the layers did not bond properly to each other or to the metal. This often happens with flaxseed oil or from applying coats before the previous one fully cooled. The fix is to strip the pan down to bare metal using the self-cleaning oven cycle or an electrolysis tank, then start the seasoning process from scratch with a reliable oil like canola.
Rust Spots
Rust means moisture reached the bare iron, either because the seasoning wore through or the pan was stored damp. Scrub the rust off with steel wool or a potato dipped in salt, wash and dry the pan thoroughly, then apply a fresh seasoning coat. Going forward, always dry the pan completely and store it in a dry location.
FAQ
What is the best oil to season a cast iron skillet?
Can I use olive oil to season cast iron?
How often should you season cast iron?
What temperature should I use to season cast iron?
How do you know when cast iron is fully seasoned?
Do you need to season cast iron before first use?
Conclusion
Knowing how to season a cast iron skillet comes down to a few simple principles. Use a high smoke point oil, apply the thinnest possible coat, buff off the excess aggressively, and bake at 450 degrees Fahrenheit for one hour per round. Repeat three to four times for a solid base, then let everyday cooking do the rest of the work.
The two habits that matter most are patience and thin coats. Almost every seasoning problem, from sticky residue to flaking layers, traces back to using too much oil. When in doubt, use less oil than you think you need and buff harder than feels necessary.
Treat your skillet well and it will outlast nearly every other tool in your kitchen. Cast iron has been passed down through generations for a reason. Season it properly, maintain it with a drop of oil after each use, and you will have a naturally non-stick pan that performs beautifully for decades.