
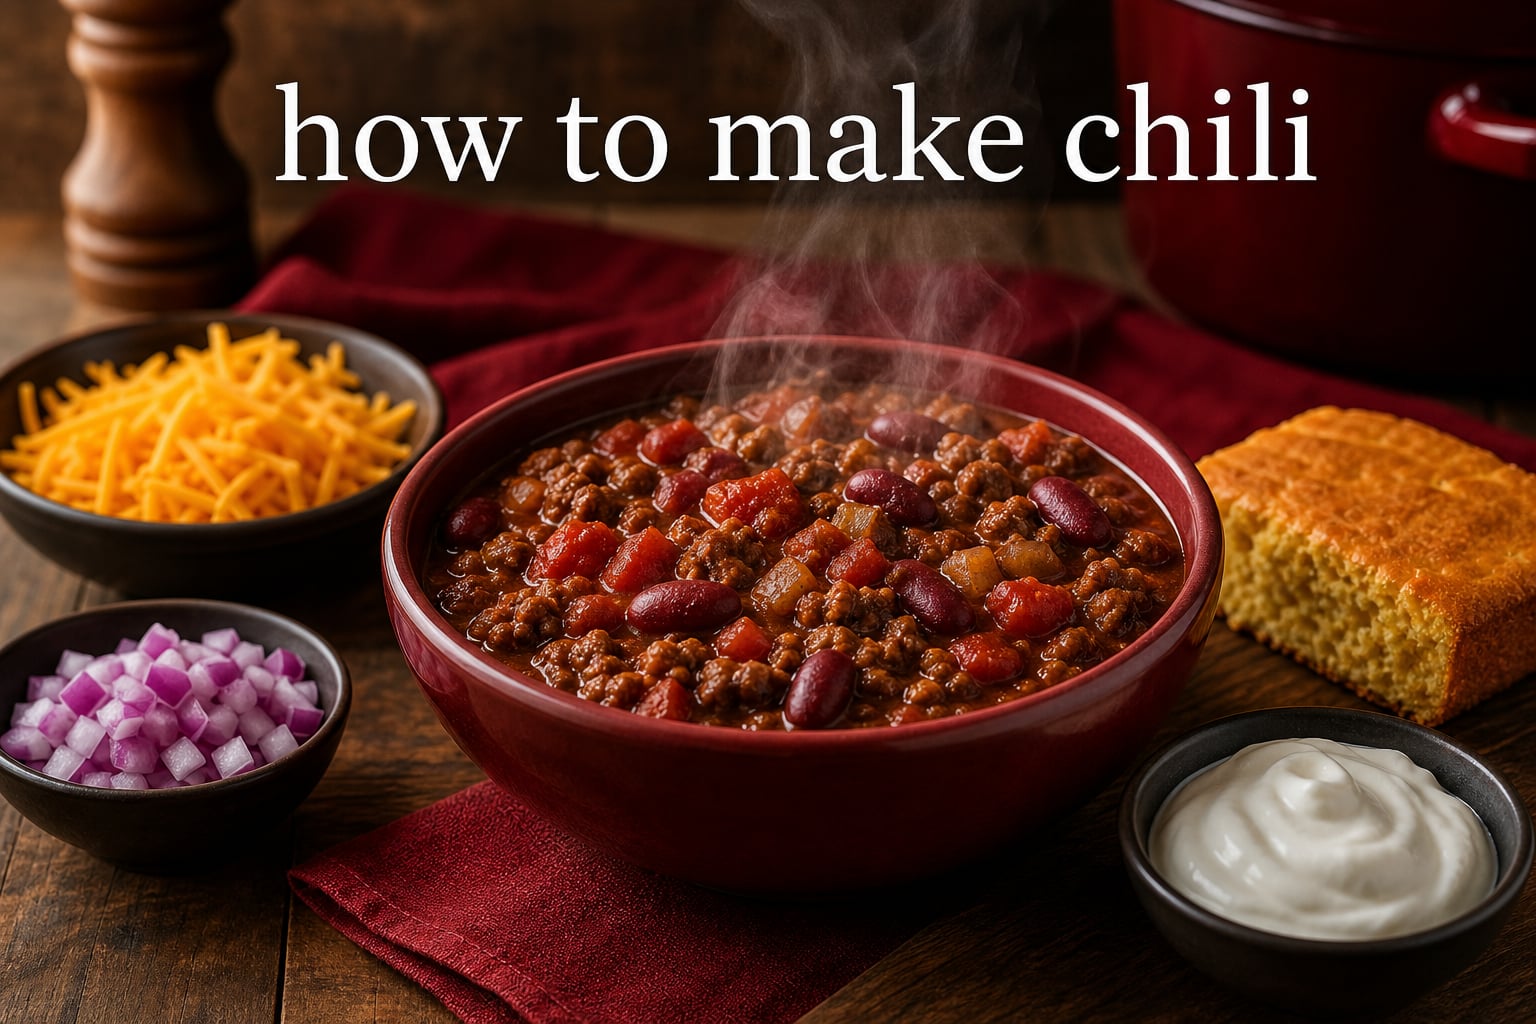
Nothing beats a steaming bowl of homemade chili on a cold evening. If you have ever wondered how to make chili that rivals your favorite restaurant, you are in the right place. This guide walks you through every step, from selecting the right ground beef to blooming your spices for maximum flavor.
Learning how to make chili from scratch is easier than most people think. The process comes down to five basic stages: browning the meat, sauteing aromatics, blooming spices, adding liquids, and simmering until thick. Once you understand the technique, you can customize it endlessly with different proteins, beans, and heat levels.
Our team has tested this method dozens of times, pulling tips from cooking forums, professional kitchens, and home cooks who have been making chili for decades. We cover the common mistakes that leave chili watery or bland, share the secret ingredients most recipes skip, and explain exactly why certain techniques matter.
Whether you need a weeknight dinner ready in under an hour, a game day spread that feeds a crowd, or a freezer-friendly meal prep option, this recipe delivers. By the end of this guide, you will have everything you need to make a thick, rich, deeply flavorful chili every single time.
Table of Contents
What Is Chili?
Chili is a hearty American stew made with ground beef, beans, tomatoes, and warming spices like chili powder and cumin. It originated in San Antonio, Texas, in the 1800s and has since grown into one of the most popular comfort foods in the United States.
At its core, chili is a one-pot meal that combines protein, vegetables, and bold seasonings into something greater than the sum of its parts. The magic happens during the simmer, when the flavors meld and the sauce thickens into a rich, spoonable consistency.
There are many regional variations, from bean-free Texas-style chili to Cincinnati chili served over spaghetti. This guide focuses on classic homemade chili with beans, which is the version most home cooks are looking for.
Ingredients for Chili
The ingredients for chili fall into five categories: protein, aromatics, spices, liquids, and beans. Here is everything you need to make a classic pot of chili that serves six to eight people.
Protein
1.5 pounds ground beef (80/20 blend recommended for best flavor and texture)
Aromatics
1 large yellow onion, diced
1 green bell pepper, diced (optional but adds great flavor)
4 cloves garlic, minced
Spices
3 tablespoons chili powder (this is the backbone of the flavor)
1 tablespoon ground cumin
1 tablespoon paprika (smoked paprika adds a deeper flavor)
1 teaspoon dried oregano
1 teaspoon salt, plus more to taste
1/2 teaspoon black pepper
1/4 teaspoon cayenne pepper (optional, for extra heat)
Liquids and Tomatoes
2 tablespoons tomato paste
2 cans (14.5 ounces each) fire-roasted diced tomatoes, undrained
1 can (15 ounces) tomato sauce
1 cup beef broth (low-sodium recommended)
Beans
1 can (15 ounces) kidney beans, drained and rinsed
1 can (15 ounces) pinto beans, drained and rinsed
Optional Secret Ingredients
1 tablespoon unsweetened cocoa powder
1 tablespoon apple cider vinegar (added at the end)
1 tablespoon brown sugar or maple syrup
You likely already have most of these in your pantry. The fire-roasted tomatoes and cocoa powder are the two ingredients that separate a good chili from a great one, and we explain why in the pro tips section below.
How to Make Chili Step by Step
Here is exactly how to make chili using the classic stovetop method. The entire process takes about one hour from start to finish, with roughly 15 minutes of active prep and 45 minutes of simmering.
Step 1: Prep Your Ingredients
Dice the onion and bell pepper, mince the garlic, and measure out all your spices before you turn on the stove. Cooking goes quickly once the heat is on, and having everything prepped prevents burned aromatics or forgotten ingredients.
Drain and rinse both cans of beans in a colander. This removes the starchy liquid they are packed in, which can make your chili taste dull and cloudy.
Step 2: Brown the Ground Beef
Heat a large Dutch oven or heavy-bottomed pot over medium-high heat. Add the ground beef and cook, breaking it apart with a wooden spoon, until it is fully browned with no pink remaining. This takes about 6 to 8 minutes.
Do not rush this step. Properly browned beef develops a deep, savory crust through the Maillard reaction, and that browning is the foundation of your chili’s flavor. Work in batches if your pot is small so the meat sears instead of steaming.
Step 3: Drain the Fat
Once the beef is browned, tilt the pot and spoon out all but about one tablespoon of the rendered fat. Leaving a little fat behind keeps the chili rich, but draining the excess prevents a greasy finished dish.
Step 4: Saute the Aromatics
Reduce the heat to medium and add the diced onion and bell pepper to the pot. Cook for about 5 minutes, stirring occasionally, until the onion is soft and translucent. Add the minced garlic and cook for one more minute until fragrant.
Garlic burns quickly, so always add it after the onions have softened. Burnt garlic turns bitter and can ruin the entire pot.
Step 5: Bloom the Spices
Stir in the chili powder, cumin, paprika, oregano, salt, black pepper, and cayenne. Cook the spices with the meat and aromatics for about 60 seconds, stirring constantly, until they smell deeply toasted.
This step is called blooming, and it is the single most important technique for making flavorful chili. Toasting spices in hot fat releases their essential oils, intensifying the flavor far more than simply adding them to liquid. If there is one step you should never skip, this is it.
Add the tomato paste and cook for another minute, stirring continuously. Tomato paste needs a minute on the heat to lose its raw, metallic taste and develop sweetness.
Step 6: Add Liquids and Beans
Pour in the fire-roasted diced tomatoes with their juices, the tomato sauce, and the beef broth. Stir well, scraping up any browned bits from the bottom of the pot. Those caramelized bits are packed with flavor.
Add the drained kidney beans and pinto beans. Stir everything together and bring the pot to a gentle boil.
Step 7: Simmer Uncovered
Once the chili reaches a boil, reduce the heat to low and let it simmer uncovered for 30 to 45 minutes. Stir every 10 minutes to prevent the bottom from scorching.
Simmering uncovered is what thickens the chili naturally. The water evaporates, concentrating the flavors and reducing the liquid to a rich, hearty consistency. If you cover the pot, the steam traps inside and you end up with soup instead of chili.
You will know the chili is done when it coats the back of a spoon and holds its shape when you drag a spatula through it.
Step 8: Finish and Taste
Remove the pot from the heat. Stir in the apple cider vinegar if using, which brightens the entire dish with a subtle acidity. Taste and adjust the salt, and add more cayenne if you want more heat.
Let the chili rest for 5 to 10 minutes before serving. This short rest allows the flavors to settle and the chili to thicken slightly more.
Pro Tips for the Best Chili
These are the professional techniques and secret ingredients that most recipes gloss over. Home cooks on cooking forums consistently swear by these tips, and our testing confirms they make a noticeable difference.
Bloom Your Spices Every Time
We mentioned blooming in the step-by-step instructions, but it deserves its own spotlight. When you toast chili powder and cumin in hot fat for 60 seconds before adding liquid, you unlock flavors that stay dormant if you just dump them into the pot. Forum users on the r/Cooking subreddit repeatedly say this one technique transformed their chili from bland to restaurant-quality.
Use Fire-Roasted Tomatoes
Fire-roasted diced tomatoes have a smoky, charred flavor that regular canned tomatoes simply do not have. They add a layer of depth that makes people ask what your secret is. They cost the same as regular canned tomatoes, so there is no reason not to use them.
Add Cocoa Powder
This is the secret ingredient that separates amateur chili from competition-level chili. One tablespoon of unsweetened cocoa powder adds richness and depth without making the chili taste like chocolate. The cocoa enhances the savory spices the same way it works in mole sauce. You will not taste chocolate, but you will notice a rounder, more complex flavor.
Finish With Apple Cider Vinegar
A splash of apple cider vinegar stirred in at the end wakes up every flavor in the pot. Acid balances the heavy richness of the beef and tomatoes, making each bite taste brighter. This is the same principle as squeezing lemon over roasted chicken.
Make It a Day Ahead
Chili is one of those rare dishes that genuinely tastes better the next day. As it sits in the refrigerator, the flavors continue to meld and deepen. The spices permeate the meat and beans more thoroughly, and the overall taste becomes richer and more unified. If you are serving guests, make your chili the day before and gently reheat it.
Try Coffee or Beer as a Secret Ingredient
Some home cooks replace part of the beef broth with a half cup of strong brewed coffee or a bottle of dark beer. Both add a bitter, roasted complexity that pairs naturally with chili powder. Start with a small amount and adjust to taste.
Common Mistakes to Avoid
Forum discussions reveal the same chili mistakes over and over. Here are the most common ones and how to avoid them.
Using lean ground beef. A 90/10 blend sounds healthier, but it produces dry, flavorless chili. The 80/20 blend has enough fat to carry the spices and keep the meat tender. You drain most of the excess fat anyway.
Skipping the spice bloom. Adding spices directly to liquid wastes their potential. Always toast them in hot fat first.
Covering the pot while simmering. A covered lid traps steam and leaves you with watery soup. Always simmer uncovered so the liquid reduces.
Undercooking the onion. Raw, crunchy onion in chili is jarring. Cook the onion until fully soft and translucent before adding anything else.
Adding beans too early and overcooking them. Beans added at the start can turn mushy after 45 minutes of simmering. If you prefer firm beans, add them halfway through the simmer.
Not tasting and adjusting salt. Chili needs more salt than most people expect, especially with beans and tomatoes that absorb seasoning. Taste before serving and adjust.
Using pre-made chili seasoning packets. These are mostly salt with a small amount of spices. Measuring your own spices gives you control over both flavor and sodium.
How to Thicken Chili
Watery chili is the number one complaint in cooking forums. If your chili turns out too thin, do not panic. Here are the most reliable ways to thicken it.
The simplest fix is to keep simmering uncovered. Most watery chili just needs another 15 to 20 minutes of uncovered simmer time. The liquid will continue to evaporate and the chili will naturally reduce.
If you need a faster fix, mash about half a cup of the beans against the side of the pot and stir them back in. The mashed beans act as a natural thickener, adding body without changing the flavor.
A cornstarch slurry works too. Mix one tablespoon of cornstarch with one tablespoon of cold water, then stir it into the simmering chili. It will thicken within a few minutes.
Some cooks remove a cup of chili, blend it smooth, and stir it back into the pot. This pureed mixture thickens the entire batch while intensifying the flavor. This method requires no additional ingredients at all.
Chili Variations to Try
Once you know how to make chili using the classic method, you can adapt it in dozens of ways. Here are the most popular variations.
Texas-Style Chili (No Beans)
Purists in Texas will tell you that real chili contains no beans at all. Texas-style chili focuses on chunks of beef simmered in a rich chile sauce made from dried ancho, guajillo, and pasilla peppers. To make this version, substitute 2-inch beef chuck cubes for the ground beef, skip the beans, and use blended dried chiles instead of chili powder.
Cincinnati-Style Chili
Cincinnati chili is a completely different animal. It is thinner, sweeter, and spiced with warm baking spices like cinnamon, cloves, and allspice. It is traditionally served over spaghetti and topped with shredded cheese, diced onion, and kidney beans. The flavor profile is unexpected but beloved.
Chicken Chili
Swap the ground beef for a pound of shredded rotisserie chicken and use white beans instead of kidney beans. Add a can of green chiles and substitute chicken broth for beef broth. This lighter version is perfect for warmer months.
Vegetarian or Vegan Chili
Replace the beef with an extra can of black beans, a cup of cooked lentils, or a package of crumbled plant-based ground meat. Use vegetable broth instead of beef broth. The cocoa powder tip works especially well here because it adds the meaty depth that vegetarian dishes often lack.
Slow Cooker Chili
For a hands-off approach, brown the beef and saute the aromatics on the stove first, then transfer everything to a slow cooker. Cook on low for 6 to 8 hours or on high for 3 to 4 hours. The slow cooker method produces incredibly tender meat and deep flavor, though the chili will be thinner since liquid does not evaporate in a sealed slow cooker. Leave the lid slightly ajar for the last hour to help it thicken.
Adjusting the Spice Level
For mild chili, reduce the chili powder to 2 tablespoons and skip the cayenne entirely. For medium heat, follow the recipe as written. For hot chili, increase the cayenne to 1/2 teaspoon, add a diced jalapeno with the aromatics, and finish with a few dashes of hot sauce.
Serving Suggestions and Toppings
A great chili deserves a great topping bar. Set these out and let everyone customize their bowl.
Classic Toppings
Shredded sharp cheddar cheese
Sour cream or Greek yogurt
Diced red onion
Sliced jalapenos (fresh or pickled)
Cilantro
Crushed tortilla chips or Fritos
Diced avocado
Hot sauce
Lime wedges
What to Serve With Chili
Cornbread is the classic pairing, and for good reason. Its slightly sweet crumb balances the savory heat of chili perfectly. A simple green salad with a tangy vinaigrette cuts through the richness. For a heartier spread, serve chili over white rice, baked potatoes, or even french fries for a chili cheese fry platter.
For game day, set out a toppings bar with all the fixings and let guests build their own bowls. This is one of the easiest ways to feed a crowd, and everyone gets exactly what they want.
Storage, Freezing, and Reheating
Chili is one of the most freezer-friendly meals you can make. Here is how to store it properly.
Refrigerator Storage
Let the chili cool to room temperature, then transfer it to an airtight container. It will keep in the refrigerator for 3 to 4 days. In fact, it will taste noticeably better on day two, so do not be afraid to make it ahead.
Freezing Chili
Chili freezes beautifully for up to 3 months. Portion it into individual serving-size containers or freezer bags for easy weeknight meals. If using bags, lay them flat in the freezer to save space and speed up thawing. Label each container with the date so you know when to use it.
To prevent freezer burn, leave about an inch of headspace in each container, as liquid expands when it freezes.
Reheating Chili
Thaw frozen chili overnight in the refrigerator for the best texture. To reheat, warm it gently in a pot on the stove over medium-low heat, stirring occasionally, until it reaches a simmer. You can also microwave individual portions in 60-second intervals, stirring between each.
If the chili seems thick after reheating, stir in a splash of beef broth or water to loosen it to your preferred consistency.
FAQ
What are the ingredients for chilli?
How to make a simple chili?
What are the common mistakes when cooking chili?
What’s the secret to making good chili?
Why is my chili watery?
Can you freeze chili?
Conclusion
Now you know exactly how to make chili that is thick, rich, and packed with flavor. The key steps are browning the beef properly, blooming the spices in hot fat, simmering uncovered to thicken, and finishing with acid and secret ingredients like cocoa powder.
Start with the classic recipe as written, then make it your own. Try different beans, swap in chicken, crank up the heat, or adapt it for your slow cooker. Once you master the technique, how to make chili becomes less of a recipe and more of a skill you can adapt to anything in your pantry.
Make a batch this week and see why this humble one-pot meal has been a staple in American kitchens for over 150 years. Your future self will thank you, especially when you pull a container of leftover chili out of the freezer on a busy night.