
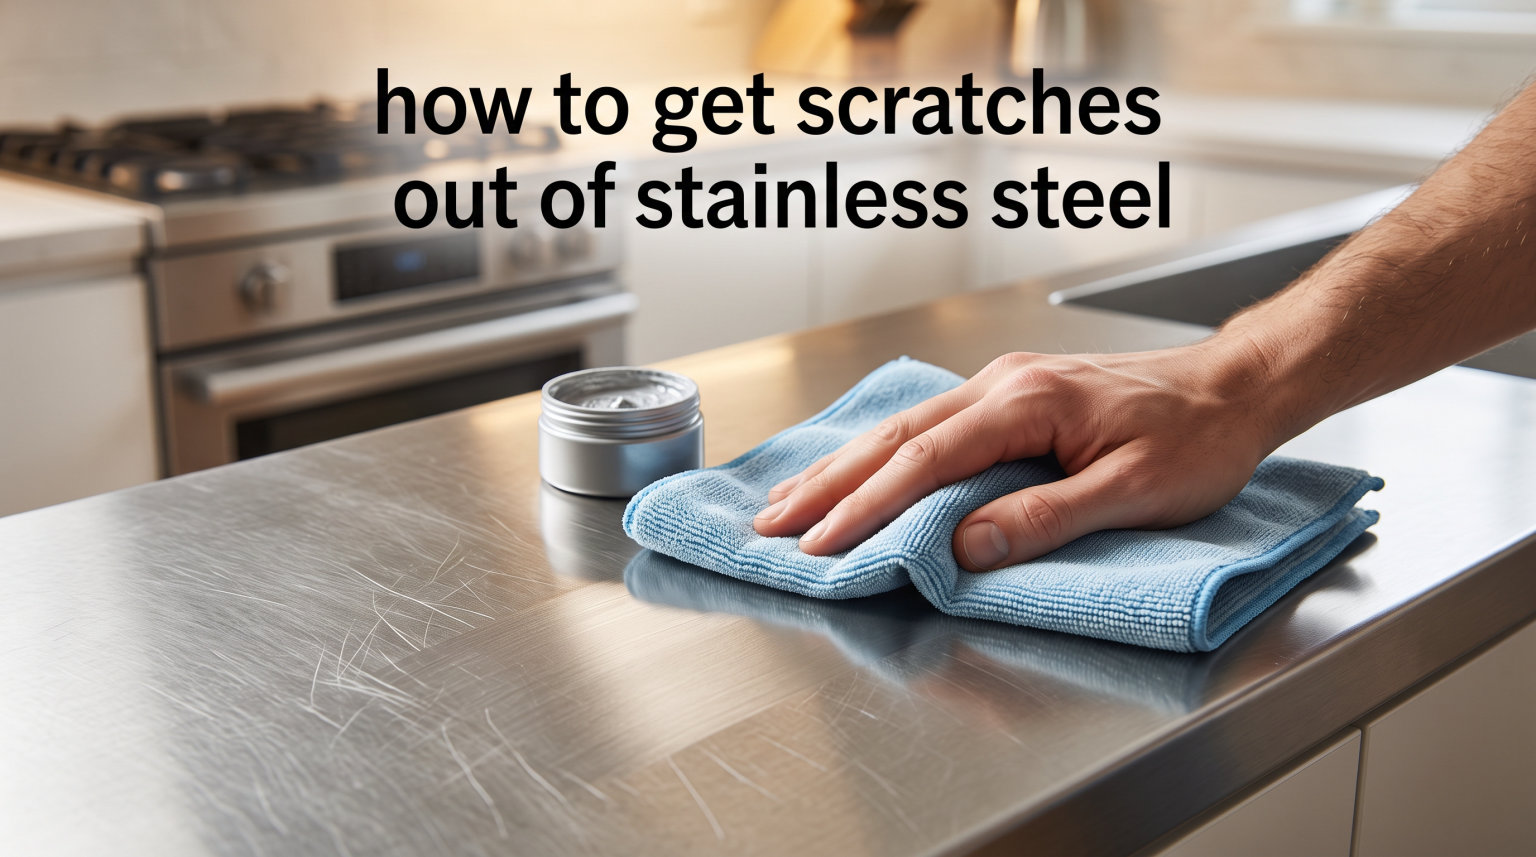
I remember the day I dragged a cast iron skillet across my brand new refrigerator and watched a long silver scratch appear on the door. My heart sank. I thought that finish was gone for good.
It wasn’t. After weeks of research, dozens of test spots on a hidden corner of the appliance, and a few mistakes I’ll share with you, I pulled off scratches that looked impossible to fix. This guide condenses everything I learned about how to get scratches out of stainless steel into one tested, step-by-step method for 2026.
You’ll learn how to tell whether a scratch is light or deep using the fingernail test, which products actually work, how to match the grain direction on brushed finishes, and when it’s smarter to call a professional instead of risking further damage.

Table of Contents
How to Tell If a Scratch Is Light or Deep
Run your fingernail straight across the scratch. If your nail catches and you feel a definite groove, the scratch is deep. If your nail glides over it smoothly and you only see the mark visually, it is light.
This fingernail test is the single most important step before you touch any polish or sandpaper. I learned this after wasting two hours polishing a deep scratch with toothpaste and watching nothing happen. The reason matters: light scratches sit in the top protective layer, while deep scratches cut through that layer into the metal underneath.
Once you know the depth, pick the right method:
- Light scratches: respond to toothpaste, baking soda paste, or a mild polishing compound.
- Medium scratches: need a fine polishing compound and elbow grease.
- Deep scratches: usually need 1000 to 2000 grit wet sandpaper, professional refinishing, or in some cases a service call.
When in doubt, start gentle. You can always escalate to a stronger method. You can never undo damage from sandpaper used too early or too aggressively.

Why Grain Direction Matters More Than Anything
Stainless steel has a grain, just like wood. The grain is the direction of tiny brushed lines running across the surface. Every cleaning motion, polish stroke, and sanding pass must follow that grain.
Going against the grain creates new scratches that are almost impossible to blend back in. On a brushed finish, even the best polish will look obvious if you scrub in circles or across the grain. That is the most common mistake I see in online tutorials.
To find the grain, look at the surface in good light from a low angle. The lines will jump out. If the grain runs vertically, all your strokes run vertically. On most refrigerators the grain runs top to bottom. On most sinks it runs in a single direction across the basin.

How to Get Light Scratches Out of Stainless Steel
For light surface scratches, you only need a few household supplies and about 15 minutes. This is the method I used on my refrigerator door and it removed every visible mark.
Method 1: Toothpaste (White, Non-Gel)
Toothpaste works because the mild abrasive content is just rough enough to polish the surface without cutting deep.
- Clean the area with a damp microfiber cloth and let it dry.
- Apply a dab of plain white toothpaste (avoid gel and whitening formulas) directly onto the scratch.
- Rub gently along the grain with a soft cloth for about 30 seconds.
- Wipe clean with a damp microfiber cloth and inspect.
- Repeat up to three times if needed.
I tried this first because it costs almost nothing. On hairline scratches that didn’t catch my fingernail, it worked surprisingly well.
Method 2: Baking Soda Paste
Baking soda is a controlled abrasive that you can mix to your preferred strength.
- Mix two parts baking soda with one part water until it forms a thick paste.
- Apply the paste to the scratch with a microfiber cloth.
- Buff along the grain using firm, even strokes.
- Wipe with a clean damp cloth and dry the surface.
Baking soda is a great middle-ground option if toothpaste is too weak. For deeper light scratches I had more luck with this paste.
Method 3: Polishing Compound
Commercial polishing compounds like Weiman or 3M handle stubborn light scratches that household options can’t touch. Apply a small amount to a microfiber cloth, work along the grain, and buff until the mark fades. This is the method I used on the long scratch from my cast iron pan, and it pulled it back to a near-perfect finish after three applications.

How to Repair Deep Scratches on Stainless Steel
Deep scratches need wet sanding with progressively finer grits. This is real refinishing, and it changes the surface, so plan on blending the entire panel rather than spot-fixing.
Step-by-Step Deep Scratch Repair
- Clean the entire area with a degreaser or isopropyl alcohol and a microfiber cloth.
- Wrap a sanding block with 1000 grit wet/dry sandpaper.
- Lightly spray the surface with water (wet sanding keeps dust down and prevents heat buildup).
- Sand along the grain with light, even pressure. Keep the surface wet.
- Stop frequently to wipe and inspect. The scratch should become less visible.
- Move to 1500 grit and repeat, then 2000 grit for the final pass.
- Apply a stainless steel polishing compound with a clean microfiber cloth, working along the grain.
- Finish with a stainless steel polish to restore shine and add a protective layer.
I tested this on an old dishwasher door before risking my fridge. The patience pays off. Rushing pressure creates dips in the metal that show up worse than the original scratch.
If the scratch is still visible after 2000 grit and polish, you have two choices: blend the entire panel for a uniform finish, or call a professional refinisher. Spot repair beyond that range rarely looks invisible on brushed finishes.

Best Products for Removing Stainless Steel Scratches
After testing more than a dozen options, here is what actually works in real kitchens. These are common household products and dedicated stainless care items, not affiliate picks.
- Bar Keepers Friend (cleanser version): Excellent for light scratches and overall finish refresh. The oxalic acid gently removes surface marks.
- Weiman Stainless Steel Polish and Cleaner: Best all-in-one option for polishing away light scratches while leaving a protective shine.
- 3M Scratch and Scuff Removal System: Purpose-built kit for light to medium scratches on brushed stainless. Works fast.
- Revere Copper and Stainless Steel Cleaner: Trusted by professionals for decades on cookware and surfaces.
- Homax Steel Wool, Grade 0000: The only steel wool fine enough to use on stainless, and only for very light refinishing by experienced hands.
Match the product to the scratch. Start with the gentlest option and work up. If a light scratch does not respond to Bar Keepers Friend after two attempts, escalate to Weiman or the 3M kit.
What to Avoid When Fixing Stainless Steel Scratches
The wrong product or tool can turn a small problem into permanent damage. Here are the rules I follow without exception.
- Never use regular steel wool. It leaves rust stains and metal fragments that corrode the surface.
- Skip chlorine bleach and chloride-based cleaners. They break down the protective chromium layer and cause pitting.
- Avoid abrasive powders like Comet on stainless finishes. They scratch more than they clean.
- Don’t sand against the grain. Even fine sandpaper will leave visible cross-grain marks.
- Don’t mix cleaners. Combining ammonia and bleach creates toxic fumes.
- Skip magic erasers on brushed finishes. They dull the grain and leave shiny patches.
I learned the steel wool lesson the hard way. A friend recommended it for my sink, and within a week I had rust-colored streaks I spent hours removing.
When to Call a Professional
DIY repair makes sense for light scratches and small areas. For deep scratches across a large panel, or scratches on luxury appliances like Sub-Zero, Wolf, Miele, or Thermador, a professional refinisher often costs less than risking further damage.
Expect professional refinishing to run several hundred dollars per panel, depending on size and location. Compare that against a refrigerator replacement. For high-end appliances, factory-certified service is usually worth the call. Sub-Zero recommends their Signature Polish for minor surface marks and refers customers to factory-trained technicians for deeper work.
Call a pro if the scratch goes across a door seam, the finish is a specialty direction, or you cannot match the grain after two attempts.
How to Prevent Scratches on Stainless Steel
Prevention is easier than repair. After going through all this work, I keep my finishes looking new with these habits.
- Wipe only with microfiber cloths. Paper towels and old rags can trap grit that scratches.
- Clean with the grain, every time.
- Skip magnets on refrigerator doors. Sliding metal objects creates the most common scratches.
- Use cutting boards, not countertops, as prep surfaces.
- Apply a stainless steel polish once a month to maintain the protective layer.
- Rinse cleaning sprays quickly. Long dwell times can stain or etch finishes.
A few seconds of care each week saves hours of scratch repair later. Most stainless scratches happen during cleaning, not from accidents, which means better habits prevent most of them.
Frequently Asked Questions
Does WD-40 remove scratches from stainless steel?
Can toothpaste remove scratches from stainless steel?
Does Bar Keepers Friend remove scratches from stainless steel?
Are scratches on stainless steel permanent?
Final Thoughts
Learning how to get scratches out of stainless steel comes down to two things: identifying depth with the fingernail test, and always working with the grain. Start with the gentlest method that fits the damage, and stop at any point the scratch stops improving.
For light scratches, toothpaste, baking soda, or Bar Keepers Friend will likely restore the finish in minutes. For deep scratches, wet sanding through 1000 to 2000 grit and a final polish brings most panels back to life. When in doubt, a professional refinisher can save both your finish and your weekend.