
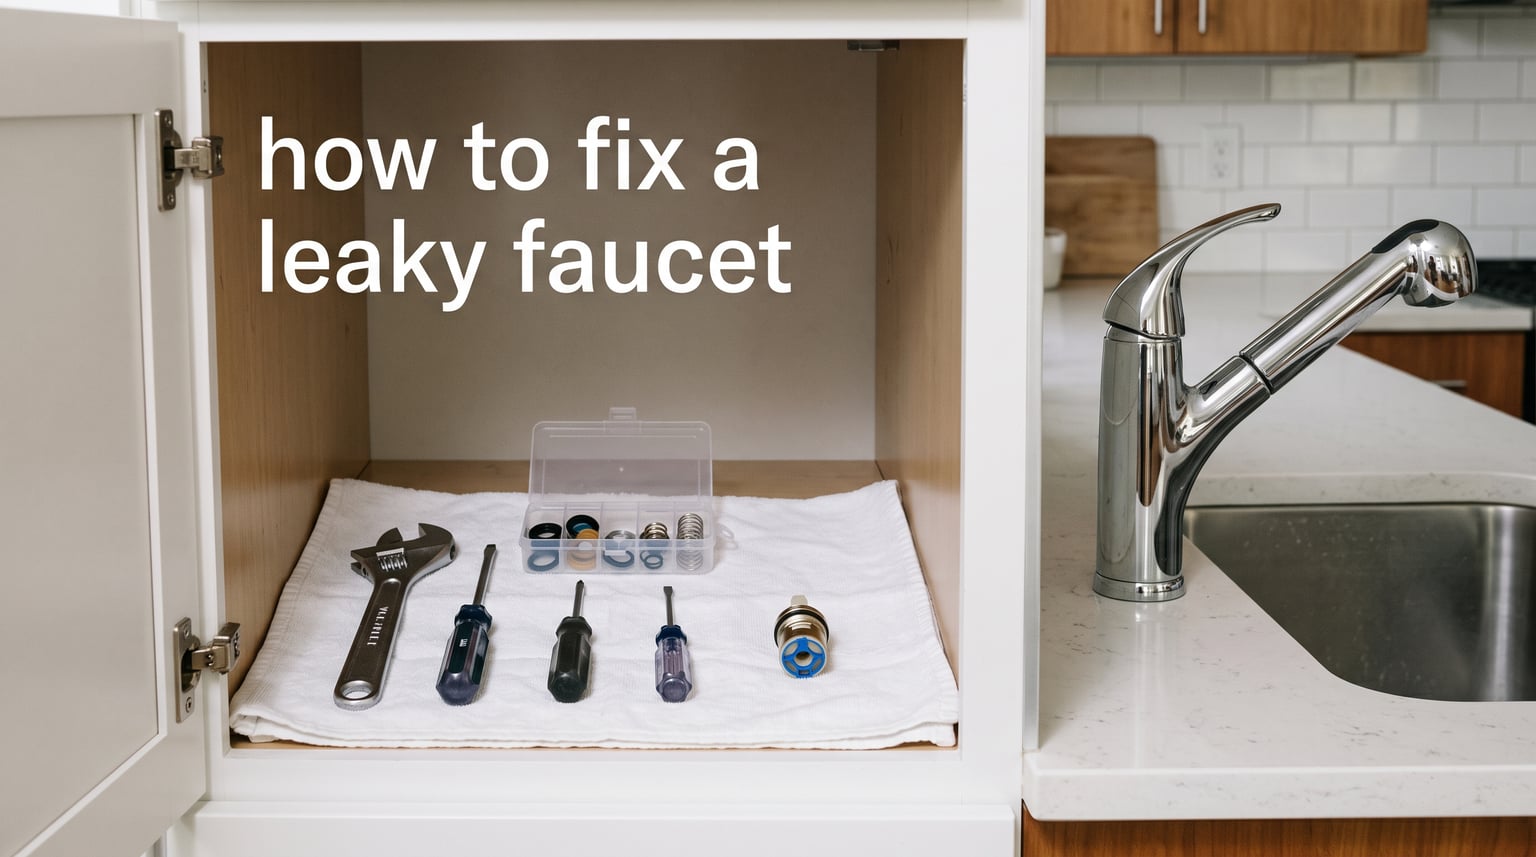
Last month, I watched a slow drip from my bathroom sink waste roughly 23 gallons over seven days, all from a faucet I had ignored for two months. A single faucet leak can waste over 3,000 gallons of water per year, which is why I wrote this guide. Learning how to fix a leaky faucet is one of the most rewarding DIY projects for any homeowner or renter.
The good news: most faucet repairs take under two hours and cost between $2 and $20 in parts. Our team has walked dozens of friends and neighbors through this exact repair, and we’ve seen people fix a dripping faucet in a single afternoon without calling a plumber.
In this guide, I’ll walk you through identifying your faucet type, the most common causes of leaks, every tool you’ll need, the full step-by-step repair process, and clear guidance on when it’s smarter to call a professional.
Table of Contents
How to Identify Your Faucet Type Before You Begin
Before you touch a single wrench, you need to know what kind of faucet you’re working with. The repair process changes based on the internal mechanism, and using the wrong parts is the #1 reason DIY faucet repairs fail. I’ve watched people buy a $30 cartridge when they only needed a $0.50 washer.
Look at your handle. Count how many you have, and notice how the handle moves when you turn it. This 30-second observation saves hours of frustration later.
Compression Faucets
Compression faucets are the oldest design, common in homes built before the 1980s, and they almost always have two separate handles for hot and cold. When you turn the handle, you’ll feel a rubber washer compressing against a valve seat to stop the water. If your faucet has two handles and you must tighten each one fully to shut off water, you have a compression faucet.
Cartridge Faucets
Cartridge faucets use a single handle that moves up and down to control flow and side to side to control temperature. When you remove the handle, you’ll find a brass or plastic cartridge inside. Most modern single-handle bathroom and kitchen faucets use this design.
Ball Faucets
Ball faucets have a single handle mounted on top of a rounded dome. The handle moves over a plastic or metal ball with chambers and slots that control water flow and temperature. Delta is the most common manufacturer of this style.
Ceramic Disk Faucets
Ceramic disk faucets have a single, wide lever handle and feel noticeably heavier and smoother than other types. Inside, two ceramic disks slide against each other to control flow. These faucets rarely leak from wear, but when they do, the entire cartridge must be replaced.
Tip from our team: snap a photo of your faucet from the side and look for a brand logo on the handle base. Knowing the brand (Moen, Delta, Kohler, Pfister) makes finding replacement parts dramatically easier.
What Causes a Leaky Faucet?
Understanding the root cause helps you buy the right replacement parts on your first trip to the hardware store. In our experience, three causes account for roughly 90% of all leaky faucets. Skip guessing and check these in order.
- Worn rubber washer: The most common cause of a dripping compression faucet. The washer at the bottom of the stem wears down from years of use and stops sealing properly. Replacement washers cost about $0.50 each and come in universal kits.
- Failed O-ring: A small rubber ring on the faucet stem that wears out from constant friction. O-ring failure causes leaks around the handle base when the water is running. A pack of O-rings costs around $3.
- Damaged cartridge: In single-handle faucets, the cartridge inside eventually fails and causes both drips and temperature control problems. Cartridges are brand-specific and cost $10-30 depending on your faucet.
Other less common causes include corroded valve seats, loose packing nuts, and cracked faucet bodies. If you see water pooling at the base of the spout rather than dripping from the tip, the spout O-ring is likely the culprit.
Tools and Parts You’ll Need
You probably already own most of these tools. I keep them in a single small bucket in my closet so I’m ready for any faucet repair. Buy your specific replacement parts after you’ve disassembled the faucet and confirmed what you need.
- Adjustable wrench or basin wrench (the latter is essential for tight under-sink spaces)
- Phillips and flathead screwdrivers in multiple sizes
- Allen wrench set (hex keys) for set screws hiding under decorative caps
- Replacement washers, O-rings, or cartridge (matched to your faucet)
- Plumber’s grease (silicone-based, not petroleum jelly)
- Old towel or shop rag
- Flashlight or headlamp for under-sink visibility
- Plug or rag to stop small parts from falling down the drain
A complete universal washer and O-ring kit costs about $8 and covers most compression faucet repairs. For cartridge faucets, expect to spend $10-25 on the correct cartridge. Bring your old cartridge to the hardware store to find an exact match.
How to Fix a Leaky Faucet: Step-by-Step
Set aside two hours the first time you do this. After one repair, you’ll likely finish in under 45 minutes. Here’s the exact process we use, broken into seven focused steps.
Step 1: Shut Off the Water Supply
Look under your sink for two small oval or round handles on the water supply lines. Turn both clockwise until they stop. Open the faucet to confirm water is off by lifting the handle and watching for any flow.
For a kitchen faucet with no under-sink shutoff valves, turn off the main water supply at your home’s water meter or main shutoff valve. We learned this the hard way during a kitchen repair when we discovered the under-sink valves were completely seized.
Step 2: Plug the Drain and Prepare Your Workspace
Stuff a rag into the drain or use a drain plug. Small screws and washers fall into drains faster than you’d think, and retrieving them from a P-trap is an unnecessary headache.
Lay a towel in the sink cabinet to catch any residual water that drips when you open the faucet. Have a flashlight, your phone for photos, and a small bowl ready for parts.
Step 3: Remove the Faucet Handle
Most handles hide a screw under a decorative cap labeled “hot” or “cold,” or under a plastic button on top. Pry the cap off gently with a flathead screwdriver wrapped in tape to avoid scratches. Remove the screw underneath.
Lift the handle straight up. If it sticks, don’t force it. Wiggle gently while pulling up. A stuck handle often means mineral buildup or a corroded stem, and we’ll cover that scenario in the troubleshooting section below.
Step 4: Remove the Stem, Cartridge, or Ball
Unscrew the packing nut (the large hex-shaped nut) using your adjustable wrench. Turn counterclockwise. Once loose, the stem or cartridge should lift straight out. For ball faucets, remove the cam and ball assembly after the handle is off.
This is the moment to take a photo. Plumbers on r/Plumbing insist on this, and they’re right: a quick phone photo before disassembly saves hours of head-scratching during reassembly.
Step 5: Replace the Worn Washer, O-Ring, or Cartridge
Inspect everything you removed. A worn washer will look flattened or cracked. A failed O-ring will show tears or permanent compression. A damaged cartridge will have visible scoring on the ceramic or plastic surfaces.
For a compression faucet, unscrew the brass screw at the bottom of the stem to remove and replace the rubber washer. For cartridge faucets, swap the entire cartridge for a matching new one. Apply a thin layer of plumber’s grease to all new rubber parts and to the stem threads.
Step 6: Reassemble the Faucet
Work in reverse order. Drop the stem or cartridge back in, hand-tighten the packing nut, then snug it with your wrench. Don’t overtighten. The factory torque is correct; more force cracks the nut.
Reattach the handle, replace the screw, and snap the decorative cap back on. Spin the handle to confirm smooth operation before you turn the water back on.
Step 7: Turn the Water Back On and Test
Open the under-sink shutoff valves slowly, in quarter-turn increments. Return to the faucet and turn the handle to fully open and then fully close, listening for any unusual sounds. Watch the spout for 60 seconds.
If your repair worked, you should see zero drips. Place a dry paper towel under the spout and check it after 15 minutes. A completely dry towel confirms the fix. I run this test on every faucet I repair.
What If the Faucet Still Drips After the Repair?
Still seeing drips after your repair? Don’t disassemble everything again just yet. About 15% of “failed” repairs are actually a different problem entirely.
First, check the aerator. Unscrew the tip of the spout by hand and remove the small screen inside. Mineral buildup here can mimic a drip coming from the handle. Soak the aerator in white vinegar for 30 minutes and reinstall.
If the drip is at the handle base, the packing nut may need a quarter-turn tighter, or its O-ring needs replacement. If the drip is from the spout itself, the valve seat inside the faucet body may be corroded. A valve seat wrench costs about $5 and lets you replace just the seat without buying a whole new faucet.
When to Call a Plumber Instead
DIY faucet repair works for most leaks, but some situations need a professional. Call a plumber if you notice any of these red flags.
- Water leaking from the base of the faucet body, not just the spout or handle
- Active water stains or moisture on the cabinet floor below the sink
- The faucet is over 15 years old and corroded parts are breaking during disassembly
- You see signs of water damage on the wall behind the sink
- The valve seat is corroded beyond what a basic wrench can repair
A plumber visit typically costs $150-350 for a standard faucet repair. Compare that to a complete faucet replacement: a mid-range kitchen faucet costs $100-250 plus installation labor. If your faucet is over 10 years old and showing other wear, replacement may be smarter than repair.
Frequently Asked Questions
How do I stop a faucet from dripping?
Can you fix a leaky faucet yourself?
What is the most common cause of leaky faucets?
What are the three most common causes of leaky dripping faucets?
What if my leaky faucet is still dripping after replacing the washer?
Do you leave all faucets dripping or just one?
Final Thoughts
Knowing how to fix a leaky faucet puts real money back in your pocket. The average repair runs under $20 in parts and saves you $150-300 in plumber fees. Even better, every repair you complete makes the next one faster.
If this is your first plumbing project, I recommend starting with a basic compression faucet. The internal parts are simple, the parts are universal, and the satisfaction of stopping that drip for good is real. Bookmark this guide, grab your tools, and you’ve got this.