
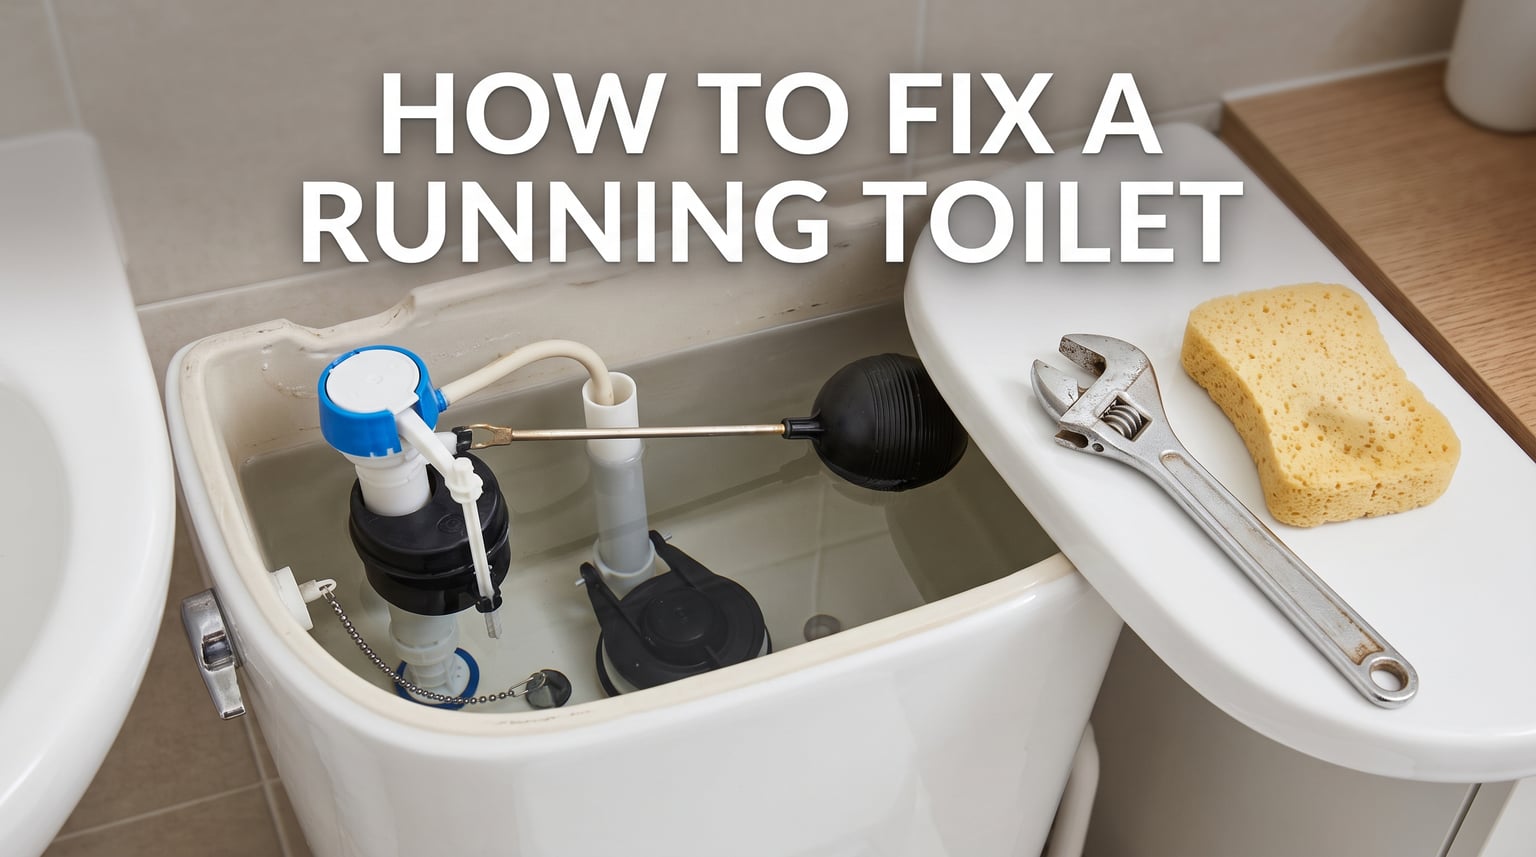
A running toilet is one of those household annoyances you can usually silence yourself in under an hour. Learning how to fix a running toilet saves you a plumber visit, protects your water bill, and stops that maddening hiss that keeps you up at night. I have walked plenty of friends through this exact repair, and in nearly every case the culprit is a small rubber part that costs less than a cup of coffee.
In this guide I will walk you through the three parts that fail most often, the exact steps to diagnose and repair each one, and the signs that tell you it is time to call in a professional. Everything here assumes basic hand tools and zero plumbing experience.
Table of Contents
What Causes a Running Toilet
A running toilet almost always traces back to one of three components inside the tank failing to do its job. Water keeps flowing from the tank into the bowl because the tank never fully seals or never knows when to stop refilling. Here are the three most common causes:
Faulty flapper: The rubber seal at the bottom of the tank wears out, warps, or collects mineral buildup, so water slips past it continuously.
Misadjusted float: The float sits too high, pushing the water level above the overflow tube so excess water constantly drains into the bowl.
Clogged or worn fill valve: The fill valve fails to shut off completely, or debris inside it prevents a clean seal, so the tank keeps refilling.
Occasionally the flush valve chain, a cracked overflow tube, or a tangled flush arm clip is to blame. We will cover those secondary causes in the troubleshooting steps below.
Tools and Materials You Will Need
You probably already own most of what this repair requires. Grab the following before you lift the tank lid:
Adjustable wrench or channel-lock pliers
Sponge and a small bucket for residual water
Rubber gloves
White vinegar and an old toothbrush for cleaning mineral deposits
Replacement flapper (bring your old one to the store to match the size)
Universal fill valve kit, only if the fill valve is the problem
Food coloring or dye tablets for the leak test
A phone camera is also handy. Snap a photo of how everything connects before you take anything apart so you have a reference for reassembly.
How to Fix a Running Toilet: Step-by-Step
Follow these steps in order, because each one builds on the last. Most running toilets are solved by Step 2 or Step 3, but work through them methodically until the tank holds water quietly.
Step 1: Turn Off the Water Supply
Look behind the toilet near the floor for the shutoff valve on the wall. Turn it clockwise, by hand if you can, until it stops. If it is stiff, use your adjustable wrench gently so you do not crack the valve body.
Once the valve is closed, flush the toilet to drain most of the water out of the tank. Soak up whatever remains with your sponge and wring it into the bucket. You now have a dry work area, which makes every following step far easier.
You can technically attempt a flapper swap with the water still on, but I never recommend it. One slip and you have a geyser in your bathroom. Take the extra thirty seconds to shut the supply line.
Step 2: Inspect and Replace the Flapper
The flapper is the rubber disc at the bottom of the tank that lifts when you flush and seals shut when the tank refills. It is the single most common cause of a running toilet, so always check it first.
Unhook the flapper from the pegs on the flush valve and lift it out. Run your finger along the underside. If it feels brittle, warped, slimy, or has visible cracks, it needs replacing. Even if it looks fine, mineral deposits on the seat (the rim it rests on) can break the seal.
Wipe the seat clean with vinegar and the toothbrush. If you are replacing the flapper, take the old one to the hardware store so you can match the exact size and connection style. Universal flappers fit most toilets, but older models and some dual-flush units need specific shapes.
Hook the new flapper onto the pegs and connect the chain. Leave just a touch of slack, about a half inch, so the flapper seats fully but the handle still lifts cleanly. Too tight and it leaks; too loose and it tangles.
Step 3: Adjust the Float
If the flapper looked fine, the next suspect is the float. The float controls the fill valve, telling it when the tank is full and it should shut off. If it is set too high, water spills continuously into the overflow tube and the bowl never stops trickling.
There are two styles. Modern toilets use a cup float that slides up and down a vertical shaft, while older models use a ball float on a metal arm. For a cup float, find the long adjustment screw on top of the fill valve and turn it counterclockwise to lower the float. For a ball float arm, either bend the arm down slightly or turn the small adjustment screw on the fill valve.
The correct water level is about one inch below the top of the overflow tube. Turn the water back on briefly and watch where the level settles. Adjust, flush, and check again until it lands at that mark every time.
If lowering the float does not stop the running, the fill valve itself is likely the problem. Move on to Step 4.
Step 4: Check the Fill Valve
The fill valve is the tall tower on the left side of the tank that refills it after each flush. Over time sediment and debris build up inside and prevent it from closing completely, which causes intermittent running, sometimes the most frustrating kind to diagnose.
Forum users dealing with toilets that keep running after a flapper swap consistently point to two things on the fill valve. First, unhook the height adjuster clip on the side of the shaft and inspect how the float arm attaches to the fill tube. That plastic has a little give, but do not force it. Second, make sure the small refill tube that clips onto the top of the overflow tube is firmly attached and not shoved down inside it, which causes siphoning.
If cleaning does not solve it, replace the whole fill valve. Universal kits run cheap, include the float, and take about twenty minutes to install. Just snap off the old one, drop in the new unit, and set the height to match your old valve.
Step 5: Inspect the Flush Valve Chain
The chain connecting the flush handle to the flapper is a small part that causes big headaches. If it is too long it gets caught under the flapper and breaks the seal. If it is too short the flapper never fully drops. And if the clip on the chain is twisted or facing the wrong way, the whole mechanism binds up.
I learned from a fixit thread that the clip at the flush arm can twist itself upward over time. Straighten it so the clip faces downward and reconnect it to the chain hole that gives you that half inch of slack. Move the arm through a full flush motion by hand and confirm the flapper lifts and drops cleanly.
On a related note, check that the flapper chain has only one link connected to the handle lever. A doubled-up chain catches on itself and causes that random phantom flush you hear at three in the morning.
How to Test If Your Repair Worked
Before you put the lid back on, run two quick checks. First, turn the water supply on, let the tank fill, and listen for a full minute of silence. Any trickling sound means water is still escaping.
Second, drop ten drops of food coloring into the tank water and wait fifteen minutes without flushing. If color shows up in the bowl, you still have a leak and need to revisit the flapper seat or the overflow tube height. If the bowl water stays clear, your repair held and you are done.
How Much Water Does a Running Toilet Waste
This is the part most guides skip, and it is the real reason to fix a running toilet today rather than next week. A toilet that runs continuously can waste anywhere from 30 to 200 gallons of water per day depending on the severity of the leak.
At an average municipal water rate, that translates to noticeable money. A moderate leak of roughly 100 gallons a day can add over a hundred dollars to a quarterly bill, and a severe leak doubles or triples that. Over a full year a single ignored running toilet can cost hundreds of dollars in wasted water alone.
The environmental angle matters too. That is clean, treated drinking water vanishing into the sewer for no benefit. Fixing the toilet is one of the fastest payback repairs you can make in your home.
When to Call a Plumber
Most running toilets are a confident DIY fix, but a few warning signs mean it is time to pick up the phone. Call a licensed plumber if you spot a visible crack in the tank or bowl, hear water leaking from the base when you flush, or notice corrosion on the supply line connection.
A shutoff valve that will not turn, or worse, starts dripping when you try, is also a job for a pro. Forcing a corroded valve can snap it off at the wall and turn a twenty-dollar repair into a flooded bathroom.
Cost-wise, doing it yourself runs about the price of a replacement part. A plumber visit typically starts higher just for the call-out fee, plus parts and labor. If two attempts at the common fixes above do not solve it, that professional diagnosis is worth every penny.
Preventive Maintenance Tips
A little attention twice a year keeps your toilet running quietly for years. Every six months, lift the tank lid and watch a full flush cycle. Listen for the fill valve snapping off cleanly and confirm the water level sits below the overflow tube.
Wipe the flapper and its seat with vinegar during those check-ins to strip away mineral deposits before they cause a leak. Drop a dye tablet in the tank once a year to catch slow leaks you cannot hear.
If you have a newer dual-flush or touchless model, the same three components still apply but the buttons and sensors add a layer of electronics. Refer to the manufacturer guide for the sensor reset procedure, and replace the flush mechanism as a matched unit rather than mixing brands.
FAQ
What’s the most common cause of a running toilet?
Can I fix a running toilet without turning off the water?
Is it bad if my toilet is constantly running?
Why is my toilet running but not leaking?
Conclusion
Knowing how to fix a running toilet is a skill that pays for itself the very first time you use it. In most cases the answer is a ten-dollar flapper, a simple float adjustment, or a quick clean of the fill valve, all achievable in a single afternoon.
Work through the steps in order, run the food coloring test to confirm your repair, and call a plumber only if you spot cracked porcelain or a corroded supply line. A quiet, efficient toilet is well within reach, and so is the lower water bill that comes with it.