
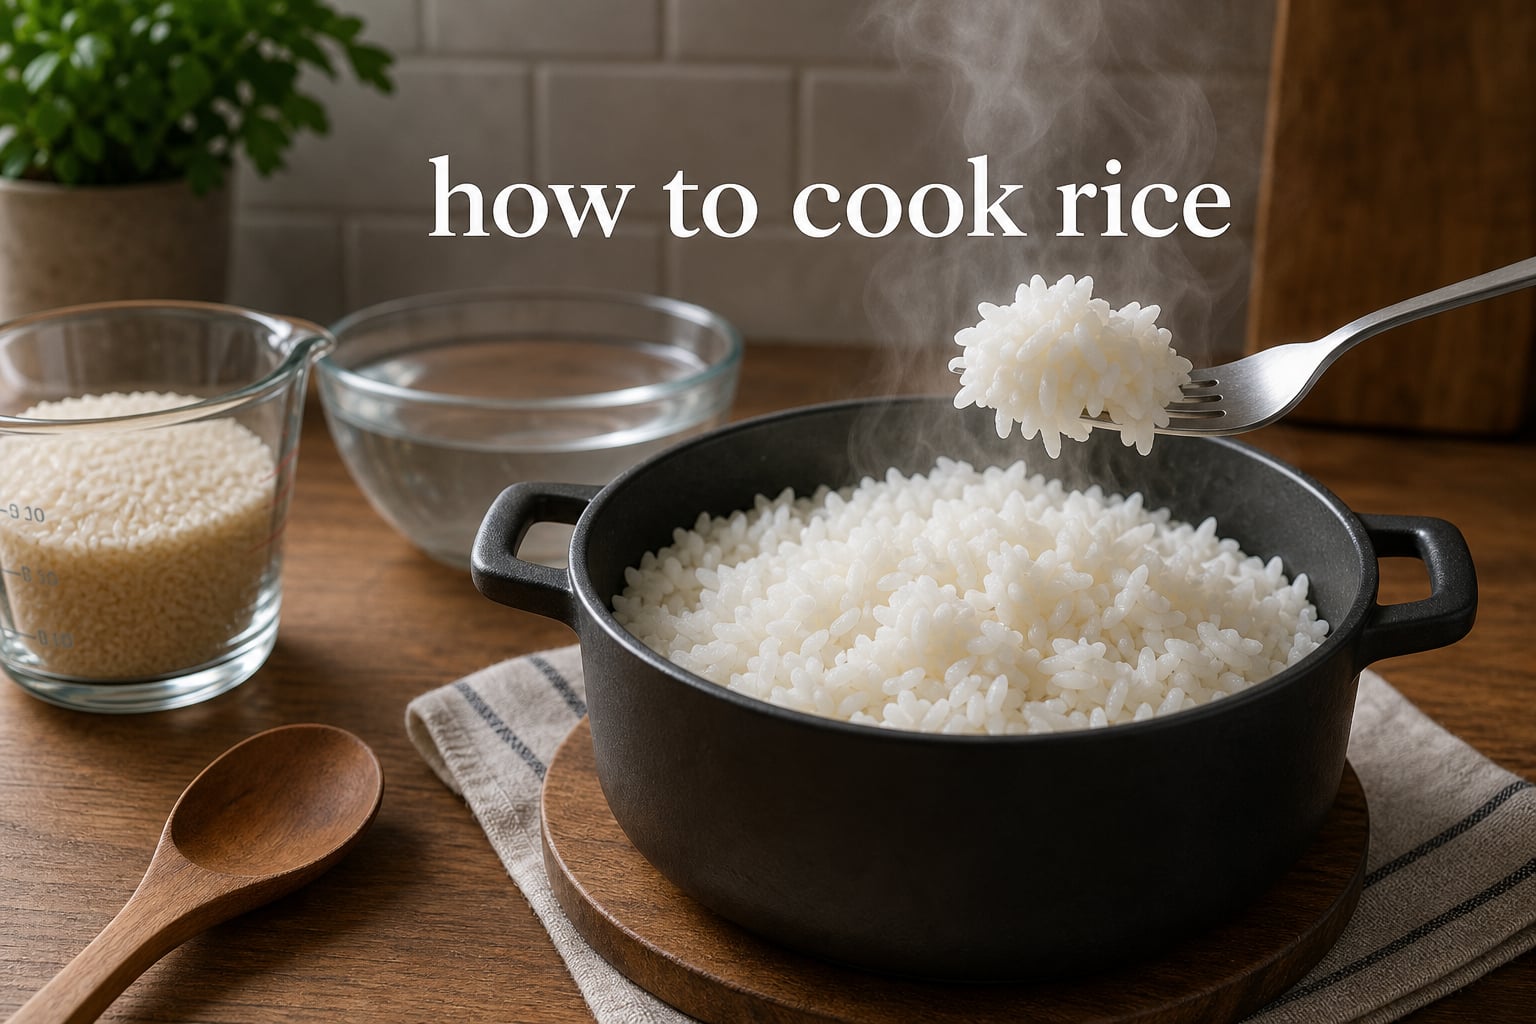
Cooking rice sounds simple until you end up with a gummy, burnt, or crunchy mess for the third time this month. I have been there myself, staring at a pot of mush wondering where it all went wrong. The truth is that learning how to cook rice comes down to two things: the right water-to-rice ratio and trusting the process enough to leave that lid alone.
After testing different methods in my own kitchen and comparing notes with dozens of home cooks on cooking forums, I narrowed down a foolproof stovetop technique that works for long-grain white rice. The method uses a 1 to 1.5 ratio, a 15-minute simmer, and a 10-minute resting period that most people skip. That rest is where the magic happens.
This guide breaks down every step, explains why each one matters, and covers what to do when things go sideways. Whether you are a beginner who has never made rice or an experienced cook looking for more consistent results, you will find clear, practical instructions here. No fancy equipment required.
Table of Contents
Understanding the Rice to Water Ratio
The single most important factor in cooking rice is the ratio of water to rice. Get this wrong and no amount of technique will save your batch. The golden ratio for stovetop long-grain white rice is 1 cup of rice to 1.5 cups of water.
Many older recipes and package instructions call for a 2-to-1 ratio, which is why so many people end up with mushy rice. Two cups of water for every cup of rice is simply too much for the stovetop method. The excess water overcooks the grains and turns them into paste.
The reason 1.5 works better comes down to water absorption. Rice grains absorb roughly their own volume in water during cooking. The extra half cup accounts for evaporation through the lid and steam loss. When you use two full cups, the grains absorb what they need and the leftover water pools around them, creating that gummy texture nobody wants.
Different rice types need slightly different ratios. Here is a quick reference based on my testing:
Long-grain white rice: 1 cup rice to 1.5 cups water
Jasmine rice: 1 cup rice to 1.25 cups water
Basmati rice: 1 cup rice to 1.5 cups water
Short-grain white rice: 1 cup rice to 1.25 cups water
Brown rice: 1 cup rice to 2 cups water
Sushi rice: 1 cup rice to 1.1 cups water
Brown rice needs more water and a longer cooking time because the bran layer slows absorption. Short-grain and sushi rice use less water because the grains are naturally stickier and hold onto moisture differently.
One question that comes up constantly on cooking forums is whether 2 cups of water works for 1 cup of rice. It can work if you are using a rice cooker, where the sealed environment traps all the steam. On an open stovetop with a standard lid, stick with 1.5 cups.
How to Cook Rice on the Stove Step by Step
This is the method I use every week. It produces fluffy, separate grains that work as a side dish or as a base for stir fries and curries. Follow each step exactly and resist the urge to peek.
Step 1: Measure your ingredients. Use a standard measuring cup (not a mug) to measure 1 cup of long-grain white rice and 1.5 cups of water. Level off the rice with the back of a knife for accuracy. Eyeballing measurements is the number one reason rice fails.
Step 2: Rinse the rice (optional but recommended). Place the rice in a fine mesh strainer and run cold water over it until the water runs mostly clear. This removes excess surface starch that causes clumping. Gently shake the strainer and use your fingers to move the grains around. This takes about 30 seconds.
Step 3: Combine rice and water in a saucepan. Use a medium saucepan with a tight-fitting lid. Add the rinsed rice and measured water. You can add a pinch of salt and half a teaspoon of olive oil or butter at this point for flavor, but plain water works perfectly fine.
Step 4: Bring to a boil over medium-high heat. Place the uncovered pot on the stove and turn the heat to medium-high. Wait until the water reaches a rolling boil with large bubbles breaking the surface. This usually takes 5 to 7 minutes depending on your stove.
Step 5: Cover and reduce to a simmer. As soon as the water boils, put the lid on and immediately turn the heat down to the lowest setting. The water should maintain a gentle simmer with just tiny bubbles barely visible around the edges. Set a timer for 15 minutes.
Step 6: Do not lift the lid. This is the hardest part. Every time you open the lid, you release steam that the rice needs to cook properly. Even a quick peek can throw off the moisture balance. Trust the timer and walk away.
Step 7: Remove from heat and let rest for 10 minutes. After 15 minutes of simmering, turn off the heat entirely but keep the lid on. Let the pot sit undisturbed for 10 full minutes. The residual heat and trapped steam finish cooking the grains gently.
Step 8: Fluff and serve. Remove the lid and use a fork to gently separate the grains. Fluff from the edges inward, lifting rather than stirring. Serve immediately while warm.
The entire process takes about 30 minutes from start to finish. That includes 5 minutes of prep, 5 minutes to bring to a boil, 15 minutes of simmering, and 10 minutes of resting. Once you do it a few times, the timing becomes second nature.
The Great Rinsing Debate: Should You Rinse Rice?
Ask ten experienced cooks whether you should rinse rice and you will get ten different answers. This is one of the most debated topics in home cooking, and both sides make fair points.
The pro-rinsing camp argues that rinsing removes surface starch that makes rice clump together. When you rinse rice, the water turns cloudy white at first. That cloudiness is loose starch from the milling process. Removing it produces fluffier, more separate grains. This is especially important for dishes where distinct grains matter, like fried rice or pilaf.
Asian-American cooks on forums consistently advocate for rinsing, often washing the rice three or more times until the water is nearly clear. This tradition comes from cooking short-grain and medium-grain varieties where excess starch creates an undesirable gummy texture.
The anti-rinsing side, led prominently by RecipeTin Eats, argues that modern rice processing has improved enough that rinsing is unnecessary. Their reasoning is that skipping the rinse saves time and that the 1.5 ratio accounts for the starch coating naturally. Some also point out that enriched white rice in the United States has vitamins sprayed on the surface, and rinsing washes those nutrients away.
My recommendation after testing both approaches: rinse if you want maximum fluffiness and distinct grains. Skip the rinse if you are short on time or prefer a slightly softer texture. The difference is noticeable but not dramatic with long-grain white rice.
Why Resting Time Makes or Breaks Your Rice
The 10-minute resting period after cooking is not optional. It is the step that separates good rice from great rice, and it is the step most beginners skip.
During the simmer, the rice grains absorb most of the water and swell to their full size. But the heat distribution inside the pot is not perfectly even. Grains at the bottom near the heat source cook faster than grains at the top. The resting period lets the temperature equalize throughout the pot.
Residual heat does the final work. The trapped steam inside the covered pot continues to circulate, gently finishing off any grains that are slightly undercooked. This is why you never open the lid during the rest. Every bit of steam that escapes is steam the rice needs.
If you skip the rest and dig in immediately, you will notice that the rice at the top of the pot is slightly firmer or even crunchy while the bottom layer is softer. The texture is uneven and the grains tear when you try to fluff them. Give it ten minutes and the entire pot comes out consistent.
One forum tip that changed my rice game: after the 15-minute simmer, turn off the heat but leave the pot exactly where it is on the burner. The residual warmth of the burner itself helps maintain the resting temperature. If you have an electric stove, move the pot to a cold burner since the element retains heat longer than gas.
How to Fluff Rice Properly
Fluffing rice seems simple, but there is a right way and a wrong way to do it. The goal is to separate the grains without crushing or mashing them.
Use a fork, not a spoon. A fork tines slide between the grains and lift them apart. A spoon presses the grains together and can create a pasty texture. Start at the edges of the pot and work your way toward the center in a gentle folding motion.
The key word is lift, not stir. You want to gently lift the rice from the bottom and let it fall back, separating any clumps in the process. Stirring in a circular motion mashes the grains against each other and the sides of the pot.
If you rinsed your rice and used the correct ratio, fluffing should be effortless. The grains will separate easily and look distinct. If the rice resists fluffing and clumps together, it likely has too much moisture. You can spread it on a baking sheet for a few minutes to let excess steam escape.
Troubleshooting Common Rice Problems
Even with the best technique, rice can go wrong. Here are the most common problems and exactly how to fix or prevent them.
Mushy or Gummy Rice
Mushy rice means there was too much water or the rice cooked too long. The grains burst open and release starch, creating a sticky paste. This is the most common complaint on cooking forums.
If the rice is already cooked and too wet, spread it out on a baking sheet lined with paper towels. The paper absorbs excess moisture. Let it sit for 5 minutes, then fluff with a fork. The texture will not be perfect, but it will be salvageable.
To prevent mushy rice next time, reduce the water by a tablespoon or two. Make sure you are using a true simmer, not a low boil. And double-check that your lid fits tightly so steam does not escape and concentrate the water.
Crunchy or Undercooked Rice
Crunchy rice means there was not enough water, the heat was too low, or the lid was loose. The grains did not absorb enough moisture to fully soften.
To fix undercooked rice, add two tablespoons of water to the pot, cover tightly, and return to very low heat for 5 minutes. Check and add another tablespoon if needed. The small amount of added water reactivates the steaming process without making the rice soggy.
Prevention comes down to accurate measuring and a proper lid. If your lid rattles or has a visible gap, cover the pot with a clean kitchen towel before putting the lid on. The towel seals the gap and catches condensation so it does not drip back onto the rice.
Burnt Rice on the Bottom
A layer of scorched rice stuck to the bottom of the pot is usually caused by heat that is too high during the simmer phase. The bottom grains cook faster than the rest and eventually burn.
The fix for burnt rice is mostly about saving what is on top. Do not scrape the bottom. Gently scoop the unaffected rice from the upper layers into a serving bowl, leaving the burned layer behind. Some cooks actually enjoy the crispy bottom layer, known as socarrat in Spanish paella, but that is a matter of taste.
To prevent burning, make sure your simmer is truly on the lowest setting. Gas stoves can be tricky because even the lowest flame can be too hot. Consider using a heat diffuser between the burner and the pot if you have a powerful gas range.
Sticky Rice That Clumps Together
Some stickiness is natural, especially with short-grain varieties. But if your long-grain rice comes out as a solid mass, excess surface starch is likely the culprit.
The fix for future batches is simple: rinse the rice before cooking. Three quick rinses under cold water in a fine mesh strainer removes the loose starch that causes clumping. Also make sure you are using long-grain rice rather than short-grain if you want distinct, separate grains.
Alternative Cooking Methods
The stovetop method is reliable, but it is not the only way to cook rice. Here are three alternatives that each have their own advantages.
How to Cook Rice in a Rice Cooker
A rice cooker is the most hands-off method and arguably produces the most consistent results. The machine handles the temperature control automatically, switching from cook to warm when the water is fully absorbed.
For a rice cooker, use a 1-to-1 ratio for white rice, or follow the lines marked inside the cooker pot. Most rice cookers come with measuring lines that account for the sealed cooking environment. Add rinsed rice and water, close the lid, and press the cook button. The machine does the rest.
Rice cookers shine because they eliminate the guesswork around simmer temperature and resting time. They automatically hold the rice at a safe warm temperature after cooking. If you eat rice several times a week, a rice cooker is worth the counter space.
How to Cook Rice in the Microwave
The microwave method is fast and works well for small portions. Combine 1 cup of rinsed rice and 1.5 cups of water in a large microwave-safe bowl. The bowl needs to be large because rice triples in volume as it cooks.
Cover the bowl with a microwave-safe lid or plate, leaving a small gap for steam to escape. Microwave on high for 5 minutes, then reduce to 50 percent power for 15 minutes. Let it rest covered for 5 minutes before fluffing.
Microwave cooking times vary between machines, so you may need to adjust slightly. Start with the times above and tweak based on your results. This method is especially useful in dorm rooms or offices without a full kitchen.
How to Cook Rice in the Oven
Oven-baked rice is an underrated method that produces remarkably even results. The consistent, surround heat of the oven eliminates hot spots that cause burning on the stovetop.
Preheat the oven to 375 degrees Fahrenheit. Combine 1 cup of rinsed rice, 1.5 cups of boiling water, a tablespoon of butter, and a pinch of salt in an oven-safe dish. Cover tightly with foil and bake for 25 minutes. Remove from the oven and let rest covered for 5 minutes before fluffing.
The oven method is ideal when your stovetop burners are all occupied with other dishes. It also scales well for large batches, making it great for dinner parties and meal prep.
Cooking Rice at High Altitude
If you live above 3,000 feet elevation, rice cooking requires adjustments. At higher altitudes, water boils at a lower temperature, which means it evaporates faster and rice takes longer to absorb enough moisture.
The fix is to increase both the water and the cooking time. For every 1,000 feet above sea level, add approximately 1 extra tablespoon of water per cup of rice and extend the simmer time by 1 to 2 minutes. At 5,000 feet, that means using about 1.75 cups of water instead of 1.5 and simmering for 18 to 20 minutes.
The resting period becomes even more important at altitude because the lower boiling temperature means the grains need more time to fully soften. Keep the lid on for the full 10 minutes and check a grain before serving. If it is still slightly firm in the center, cover and let rest for another 5 minutes.
High-altitude cooking is one of the least covered topics in rice guides, which is surprising given how many people live in elevated areas. If your rice consistently turns out undercooked and you live in a place like Denver or Albuquerque, altitude is almost certainly the reason.
How to Store and Reheat Leftover Rice
Cooked rice stores well and reheats quickly, making it perfect for meal prep. But there is an important food safety rule you need to know.
Cool cooked rice within one hour of cooking. Leaving rice at room temperature for extended periods allows bacteria called Bacillus cereus to multiply. This bacteria survives the cooking process and can cause food poisoning if given time to grow in warm rice. Spread leftover rice on a baking sheet to cool it quickly, then transfer to an airtight container.
Store cooked rice in the refrigerator for up to 4 days. For longer storage, freeze it in portion-sized containers for up to 3 months. Frozen rice reheats surprisingly well and retains its texture.
To reheat rice on the stovetop, add a tablespoon of water per cup of rice to a small pot. Cover and heat over low heat for 5 minutes until warmed through. The added water re-creates steam that rehydrates the grains.
To reheat in the microwave, place the rice in a bowl with a tablespoon of water, cover with a damp paper towel, and microwave in 30-second intervals. The damp towel traps steam and prevents the rice from drying out.
Leftover rice is actually better than fresh rice for making fried rice. The overnight drying in the refrigerator removes surface moisture, which means the grains fry up crispier and absorb flavors more readily. Day-old rice is the secret to restaurant-quality fried rice at home.
Tips for Perfect Rice Every Time
Over months of testing and comparing notes with other home cooks, I collected a set of tips that consistently produce better results. These are the practices that separate reliable rice from hit-or-miss attempts.
Use a measuring cup, not a drinking glass. Standard measuring cups hold exactly 8 ounces. A typical drinking glass can hold 10 to 12 ounces, which throws off your ratio without you realizing it. Precision matters more than you think.
Invest in a pot with a tight-fitting lid. A loose lid lets steam escape, which dries out the rice and throws off the carefully measured ratio. If your lid rattles during simmering, it is too loose. A heavy pot with a glass lid is ideal because you can see the simmer without opening it.
Trust the timer. Set a timer for the 15-minute simmer and the 10-minute rest. Guessing the time leads to inconsistent results. Your phone timer is the most important rice cooking tool after the pot itself.
Do not stir during cooking. Stirring breaks the grains and releases starch, which makes the rice gummy. Once the lid goes on, the rice cooks undisturbed until the rest period ends.
Adjust for your specific stove. Every stove has its own personality. Gas stoves respond instantly but can run hot on the lowest setting. Electric stoves hold residual heat longer. Electric coil stoves are notorious for burning rice bottoms because the element stays hot even after you turn it down. Learn your stove’s quirks and adjust accordingly.
Double the recipe for leftovers. Cooking extra rice costs almost no extra effort, and leftover rice is incredibly versatile. Use it for fried rice, rice bowls, stuffed peppers, or rice pudding. Having cooked rice in the refrigerator means a quick meal is always minutes away.
Season simply. A pinch of salt in the cooking water is all most rice needs. If you want more flavor, try adding a bay leaf, a clove of garlic, or a splash of broth instead of water. These small additions infuse the grains without overpowering the dish you plan to serve the rice with.
Let the pot tell you when it is done. After the rest period, tilt the pot slightly. If you see any pooled water at the bottom, the rice needs a few more minutes. If the bottom is dry and the grains look plump, it is ready.
FAQ
What are the steps to cook rice?
Is 2 cups of water for 1 cup of rice?
Do I boil the water before I put the rice in?
What is the best cooking method for rice?
How long does it take to cook rice on the stove?
Why is my rice mushy?
Conclusion
Learning how to cook rice is not about memorizing a complicated technique. It is about understanding a simple ratio, trusting the process, and resisting the temptation to lift that lid. One cup of rice, one and a half cups of water, fifteen minutes of simmering, and ten minutes of resting. That is the entire formula.
The tips and troubleshooting steps in this guide cover the situations that trip up most cooks. Bookmark this page so you can reference the ratios for different rice varieties and the quick fixes for when things go wrong. Once you nail the stovetop method a few times, it becomes muscle memory. Start with a single cup of rice, follow the steps exactly, and you will have a pot of perfectly cooked rice in half an hour.