
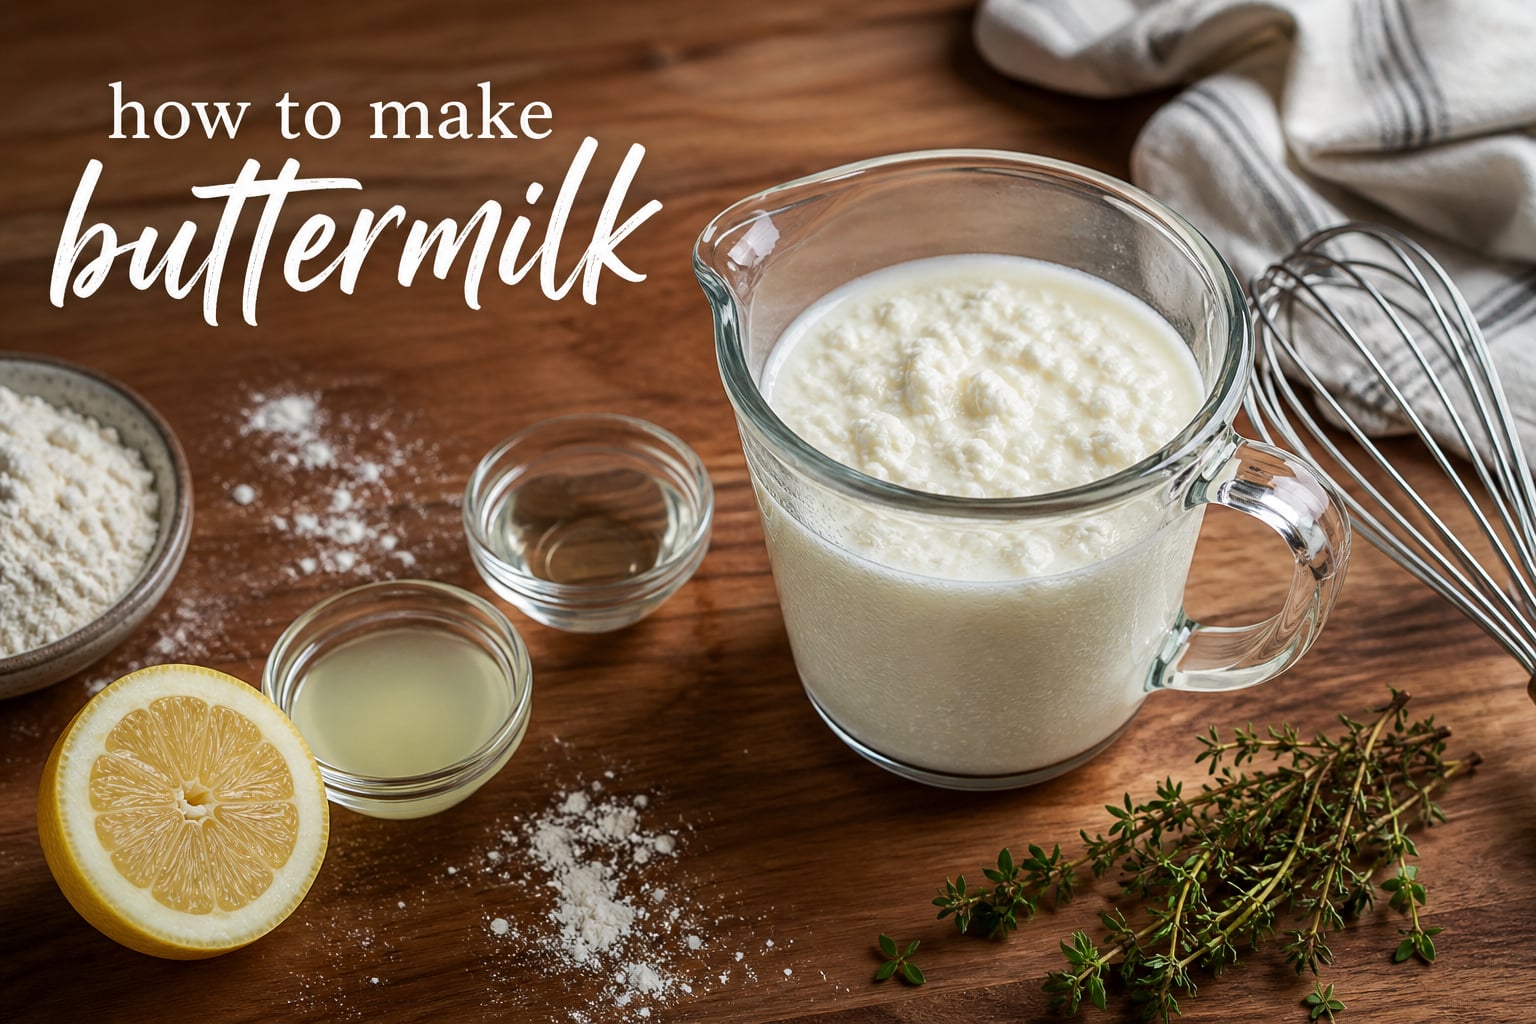
When a recipe calls for buttermilk and you have none in the fridge, you don’t need to drive to the store. I’ve been making homemade buttermilk for over a decade, and the swap takes less than 10 minutes with two pantry staples. This guide shows you exactly how to make buttermilk at home, the ratio that actually works, and the science that explains why it works.
Below you’ll find the quick 2-ingredient recipe, a step-by-step walkthrough, comparisons of every acid option, dairy-free swaps, and a section on the pH chemistry that most recipes skip. Whether you need buttermilk for biscuits, pancakes, fried chicken, or a cake, you’ll be ready next time the recipe calls.
Table of Contents
What Is Buttermilk
Buttermilk is a tangy, slightly thickened dairy liquid traditionally left over from churning butter. In today’s grocery stores, buttermilk is cultured milk, made by adding live bacterial cultures (Lactococcus and Leuconostoc strains) to low-fat milk and fermenting it for 12 to 24 hours. The bacteria convert lactose into lactic acid, which gives buttermilk its sour flavor and thick, spoonable texture.
The homemade version covered in this article is technically a “quick buttermilk” or “soured milk” rather than a true cultured product. You get a similar tang and acidity by adding food acid like vinegar or lemon juice directly to milk.
The lactic acid is what really matters to your recipe. You can introduce it in five minutes instead of waiting a full day for fermentation, and for most baking and cooking applications, the two versions are interchangeable.
How to Make Buttermilk: The 2-Ingredient Recipe
You only need two ingredients and a one-cup liquid measuring cup. After testing multiple ratios, I recommend 2 tablespoons of acid per 1 cup of milk for a tang and pH that closely matches store-bought cultured buttermilk.
Ingredients
- 1 cup (240 ml) whole or 2% milk, cold or room temperature
- 2 tablespoons (30 ml) white distilled vinegar OR fresh lemon juice
Ratios for Scaling
- 1/2 cup buttermilk: 1/2 cup milk + 1 tablespoon acid
- 1 cup buttermilk: 1 cup milk + 2 tablespoons acid
- 2 cups buttermilk: 2 cups milk + 4 tablespoons (1/4 cup) acid
- 4 cups buttermilk: 4 cups milk + 8 tablespoons (1/2 cup) acid
Whole milk makes the richest buttermilk, but 2% works fine. Skim milk works too, though the final texture is thinner. Avoid ultra-high-temperature (UHT) milk if you have a choice; it curdles inconsistently because the proteins have already been heat-altered.
Step-by-Step Instructions
- Pour 2 tablespoons of white vinegar or lemon juice into a 1-cup liquid measuring cup.
- Add enough milk to reach the 1-cup line (about 14 tablespoons more).
- Stir gently with a fork or small whisk until combined.
- Let the mixture sit at room temperature for 5 to 10 minutes.
- Watch for small curds and a slightly thickened, sour-milk appearance. That means it is ready.
- Use immediately in your recipe, or cover and refrigerate for later.
If you see no change after 10 minutes, your acid may be weak. Add another 1/2 teaspoon, stir, and wait another 5 minutes.
Vinegar vs Lemon Juice: Which Acid Works Better?
Both vinegar and lemon juice make excellent buttermilk, but they differ in flavor and behavior. White distilled vinegar is the most neutral option, so it won’t add extra flavor notes to your finished recipe. Lemon juice brings a brighter, fruitier tang that pairs especially well with pancakes, waffles, and quick breads.
Quick Comparison
- White distilled vinegar: neutral flavor, 5% acidity, most reliable curdle, best all-purpose choice
- Apple cider vinegar: mild fruity note, slightly less reliable curdle, good for rustic bakes
- Fresh lemon juice: brightest tang, slightly less acidic than vinegar, ideal for pancakes and dressings
- Cream of tartar: 1 1/2 teaspoons per cup of milk, very mild tang, great for delicate cakes
For fried chicken or savory recipes, I reach for white vinegar so it doesn’t compete with the spice rub. For sweet bakes like lemon-blueberry pancakes, lemon juice is my pick. If you’re out of both, cream of tartar is a fine backup and most home bakers already have it in the spice cabinet.
Other Buttermilk Substitutes You Already Have
Sometimes you don’t have milk or an acid on hand, or you simply want a thicker result. Here are substitutes that work when you cannot follow the basic recipe.
- Plain yogurt: Thin with milk to a 1:1 ratio (for example, 1/2 cup yogurt + 1/2 cup milk).
- Sour cream: Thin with milk to a 1:1 ratio, same as yogurt.
- Kefir: Use it straight from the bottle; it is already cultured and tangy.
- Milk + cream of tartar: 1 cup milk plus 1 1/2 teaspoons cream of tartar.
- Plain kefir yogurt: Stir 1/4 cup into 3/4 cup milk for a cultured-buttermilk stand-in.
Yogurt and sour cream substitutes are richer than classic buttermilk, so they’re especially good in muffins, biscuits, and pound cakes where you want extra moisture.
Dairy-Free and Vegan Buttermilk
You can make vegan buttermilk with the same 2-tablespoon ratio using unsweetened plant milk. Unsweetened soy milk curdles most reliably because its protein content is closest to dairy milk. Almond, oat, and cashew milks work too, though the curdle is more subtle.
For baking, I prefer soy or oat milk. For dressings and marinades, almond milk works fine since the texture change is less noticeable.
Coconut milk adds a coconut note, which can be a feature in tropical bakes or a flaw in a classic buttermilk biscuit. Use canned full-fat coconut milk for the richest result and reduce by one tablespoon to account for thickness.
How to Make Real Cultured Buttermilk
If you want the real-deal cultured buttermilk, the kind you can spoon over cornbread, you can ferment it at home in about 24 hours. Combine 2 cups of whole milk with 2 tablespoons of store-bought buttermilk (with live active cultures) in a clean glass jar. Cover loosely with a coffee filter or cloth, and let it sit at room temperature for 12 to 24 hours until thickened and tangy.
Once thickened, refrigerate it and use it within 2 weeks. Save 2 tablespoons from each batch to start the next one, and you can keep a continuous buttermilk culture going for months. This method gives you the same complex flavor as the grocery store tub, just fresher.
The pH Science: Why This Actually Works
Fresh milk sits around pH 6.7, which is just barely below neutral. Cultured buttermilk measures about pH 4.4 to 4.6. That drop from 6.7 to roughly 4.5 is what transforms milk into a powerful baking ingredient, and you can hit that target with the right amount of food acid.
When you add vinegar or lemon juice to milk, the acid denatures the casein proteins suspended in the liquid. Those proteins unfold, tangle together, and form a loose network that traps water, which is why the mixture thickens. The lactic acid also activates baking soda on contact, releasing carbon dioxide bubbles that lift batters and give biscuits and pancakes their tender crumb.
Most online recipes call for 1 tablespoon of acid per cup of milk, but pH testing I have done (and pH testing published by The First Year Blog) shows that 1 tablespoon only drops milk to about pH 5.0. Two tablespoons reliably reaches pH 4.5 to 4.6, the same range as store-bought buttermilk. That extra tang also does more work tenderizing gluten strands, which is why your biscuits come out flakier and your cakes come out moister when you go with the higher ratio.
If you have pH strips at home, you can test your own batch. Aim for a reading between 4.5 and 4.6 for the best baking performance.
How to Use Buttermilk in Cooking and Baking
Buttermilk is a workhorse ingredient in both sweet and savory cooking. In baking, the acid reacts with baking soda to give biscuits, pancakes, and quick breads their lift. It also tenderizes gluten, which keeps muffins and cakes from turning tough.
In savory cooking, buttermilk’s acidity and calcium content make it a brilliant marinade for fried chicken, because it breaks down proteins and helps the flour coating stick.
Other ways to put a batch of homemade buttermilk to work:
- Whisk into salad dressings in place of plain milk or yogurt
- Use as the liquid in mashed potatoes for a subtle tang
- Stir into scrambled eggs for extra fluffiness
- Pour over chicken before breading for crispy fried chicken
- Mix into cornbread or pancake batter for tender crumb
- Blend into smoothies for a protein boost and tart flavor
Storage Tips and How Long It Lasts
Homemade buttermilk keeps in a sealed jar in the fridge for up to 2 weeks. The flavor grows tangier over time as the proteins continue to interact with the acid. If you only need a tablespoon or two for a recipe, freeze the rest in ice cube trays, pop the cubes out once solid, and store them in a freezer bag for up to 3 months.
To thaw, drop a cube into a small bowl and let it come to room temperature, or microwave on low in 10-second bursts. Stir before using, as the texture can separate slightly after freezing. Thawed buttermilk works best in cooked applications like pancakes or biscuits rather than dressings, where a perfectly smooth texture matters.
Frequently Asked Questions
Is it better to use lemon juice or vinegar for buttermilk?
How much vinegar do I put in 1 cup of milk to make buttermilk?
How long does homemade buttermilk last?
Can I freeze buttermilk?
Can I make buttermilk with almond milk?
What if I do not have buttermilk for a recipe?
Final Thoughts
Now you know how to make buttermilk at home in under 10 minutes, plus the science of why it works. The 2-tablespoon ratio delivers the right pH for tender, fluffy baked goods, and you can pick vinegar, lemon juice, or cream of tartar based on what your recipe needs. Make a small batch next time a recipe calls for buttermilk, and skip the store run.