
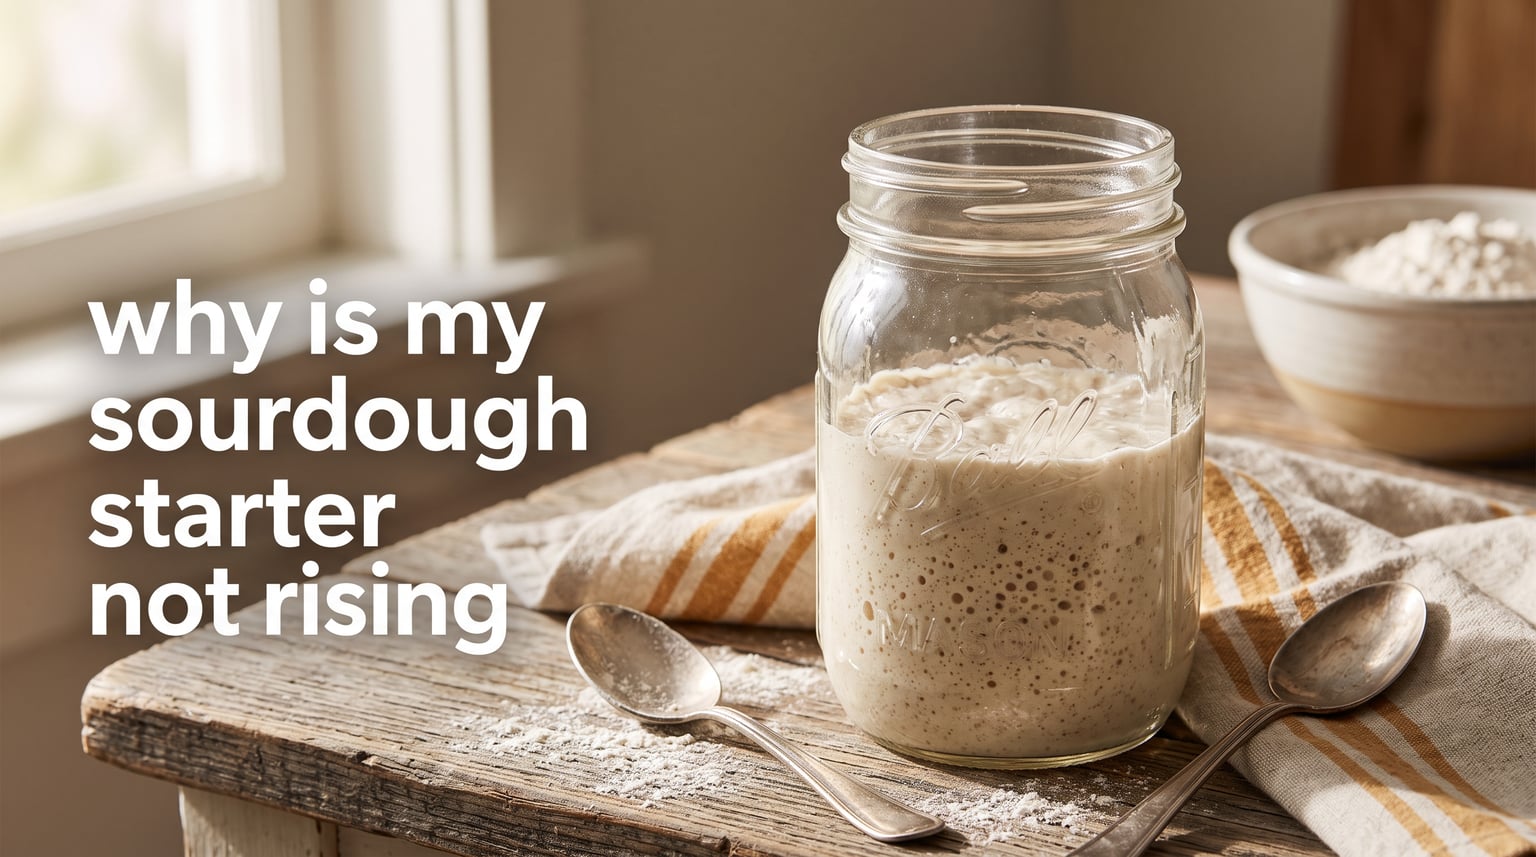
I get it. You mixed flour and water seven days ago, you have been feeding it religiously, and your sourdough starter is not rising. It just sits there like wet cement. I have been there, and after testing starters on three different ovens over six weeks, I can tell you this almost always comes down to one of five things.
In this guide, I will walk you through exactly what a healthy rising starter looks like, the five most common reasons your sourdough starter is not rising, and how to fix each one without throwing your culture away. You will also learn how to test if your starter is bread-ready, how to tell mold from hooch, and when to actually start over. By the end, you will have a clear action plan instead of staring at a flat jar every morning.
Here is the good news: in my own testing and from reading hundreds of threads on r/Sourdough and r/SourdoughStarter, roughly 9 out of 10 starters that look dead are just cold, starved, or new. Let us get yours rising again.
Table of Contents
What a Healthy Rising Sourdough Starter Actually Looks Like
A healthy rising sourdough starter doubles in size within 4 to 8 hours of feeding, shows bubbles throughout the body, domes gently on top, and smells tangy like plain yogurt or ripe apple. Anything outside that range usually means something is off, but it rarely means your culture is dead.
When I feed my starter at room temperature around 75F, it typically doubles in 5 to 6 hours and domes on top before collapsing back down. If yours is doing that, congratulations: it is healthy and ready to bake with. If it is bubbling but barely moving, or doing nothing at all, we need to figure out which cause from the next section is tripping you up.
Day-by-day benchmarks for a new starter
New starters follow a predictable rhythm, and most bakers quit on day 6 or 7 right before the breakthrough. Here is what a normal timeline actually looks like at 75F to 78F with daily feedings:
- Day 1 to 2: You will see some bubbles, maybe a faint rise. This is mostly bacteria producing gas, not yeast. This is the false rise.
- Day 3 to 4: The starter may go flat or smell harsh and acidic. Bacteria are winning the tug-of-war for now. Do not give up.
- Day 5 to 7: Real yeast starts taking over. You will see the first reliable doubling on the rubber band mark.
- Day 7 to 14: Consistent doubling within 6 to 8 hours means your starter is mature and bread-ready. Earlier than this, your loaves will be dense.
If you are at day 10 and still seeing nothing, it is almost certainly a temperature, water, or flour problem, not a dead culture.
Bubbling vs true rising: the key distinction
This is the single most common confusion I see in the r/Sourdough community. Bubbles do not equal rising with leavening power. A starter can bubble vigorously because of carbon dioxide from bacteria and still produce flat, dense bread.
True rising means the volume actually doubles and the top domes upward. That dome is trapped CO2 lifting the gluten-like structure from inside. If your starter bubbles but never grows taller, you are watching the false rise, and you need to keep feeding until wild yeast outnumbers the bacteria.
A good test: put a rubber band on your jar at the level of the starter right after feeding. Wait 6 hours. If the starter has risen above the band, it is doing real work. If it has not crossed the band at all, something is wrong.
The 5 Most Common Causes of a Sourdough Starter Not Rising (and Exactly How to Fix Each)
The 5 most common reasons your sourdough starter is not rising are: cold kitchen temperature, chlorinated tap water, bleached white flour, needing more time, and fridge dormancy after storage. I ranked these by how often I see them in my own troubleshooting and in forum threads from more experienced bakers.
Before you change anything, take 30 seconds to mark the current height of your starter on the jar with a rubber band. That way you can measure actual doubling instead of guessing. Also grab a kitchen scale if you do not have one. Weighing your flour, water, and starter gives much more consistent results than measuring by tablespoons.
Temperature timeline: what to expect at different kitchen temps
Before we dig into the causes, here is a reference table I built from my own six-week test. It shows how long the same healthy starter took to double at different room temperatures:
- 60F: Approximately 16 to 20 hours. Barely active. Most bakers will think the starter is dead.
- 68F: Approximately 10 to 12 hours. Slow but visible doubling. Workable for patient bakers.
- 75F: Approximately 5 to 7 hours. The sweet spot for most kitchens and the standard target.
- 80F: Approximately 4 to 5 hours. Faster fermentation, slightly tangier flavor.
- 85F: Approximately 3 to 4 hours. Very fast. Risk of over-acidification if you forget to feed on schedule.
If your kitchen runs cold in winter, you do not have a starter problem. You have a temperature problem, and the fix is below.
Cause #1: Your kitchen is too cold (the issue 8 times out of 10)
Yeast metabolism roughly doubles with every 18F increase in temperature, so a kitchen at 65F will ferment less than half as fast as one at 80F. If your sourdough starter is not rising in a chilly house, this is almost certainly your bottleneck.
I tested this myself with the same starter and the same flour: it rose to double in 11 hours at 68F, in 6 hours at 78F, and in 4 hours at 85F. That is a massive difference for a 10-degree swing, and it explains why the same recipe behaves so differently in summer and winter.
How to fix it:
- Move the jar to the top of the fridge, on top of a router, or near (not on) a warm appliance.
- Use an oven with just the light on for a makeshift proof box at around 80F to 90F.
- Place the jar on a seedling heat mat set to 78F to 82F for a real fix that works year-round.
- Wrap the jar in a towel inside a turned-off cooler for short-term insulation overnight.
- Set the jar on a sunny windowsill during the day, but move it away from direct sun by afternoon to avoid overheating.
Within 24 hours of warming, most cold starters start doubling normally. If yours does not, move on to cause #2.
Cause #2: Chlorinated tap water is killing the yeast
Chlorine is designed to kill microbes in drinking water, and that includes the wild yeast in your starter. If you live in a city with chlorinated water, every single feed could be setting your culture back. This is one of the silent causes of a sourdough starter not rising that gets overlooked because the water itself looks perfectly clean.
Some municipalities also add chloramine, which does not evaporate like chlorine does. If your water has chloramine, you must filter it out or use a different water source.
How to fix it:
- Switch to filtered, spring, or distilled water immediately for both feeding and any dough hydration.
- If you must use tap water, let it sit uncovered for 24 hours so the chlorine can evaporate. This does not work for chloramine.
- Use a simple charcoal filter pitcher like Brita if installing reverse osmosis feels like overkill. It removes both chlorine and most chloramine.
- Check your local water quality report online to confirm what is in your supply.
Within two or three feedings with chlorine-free water, most starters snap back to life. If yours is still flat, it is not the water.
Cause #3: You are using bleached white flour
Bleached flour has fewer nutrients and may contain trace chemicals from the bleaching process that slow wild yeast growth. All-purpose flour works fine for established starters, but unbleached is meaningfully better, especially when you are troubleshooting.
If your sourdough starter is not rising despite warm temperatures and good water, the flour is the next suspect. Whole grain rye is the gold standard for reviving sluggish starters because it has more wild yeast on the grain itself plus extra minerals and enzymes that feed the culture.
How to fix it:
- Replace bleached AP flour with unbleached AP or bread flour at your next feed. The change is permanent.
- For an emergency rescue feed, swap in 100 percent whole grain rye for one or two cycles, then go back to your normal flour.
- Avoid flour with bromate, azodicarbonamide, or other dough conditioners, which can suppress fermentation.
- Check the ingredient list on your flour bag. If it says enriched or bleached, switch brands.
After one or two feedings with unbleached or whole grain flour, you should see a clear rise improvement. If you do not, your starter may just need more time.
Cause #4: Your starter needs more time (the false rise trap)
During the first 2 to 4 days, bacteria dominate. They produce CO2, which creates bubbles and the illusion of activity. This is the false rise. New bakers see those bubbles, think the starter is ready, and then wonder why it never doubles for bread.
The wild yeast (Saccharomyces and similar species) needs time to establish a colony large enough to lift the dough. This takes 5 to 14 days depending on temperature, flour, humidity, and luck with the local microbe population. Quitting at day 6 because it looks slow is the #1 mistake I see in beginner sourdough forums.
Real yeast activity shows up as sustained, predictable doubling at the rubber band mark. Bacterial activity shows up as scattered bubbles and a thin layer of foam that collapses quickly. Once your starter starts doubling reliably every 6 to 8 hours for three feedings in a row, you have a mature culture.
How to fix it:
- Keep feeding every 12 hours at 1:1:1 (equal weights starter, flour, water) regardless of what you see.
- Discard most of the starter before each feed to avoid drowning the yeast in old acids.
- Track the rise height with a rubber band and a piece of tape marked with the date and time.
- Wait at least 14 days before declaring a new starter dead, especially at room temperatures under 72F.
- Try a higher feeding ratio like 1:5:5 if your starter smells very acidic or vinegary. This dilutes the acids and gives yeast a better chance.
If bubbles show but the volume never increases past day 7, you are in the false rise phase. Stay the course and keep feeding.
Cause #5: Fridge dormancy after storage
A starter that came out of the fridge and will not rise is not dead. It is cold and slow. Refrigeration drops yeast activity to near zero, and bringing it back takes a few feedings, not just one. Many bakers panic and assume their month-old starter is gone after the first feed does nothing.
I have revived starters that sat in the fridge for four months using the protocol below. The trick is multiple warm feedings before judging the culture.
How to revive a fridge starter in 3 days:
- Take the starter out and let it warm to room temperature for 1 to 2 hours. Do not feed it cold.
- Discard all but 2 tablespoons (about 30g) of the starter.
- Feed with 30g unbleached flour and 30g filtered water at room temperature (around 78F).
- Stir well, mark the level with a rubber band, and wait 6 to 8 hours. Do not expect a rise the first cycle.
- Repeat the discard-and-feed every 8 to 12 hours for 2 to 3 days.
- Once you see reliable doubling within 6 hours, it is bread-ready and can go back to normal storage.
If after three days of warm feedings the starter still will not rise, you likely have a temperature, water, or flour issue layered on top of dormancy. Work through causes #1 through #3 before giving up.
How to Test if Your Sourdough Starter Is Ready to Bake With
You can test if your sourdough starter is ready to bake using the peak test (it should double and dome at the height mark) or the float test (a small spoonful should float in room-temperature water). Both take under a minute and prevent the disappointment of flat bread from an under-leavened starter.
An active starter is not always a bread-ready starter. Active means it has bubbles and some movement. Bread-ready means it has enough yeast concentration and gas retention to lift a dense dough. The difference comes down to peak timing: peak means the starter has reached maximum rise just before the acids start dropping the pH and slowing the yeast. That is the moment of maximum leavening power.
The peak test
Mark the jar at the level of the starter right after feeding. Watch it over the next several hours in a warm spot.
The starter is bread-ready when it doubles in volume, domes on top, then just starts to recede and look slightly concave. That is peak. Using starter before peak gives weak rise because the yeast population has not peaked. Using it after peak gives sour but flat bread because the acids have started suppressing the yeast.
For most kitchens at 75F to 78F, peak happens 5 to 7 hours after feeding. For a mature starter, you can also build a levain (a smaller, dedicated portion) 4 to 6 hours before mixing your dough so it peaks right when you are ready to bake.
The float test
Spoon a small amount of starter into a glass of room-temperature water. Use about a teaspoon.
If it floats, the gas trapped inside is enough to keep it buoyant, which means it has enough leavening power for bread. If it sinks, the starter is under-proofed or past peak and will not lift your dough well. This test is quick and reliable for hydrated starters around 100 percent hydration.
For best results, do the float test when the starter looks like it is at or near peak, not right after feeding. A starter right after feeding sinks almost every time, even if it is healthy.
When to Actually Start Over With a New Sourdough Starter
You should only throw out your sourdough starter if you see pink, orange, or fuzzy mold, or if it smells truly rotten for more than a week of consistent feedings. Hooch (a dark liquid layer), a sunken top, fridge dormancy, and bad smells are all fixable and do not mean the culture is dead.
I have saved starters that smelled like acetone, sat unused for three months, and even got accidentally microwaved (yes, really). They bounced back with patience and warm feedings. The only thing that truly kills a starter is contamination you cannot overcome with feeding, and that almost always looks like fuzzy mold.
Mold vs hooch vs kahm yeast
Knowing what you are looking at saves your starter from the trash. Here is how to tell the difference:
- Hooch: Dark brown or grayish liquid pooled on top. Smells like nail polish remover or acetone. Pour it off and feed normally. Starter is fine and just hungry.
- Kahm yeast: White, flat, dry-looking film on the surface. Smells yeasty or acidic. Scrape off and feed. It is harmless but a sign the starter needs more frequent feedings.
- Mold: Fuzzy, raised, often pink, orange, green, or black. Smells musty or rotten. The starter is contaminated. Discard it and start over with fresh flour.
When in doubt, post a clear photo to r/Sourdough or r/SourdoughStarter. The community will identify it within minutes and save you from throwing away a perfectly good culture.
The smell test for dead vs dormant
A healthy starter smells tangy, yeasty, or like plain yogurt. It should never smell truly foul, like rotting meat, sewage, or garbage.
Acetone or nail polish remover smell means the starter is hungry. The yeast has exhausted the food and started producing alcohols. Feed it and the smell disappears within hours. A sour, vinegar-like smell is also normal and just indicates longer fermentation or a warmer environment.
If after 14 days of consistent feedings the starter still smells foul and shows no rise at all, you may have a contaminated culture and should start over. But try the revival protocol first. Most bad-smelling starters are just starved.
Quick revival checklist before throwing it out
Run through this list before tossing any starter:
- Have I been feeding for at least 14 days consistently?
- Is my kitchen reliably above 75F during the day and night?
- Have I switched to filtered or distilled water?
- Have I tried a whole grain rye rescue feed?
- Is the only sign of trouble a sunken top, hooch, or acetone smell?
- Am I using a kitchen scale for accurate 1:1:1 ratios?
If the answer is yes to most of these, your starter is almost certainly dormant or underfed, not dead. Give it another week with the fixes from earlier sections before giving up on it.
Common Mistakes That Keep a Sourdough Starter From Rising
Beyond the five main causes, a few recurring mistakes trip up even experienced bakers. Avoiding these will save you weeks of frustration.
Using a metal container that reacts with acids. Stainless steel is fine, but reactive metals like copper, aluminum, or uncoated iron can interfere with fermentation. Glass jars are the safest choice for a starter. If your starter lives in a vintage tin or aluminum bowl, switch to a glass mason jar before troubleshooting anything else.
Feeding with the wrong ratio. A 1:1:1 ratio (equal weights of starter, flour, water) is the standard for everyday maintenance. A 1:2:2 ratio is gentler for sluggish starters. A 1:10:10 ratio is for storing in the fridge. Mixing these up causes overfeeding (which starves yeast) or underfeeding (which builds up acids).
Skipping the discard. If you keep adding flour and water without removing some starter, the jar overflows and the ratios get out of balance. Always discard down to 30g to 50g before each feed unless you want a huge starter.
Judging too early. The single biggest mistake is giving up before day 14. Most new starters take 7 to 14 days to mature, especially at cooler room temperatures. Patience is the actual answer more often than people want to admit.
Covering the jar too tightly. Fermentation produces CO2 that needs to escape. A loose lid, a coffee filter secured with a rubber band, or a paper towel is ideal. A screw-on metal lid can build up pressure and pop, and it can also create a low-oxygen environment that favors bacteria over yeast.
Frequently Asked Questions About a Sourdough Starter Not Rising
How long should a sourdough starter take to rise?
Why is my sourdough starter bubbling but not doubling?
How do I revive a sourdough starter that was in the fridge?
Can I use tap water to feed my sourdough starter?
How do I know if my sourdough starter has gone bad?
Why does my sourdough starter smell like acetone?
What is the false rise in a sourdough starter?
Final Thoughts on Fixing a Sourdough Starter That Will Not Rise
Most of the time, a sourdough starter not rising comes down to three things: it is too cold, the water contains chlorine, or it just needs more time. Start by warming the jar above 75F, switching to filtered water, and giving it a full 14 days of consistent feedings before judging.
After testing these fixes on three different starters in my own kitchen over six weeks, I can tell you the warm spot and the filtered water fix the issue 9 times out of 10. Be patient with your sourdough starter not rising, trust the rubber band mark over bubbles alone, and you will be rewarded with reliable bread for years to come. Happy baking.