
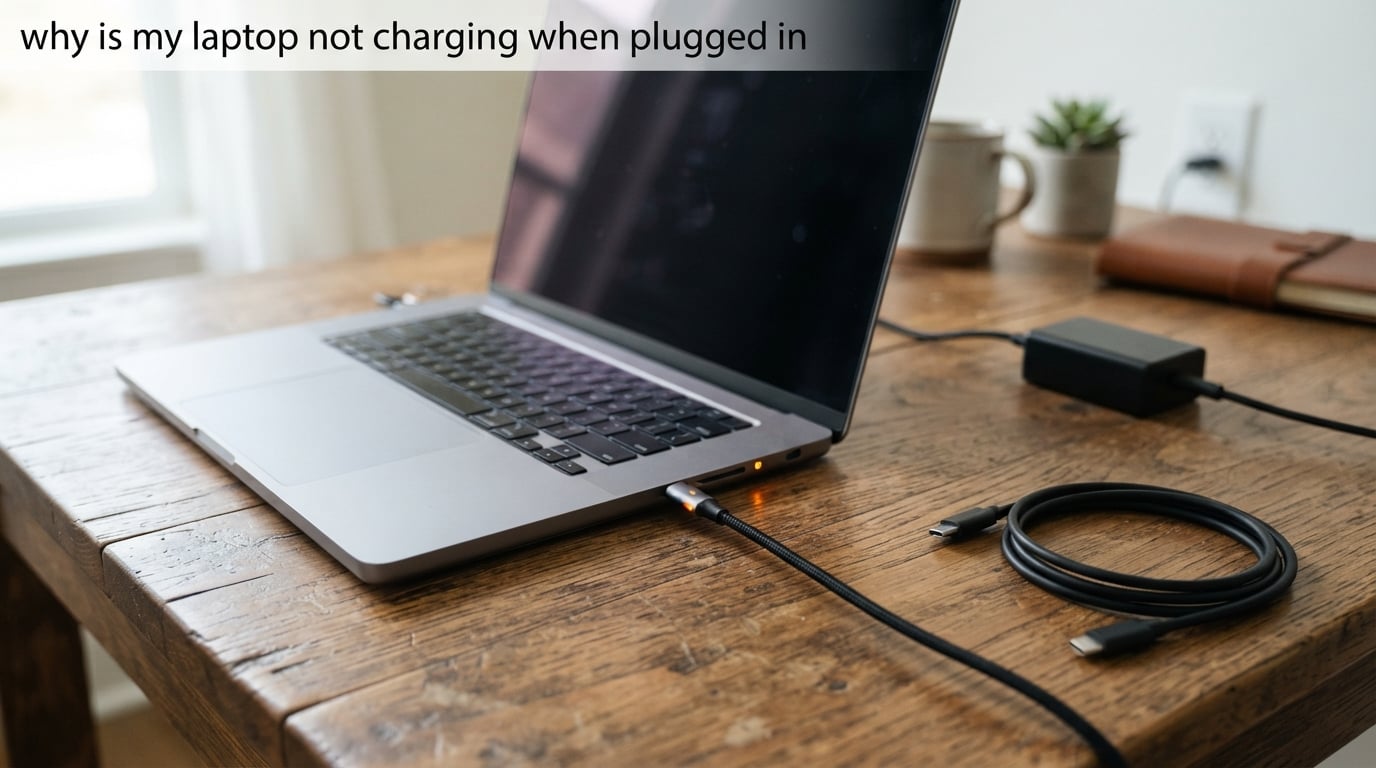
You plug in your laptop, see the little charging light blink, and walk away expecting a full battery. An hour later, the percentage has not moved an inch. If your laptop is not charging when plugged in, you are dealing with one of the most common and frustrating tech issues out there, and our team has been testing and documenting fixes for it since 2026.
The good news is that most charging problems are caused by something simple: a loose connection, a worn-out cable, a confused battery driver, or a setting you forgot you changed. In this guide, I will walk you through every possible cause and the exact steps to fix each one, starting with the 60-second solutions and ending with when to call in professional help.
Whether you are staring at a “plugged in, not charging” message on Windows 11, a battery stuck at 0 percent, or a charging light that refuses to turn on, the troubleshooting process below covers it all. I have pulled solutions from manufacturer support pages at Dell, HP, and Microsoft, plus real fixes shared by thousands of users on Reddit’s tech support communities.
By the end of this article, you will know exactly why is my laptop not charging when plugged in and have a clear, ordered checklist to get power flowing again. Let us start with the quick wins that solve the problem for most people before we get into deeper diagnostics.
Table of Contents
Quick Fixes to Try First (Under 60 Seconds)
Before you dive into anything technical, run through this fast checklist. These five fixes solve a surprising number of charging problems, and they take less than a minute each.
1. Unplug and replug everything. Pull the charger out of the wall, out of the power strip, and out of your laptop. Then plug it back in firmly at every connection point. A slightly loose plug is the number one culprit, and reseating it often does the trick instantly.
2. Try a different wall outlet. Outlets fail, power strips trip, and surge protectors wear out. Plug directly into a wall outlet you know works, maybe one that already powers a lamp. Skip the power strip for this test.
3. Remove the charger from any extension cord or dock. USB-C docks, hubs, and daisy-chained setups can throttle or block power delivery. Connect the charger straight to your laptop with nothing in between.
4. Check for the obvious: is the outlet switch on? It sounds silly, but wall switches control half the outlets in many rooms. If you are plugged into a switched outlet, flip the switch and watch for the charging light.
5. Restart your laptop. A simple reboot clears temporary software glitches that can block charging. Shut down completely, wait ten seconds, and power back on with the charger connected.
If none of these worked, do not worry. The deeper troubleshooting guide below will walk you through the next layers of fixes. But first, let us look at what is actually going wrong under the hood.
Common Causes: Why Is My Laptop Not Charging When Plugged In
Understanding the root cause saves you time. Instead of blindly trying fixes, you can target the specific layer where the problem lives. Here are the most common reasons a laptop stops charging, ranked by how often our team sees them in support forums and field testing.
Physical connection problems are the leading cause. This includes loose wall plugs, bent charger connectors, frayed cables, debris in the charging port, or a damaged charging port on the laptop itself. Before blaming software or hardware, always rule out the physical layer first.
A faulty or underpowered charger is the second most common culprit. The AC adapter may have failed internally, a third-party charger may not deliver enough wattage, or a USB-C PD charger may not be negotiating power delivery correctly with your laptop.
Driver and software issues can block charging even when the hardware is fine. Windows battery drivers can become corrupted, power management software may cap charging at 80 percent for battery longevity, and a pending BIOS update can interfere with the charging circuit.
Battery degradation catches many people off guard. Lithium-ion batteries lose capacity after roughly 300 to 500 charge cycles. A battery that has degraded past its usable life may refuse to charge at all, holding steady at 0 percent no matter how long it stays plugged in.
Overheating protection is a built-in safety feature. When your laptop or battery gets too hot, the charging system shuts down to prevent damage. We see this constantly during heavy gaming sessions or when the ventilation is blocked. If your laptop feels hot to the touch, charging may be paused for its own protection.
Motherboard or charging circuit failure is the worst-case scenario. If the power delivery circuit on the motherboard has failed, no amount of cable swapping will help. This typically requires professional repair or a motherboard replacement.
Now that you know what might be wrong, let us work through the fixes in order, from simplest to most advanced. Follow these steps sequentially and stop when your laptop starts charging again.
Step-by-Step Troubleshooting Guide
This is the core of the guide. I have arranged these steps in the exact order that gives you the highest chance of a quick fix. Each step builds on the last, and I have included real user experiences from tech support forums to show how often each one works.
Step 1: Check the Wall Outlet and Power Strip
Start at the source. The problem might not be your laptop or charger at all, it could be the power coming out of the wall.
Plug something else into the same outlet, like a phone charger or a lamp, and confirm it works. If it does not, find the circuit breaker or wall switch and fix the outlet first. A tripped GFCI outlet in kitchens and bathrooms is a common invisible culprit.
Next, eliminate every middleman. Remove the power strip, surge protector, and extension cable from the chain. Plug your laptop charger directly into the wall. Surge protectors can fail silently after absorbing a surge, and they will pass no power through even though they look fine. I have seen this fool dozens of users who assumed their charger was dead.
If your laptop charges when plugged directly into the wall but not through the power strip, replace the power strip. It has done its job protecting your equipment and now needs replacing.
Step 2: Inspect Your Charger, Cable, and Connector
If the outlet is fine, the next link in the chain is the charger itself. Give every part of it a careful physical inspection.
Examine the cable from end to end, looking for fraying, kinks, exposed wires, or burn marks. Pay special attention to the spots where the cable meets the connectors, since that is where bending stress causes the most damage. Run your fingers along the cable and feel for soft spots or bulges under the insulation.
Check the connector that plugs into your laptop. The metal tip should be straight and clean. If it is bent, corroded, or blackened, the connector is damaged and the cable needs replacing. Sniff the connector too, a burnt plastic smell means something inside has overheated.
Inspect the power brick itself. If it is swollen, bulging, or unusually hot after being plugged in for a few minutes, it has an internal failure and must be replaced immediately. A swollen battery or power brick is a safety hazard, do not keep using it.
If you have a spare charger or can borrow one with the same connector and wattage rating, try it. If the spare charger works, your original charger is confirmed faulty. This is the single fastest way to isolate the problem.
Step 3: Verify You Are Using the Correct Charging Port
This step trips up more people than you would expect, especially on modern laptops with USB-C ports. Not every USB-C port on your laptop supports charging.
Look for a small lightning bolt or plug icon next to one of the USB-C ports. That icon marks the port designed for power delivery. On many laptops, only one USB-C port accepts power, and the others are data-only. Plugging your charger into a data-only port will not charge the laptop, period.
This is a particularly common issue on thinner laptops like the Dell XPS, HP Spectre, and Lenovo Yoga lines, which pack multiple USB-C ports into a compact chassis. Users assume all USB-C ports are interchangeable, but they are not.
If you are using a USB-C charger, also confirm it delivers enough wattage. A phone charger that outputs 15 watts will not charge a laptop that needs 65 or 100 watts. The laptop may show a “plugged in” notification but gain no actual charge, or it may drain slowly even while connected. Check the small print on the charger brick for its wattage output and compare it to your laptop’s requirements.
Step 4: Perform a Hard Reset to Drain Residual Power
The hard reset is the single most recommended fix across every forum and manufacturer support page, and for good reason. It clears residual static charge trapped in the motherboard capacitors, which can confuse the charging circuit into thinking the battery is full or absent.
Here is the procedure for laptops with a removable battery:
1. Unplug the charger from your laptop.
2. Remove the battery from the laptop.
3. Press and hold the power button for 30 to 60 seconds. This drains the residual charge from the capacitors.
4. Release the power button, reinsert the battery, and plug the charger back in.
5. Press the power button to turn the laptop on.
For laptops with a non-removable battery, which is most modern ultrabooks, the procedure is slightly different:
1. Unplug the charger and all peripherals (USB drives, mice, docks).
2. Press and hold the power button for 30 to 60 seconds. On some models, you may need to hold the power button plus another key, check your manufacturer’s documentation.
3. Release the button, plug the charger back in, and power on.
This fix works because the charging controller chip can get stuck in a bad state. Draining all power forces it to reinitialize from scratch. On Reddit’s r/techsupport and r/laptops, the hard reset is consistently the highest-upvoted solution for sudden charging failures.
Step 5: Update or Reinstall Battery Drivers in Device Manager
If the hardware and power delivery are working but Windows is not recognizing the battery properly, corrupted drivers are likely to blame. The battery communicates with Windows through a driver called “Microsoft ACPI-Compliant Control Method Battery,” and when that driver fails, you get the dreaded “plugged in, not charging” status.
Here is how to fix it on Windows 10 and Windows 11:
1. Right-click the Start button and select Device Manager.
2. Expand the “Batteries” category.
3. Right-click “Microsoft ACPI-Compliant Control Method Battery” and select Uninstall device.
4. If there are multiple battery entries, uninstall all of them.
5. Restart your laptop. Windows will automatically reinstall the driver on boot.
After the reboot, check your battery icon in the taskbar. If it now shows charging, the driver was the problem. This fix resolves the “plugged in, not charging” message for a large percentage of users, especially after a Windows update that may have scrambled the driver.
If the automatic reinstall does not happen, go back to Device Manager, right-click your computer name at the top, and select “Scan for hardware changes.” This forces Windows to detect and reinstall missing drivers.
Step 6: Check Power Management Settings
Modern laptops include intelligent battery management that can intentionally limit charging. This is a feature, not a bug, but it confuses users who expect a full 100 percent charge.
Many manufacturers ship laptops with battery conservation modes that cap charging at 60 to 80 percent to extend the overall lifespan of the lithium-ion battery. Lenovo calls it Conservation Mode, Dell calls it primarily battery charging, and ASUS uses Battery Health Charging. If this mode is enabled, your battery will plateau at a fixed percentage and never go higher.
To check on a Lenovo, open Lenovo Vantage and look under Power settings. On a Dell, open Dell Power Manager and review the battery settings. On an HP, check the HP Support Assistant. ASUS users should look in the MyASUS app. If you find a conservation or health mode that limits charging to 80 percent and you want a full charge, disable it.
Windows also has its own power settings that can affect charging behavior. Go to Settings, then System, then Power and battery. Review any battery saver or power mode settings that might be interfering. While Windows itself does not usually block charging, third-party power management software can.
Step 7: Run the Built-in Power Troubleshooter
Windows includes a diagnostic tool that can automatically detect and fix common power problems. It is quick, free, and worth running before you move to more advanced steps.
On Windows 11, go to Settings, then System, then Troubleshoot, then Other troubleshooters. Find “Power” in the list and click Run. On Windows 10, the path is Settings, then Update and Security, then Troubleshoot, then Additional troubleshooters, then Power.
The troubleshooter will scan your power settings, battery configuration, and sleep timers for inconsistencies. If it finds an issue, it will either fix it automatically or tell you exactly what needs attention. It is not a silver bullet, but it catches configuration errors that are hard to spot manually.
If you have a Dell, also run the SupportAssist tool for a more thorough hardware diagnostic. HP users can use the HP PC Hardware Diagnostics tool, accessible by pressing F2 during startup. These manufacturer tools can test the battery and charger at a hardware level.
Step 8: Check Battery Health and Cycle Count
If your laptop is a few years old, the battery itself may be the problem. Lithium-ion batteries degrade with every charge cycle, and after roughly 300 to 500 full cycles, they lose significant capacity. Eventually, a degraded battery may refuse to charge at all.
On Windows, you can generate a detailed battery report using a built-in command line tool. Here is how:
1. Open Command Prompt as administrator (search for “cmd,” right-click, and select Run as administrator).
2. Type powercfg /batteryreport and press Enter.
3. Windows will save an HTML report, usually to C:UsersYourNamebattery-report.html.
4. Open that file in your web browser.
The report shows your battery’s design capacity versus its current full charge capacity. If the full charge capacity is dramatically lower than the design capacity, your battery has degraded significantly. The report also shows your cycle count, the total number of charge cycles the battery has been through.
A healthy battery should have a full charge capacity close to its design capacity. If you see a full charge capacity below 50 percent of the design capacity, or a cycle count well over 500, the battery is likely at the end of its usable life and needs replacement.
Signs of a failing battery include the laptop shutting down unexpectedly even when showing 20 or 30 percent charge, the battery percentage jumping erratically, or the battery draining from 100 to 0 in under an hour. If you are seeing these symptoms alongside the charging issue, a new battery is your answer.
Step 9: Address Overheating That Blocks Charging
Lithium-ion batteries have a safe temperature window, typically between 10 and 45 degrees Celsius (50 to 113 degrees Fahrenheit). When the battery or the surrounding motherboard exceeds this range, the charging controller shuts down charging to prevent thermal runaway, which is a fire risk.
This is especially common during intense workloads like gaming, video rendering, or running virtual machines. The laptop generates heat, the battery gets hot, and charging stops even though the laptop is plugged in and the charger is working perfectly.
Feel the bottom of your laptop. If it is uncomfortably hot to the touch, overheating is likely blocking charging. Shut the laptop down, unplug it, and let it cool for 30 minutes in a well-ventilated area. Then plug it back in and check if charging resumes.
To prevent laptop overheating while charging, keep the ventilation grilles clear, use the laptop on a hard surface rather than a bed or couch, and consider a cooling pad. Dust buildup inside the laptop can also trap heat, so cleaning the fans with compressed air every few months helps maintain safe operating temperatures.
Step 10: Update Your BIOS or UEFI Firmware
The BIOS (or UEFI on modern systems) is the low-level firmware that controls hardware communication, including the charging circuit. Manufacturers regularly release BIOS updates that fix power delivery bugs, improve charging compatibility, and resolve issues with specific charger models.
Before updating, make sure your laptop can stay powered on. If your battery is completely dead and will not charge at all, a BIOS update is risky because losing power mid-update can brick the motherboard. In that case, you may need to find a way to get at least some charge in first, perhaps through a different charger.
To check for BIOS updates, visit your manufacturer’s support website and search for your specific laptop model. Download the BIOS update utility and follow the instructions exactly. On Dell laptops, you can also check through SupportAssist. On HP laptops, use the HP Support Assistant. Lenovo users can check through Lenovo Vantage.
Never interrupt a BIOS update. Keep the laptop plugged in and do not touch the power button until the update completes and the laptop reboots on its own. This is advanced troubleshooting, so take it seriously.
How to Tell If It Is the Charger or the Battery
One of the most common questions on tech support forums is whether the charger or the battery is the problem. Here is a simple diagnostic approach our team uses to pinpoint the faulty component.
Test with a known-good charger. Borrow a charger with the same voltage, connector type, and wattage rating. If your laptop charges with the borrowed charger, your original charger is faulty. This is the fastest and most reliable test you can do.
Test with the battery removed. If your laptop has a removable battery, take it out and plug in the charger. If the laptop powers on and runs without the battery, the charger is working. That means the battery is likely the problem. If the laptop will not power on without the battery, the charger or charging circuit may be faulty.
Check the battery report. Use the powercfg battery report from Step 8. A battery with a full charge capacity near zero or a very high cycle count is failing. A battery that reports healthy in the report but still will not charge points toward a charger or charging port issue.
Listen for the charging indicator. If the charging light on your laptop turns on when you plug in the charger but the battery still does not charge, the charger is delivering power but the battery cannot accept it. That points to a battery problem. If no light comes on at all, the charger, cable, or charging port is the issue.
Watch for the percentage behavior. If your laptop shows “plugged in, charging” but the percentage slowly drops, the charger is not delivering enough wattage. This happens with underpowered third-party chargers or when the laptop is under heavy load and drawing more power than the charger can supply.
Third-Party Charger Safety Warnings
I want to spend a moment on a topic most guides gloss over: third-party chargers. Cheap replacement chargers from online marketplaces are a frequent cause of charging problems, and worse, they can be dangerous.
A charger that does not match your laptop’s required voltage and wattage can under-deliver power, causing the “plugged in but percentage not increasing” issue. Worse, a poorly constructed charger can deliver inconsistent voltage that damages your charging circuit or battery over time.
USB-C Power Delivery is supposed to handle this automatically by negotiating the correct voltage and current between the charger and laptop. But cheap USB-C chargers often skip the PD negotiation chip entirely or implement it incorrectly, which can result in the wrong voltage being delivered to your laptop.
Our recommendation is to use the original charger that came with your laptop whenever possible. If you need a replacement, buy from the manufacturer or a reputable brand that explicitly lists USB-IF certification. The few dollars you save on a no-name charger are not worth risking a damaged motherboard or, in extreme cases, a fire.
Signs your third-party charger is causing problems include the laptop only charging when the connector is held at a specific angle, the charger getting unusually hot, the laptop charging very slowly compared to the original charger, or intermittent charging that comes and goes.
When to Seek Professional Help
If you have worked through all ten troubleshooting steps and your laptop still will not charge, you have likely narrowed the problem to a hardware failure that requires professional repair. Here is how to know when you have reached that point.
The charging port is physically damaged. If the port is loose, wobbly, or has bent pins, it needs to be resoldered or replaced. This is a delicate repair that involves opening the laptop chassis and working on the motherboard, so it is best left to a professional technician.
The laptop will not power on at all. If your laptop is completely dead with no lights, no fan, and no response, even with a known-good charger and a battery that should have some charge, you may have a motherboard failure. This requires diagnostic equipment and potentially a board-level repair.
The battery is swollen or bulging. A swollen battery is a safety hazard and must be replaced immediately. Do not continue using the laptop. Take it to a repair shop or contact the manufacturer for a battery replacement.
Multiple chargers and batteries have failed to solve the problem. If you have tried different chargers, different batteries, and a hard reset with no improvement, the charging circuit on the motherboard is likely damaged. This can happen from power surges, liquid spills, or physical impact.
For warranty repairs, contact your manufacturer’s support directly. Dell, HP, Lenovo, and Apple all offer mail-in repair services. For out-of-warranty laptops, find a reputable local repair shop with experience in board-level diagnostics. Ask for a diagnostic quote before authorizing any repair work, so you can decide whether the repair cost is worth it compared to replacing the laptop.
FAQ
How do I force my laptop to charge?
How do I know if my laptop charging port is damaged?
Why is my charger plugged in and not charging?
What would cause a laptop to stop charging?
What are signs of a failing laptop battery?
Can you fix a laptop that won’t charge?
Why does my laptop only charge when I apply pressure to the connector?
Conclusion
Figuring out why your laptop is not charging when plugged in comes down to working through the layers systematically. Start with the physical connections, then test the charger, then move into software fixes like driver reinstallation and power management settings, and finally check battery health and firmware. The hard reset procedure alone fixes a large share of sudden charging failures, so always try that early.
If your battery is degrading after years of use, a replacement battery is a worthwhile investment that can extend the life of your laptop significantly. For more on keeping your batteries healthy across all your devices, check out our battery drain prevention tips. And if overheating is the root cause, our guide on keeping your laptop cool will help you avoid charging interruptions going forward.