
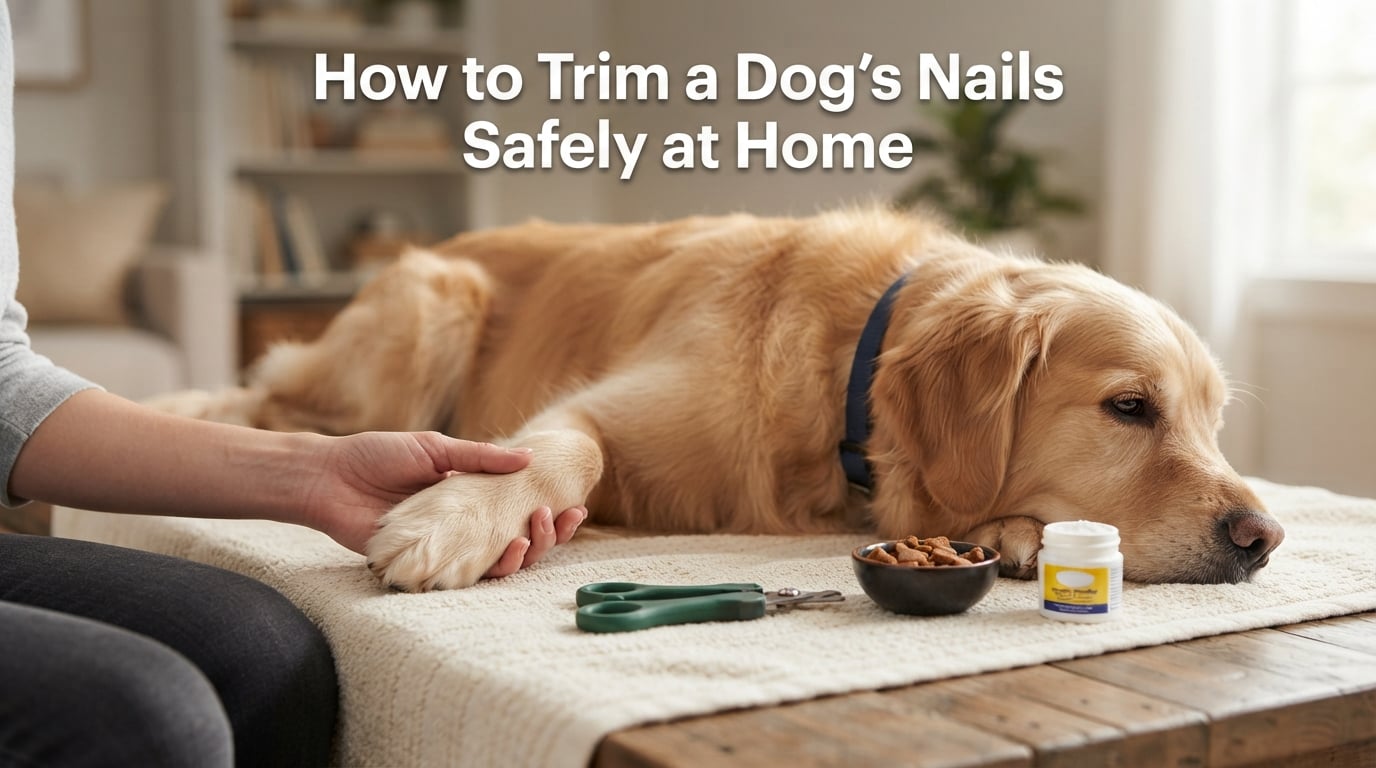
You can trim a dog’s nails safely at home by working in bright light, taking off only the tip of one nail at a time, and stopping well before the quick. The quick is the blood vessel and nerve inside the nail, so small cuts and frequent breaks are kinder than trying to finish every paw at once.
How to Trim a Dog’s Nails Safely at Home is less about a perfect single session and more about building a repeatable, low-stress routine. Regular dog nail care can reduce discomfort from overgrown nails, protect household surfaces, and give the quick a chance to recede when nails have become long.
Most beginners worry about making a nail bleed, especially when their dog has black dog nails or pulls a paw away. That worry is understandable; a calm plan, a prepared bleeding-control item, and permission to stop make the task much more manageable.
Table of Contents
Regular trims start when you notice nails touching or tapping
A dog’s nails may need attention when they click on a hard floor while the dog walks, curve toward the paw pad, snag on fabric, or look long enough to change how the toes meet the ground. A common starting rhythm is every two to four weeks, but pavement walking, activity level, age, and nail growth all change that schedule.
Check the dewclaws too. These nails sit higher on the inside of the leg and often do not wear down on walks, so they can curl into the skin if they are forgotten.
Definition: The quick is the living tissue inside a dog nail. It contains a blood vessel and nerves, which is why cutting into it hurts and causes bleeding.
Ask a veterinarian or an experienced groomer for help instead of forcing an at-home trim if a nail is split, torn, embedded in a paw pad, severely curled, or painful to touch. Professional help is also the sensible choice when a dog is panicking, snapping, or cannot be held safely without a struggle.
A calm setup needs light, control, rewards, and a bleeding plan
Choose a quiet spot with a non-slip surface and enough light to inspect the nail end. Have dog nail clippers or a dog nail grinder ready, plus treats, a towel, and styptic powder made for pets; cornstarch is a commonly mentioned backup for a minor nail-tip bleed.
Scissor clippers for dogs work like small pruning shears and can offer good control, particularly on thicker nails. Guillotine clippers for dogs have a ring that the nail passes through, while a nail grinder for dogs files away tiny amounts instead of making a single cut.
Neither approach suits every dog. Clippers are quick and quiet, while a grinder may feel less abrupt for dogs that dislike clipping but can take longer and may require gradual sound training.
Tip: Put the styptic powder within reach before you begin, not across the room. Knowing it is ready can help a nervous owner keep their hands steady.
The quick is easier to spot in light nails and must be approached slowly in dark nails
On light-colored nails, the quick often appears as a pink area inside the pale nail. Leave a small margin before it; research reviewed for this guide recommends about 2 millimeters from the quick rather than trying to cut close to it.
On dark dog nails, you usually cannot see the quick from the side. Trim a paper-thin piece from the hooked end, inspect the new surface, and repeat only when the center still looks dry and pale.
As you approach the living tissue in a dark nail, the cut surface may show a gray-to-pink oval or a darker central dot. Stop there. This small-increment method is slower, but it is the safest way to trim black dog nails.
Warning: Do not rely on another dog’s nail length as a cutting guide. Quick length varies from nail to nail, and nails that have been overgrown can have longer quicks.
How to Trim a Dog’s Nails Safely at Home: use seven small, calm steps
The safest way to trim dog nails is to isolate one toe, remove only a tiny amount, inspect it, and reward the dog before moving on. For a first session, one successful nail is meaningful progress.
- Settle the dog first. Let your dog stand, sit, lie on a side, or rest against your body in the position where they are most relaxed. Do not begin when they are excited after play or already upset.
- Hold one paw without squeezing. Place your thumb beneath a toe on the paw pad and your finger on the skin above the nail. Apply gentle pressure to extend the nail and keep the toe separate from its neighbors.
- Find the safe tip. For a light nail, identify the pink quick and leave space in front of it. For a dark nail, begin at the very end of the hooked tip.
- Make a small cut or short grind. With clippers, place the cutting edge across the tip at about a 45-degree angle and take off a thin slice. With a grinder, touch the nail for a second or two, then pause so you do not create heat.
- Inspect the nail surface. Look for the gray-to-pink oval on dark nails or for your remaining margin on light nails. Stop immediately if you are nearing either marker.
- Reward and release the paw. Give a small treat and praise after every nail or even after every calm paw hold. Releasing the paw matters because it teaches your dog that handling ends predictably.
- Finish only while the dog is coping. Move to the next nail if your dog remains comfortable. If body tension, pulling, lip licking, growling, or repeated escape attempts increase, end the session and try again later.
Keep the clippers parallel to the floor only if that matches the shape of the tip; the point is to remove the hooked end while staying away from the quick, not to copy one fixed angle on every nail. Avoid squeezing the toe hard, because it can make a dog pull away.
A nail grinder works best in brief touches
A grinder is an alternative for people who want to remove less at a time. Hold the paw securely, move fur away from the spinning area, touch the nail briefly, and check the nail after each pass.
Begin by rewarding your dog for seeing and hearing the switched-off grinder. Next, run it several feet away, reward calm behavior, and gradually work closer over separate sessions before asking for contact with a nail.
Dark nails and overgrown nails need smaller cuts over more sessions
For black dog nails, aim for several tiny cuts rather than one large clip. The center of a freshly cut nail gives feedback: a dry, chalky-looking surface means you can reassess, while a gray or pink oval signals that it is time to stop.
Overgrown dog nails should not be corrected all at once. Trim only the safe tip, then repeat on a regular schedule; as the nail is maintained, the quick can gradually recede and allow a shorter healthy nail length later.
Do not forget dewclaw trimming. Because dewclaws are curved and may be close to the leg, scissor-style clippers can make it easier to see where you are placing the cutting edge, but the same small-cut rule applies.
A cut quick usually needs pressure and styptic powder, not panic
If you cut the quick, your dog may yelp and the nail may bleed. Stay calm, hold the paw gently, and use your prepared styptic powder according to its instructions; applying gentle pressure with a clean material can also help.
- Stop trimming and keep your dog from licking or running around.
- Apply the bleeding-control powder or cornstarch to the nail tip with gentle, steady pressure.
- Give the dog a calm break and keep the area clean and dry.
- Contact a veterinarian if bleeding is heavy, does not stop, the nail is damaged, or your dog seems unusually painful.
A quick cut is upsetting, but it does not mean you have failed or that your dog can never learn nail trimming. Make the next session shorter and go back to simple paw handling and treats before attempting another cut.
An anxious dog learns through short practice sessions and choice
Dogs that hate nail trimming often react to the restraint, sound, or previous unpleasant experience rather than the nail itself. Forum discussions repeatedly describe success with mock clippings, lickable distractions such as a lick mat, and stopping before anxiety becomes overwhelming.
Do not sedate your dog at home for a nail trim unless a veterinarian has prescribed and explained a specific plan for your individual dog. Sedation can carry risks and may hide distress rather than teach comfortable handling.
A six-day reset makes nail handling less alarming
- Day 1: Touch a shoulder, leg, and paw briefly, then reward.
- Day 2: Hold each paw for a second or two and reward before the dog pulls away.
- Day 3: Gently press a toe to show one nail, then reward.
- Day 4: Place the closed clippers beside a nail or run the grinder at a distance, then reward.
- Day 5: Repeat the tool introduction and make one mock clipping without cutting.
- Day 6 and beyond: Trim or grind one tiny tip, reward generously, and stop while the dog remains calm.
Repeat any day as often as needed. For an adult rescue dog with an unknown grooming history, beginning at Day 1 is not a setback; it is useful information about what that dog needs to feel safe.
Tip: If you feel tense, plan to do one nail and stop. A small win is more useful than pushing through a full paw while both of you are worried.
Puppies and senior dogs benefit from gentler timing and positioning
Trimming puppy nails can start with very brief, reward-heavy handling, even if you only touch paws and show the clippers at first. Puppy nails are often sharp, and early calm practice can make later at-home dog grooming less stressful.
Senior dogs may have thicker, more brittle nails, reduced balance, arthritis, or less patience for standing. Use a stable surface, select a comfortable resting position, avoid forcing joints, and break dog nail trimming into short sessions.
For either age group, pause if a paw looks sore, a nail has changed color or texture, or your dog’s walking changes. Nail care does not replace veterinary assessment when there may be pain or injury.
FAQs answer the most common dog nail trimming concerns
How do you trim a dog’s nails for beginners?
What is the safest way to trim your dog’s nails?
How do you avoid cutting a dog’s nails too short?
What can I use to sedate my dog so I can cut her nails?
How do groomers cut dog’s nails that won’t let you?
Safe at-home trimming comes from small cuts and patient practice
How to Trim a Dog’s Nails Safely at Home comes down to bright light, a clear view of each nail, tiny cuts, and a willingness to stop early. Build confidence one calm paw at a time, keep bleeding supplies close, and bring in a veterinarian or groomer whenever pain, injury, or fear makes the task unsafe.