
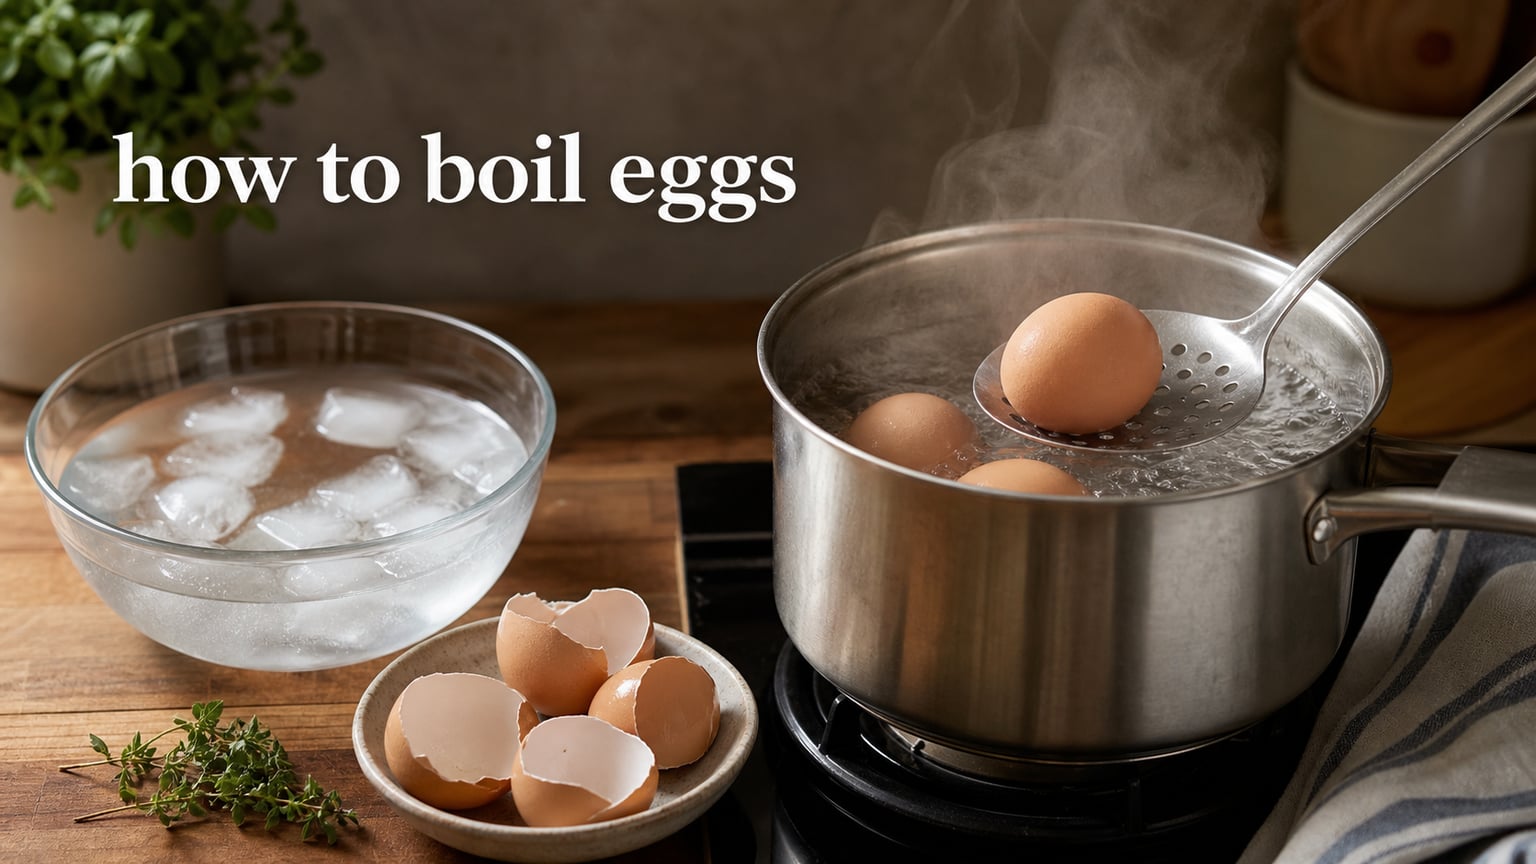
Here is the short version: to learn how to boil eggs the foolproof way, bring a pot of water to a rolling boil first, lower fridge-cold eggs in with a slotted spoon, then cook them 6 minutes for runny yolks, 8 minutes for soft and jammy, or 10 to 12 minutes for fully hard-boiled. Move them straight into an ice bath the moment the timer goes off. That single method works for every doneness level and produces eggs that peel cleanly with bright yellow yolks.
I have used this exact method hundreds of mornings over the past few years, and it has eliminated the two problems that used to drive me crazy: shells that stick and yolks with that ugly grey-green ring around the edge. In this 2026 guide I will walk you through the full step-by-step method, a complete timing chart for every doneness level, peeling tips that actually work, and fixes for the most common boiled egg disasters.
Table of Contents
Quick Answer: How to Boil Eggs
If you only have 30 seconds, here is everything you need to know about how to boil eggs.
Start with boiling water. Fill a saucepan with enough water to cover the eggs by an inch, then bring it to a rapid boil.
Lower eggs in gently. Use a slotted spoon to ease fridge-cold eggs into the boiling water so they do not crack on the bottom of the pot.
Reduce to a gentle simmer. A rolling, violent boil bashes the eggs around and cracks them.
Set your timer. Six minutes for runny, eight for soft and jammy, ten for hard-boiled.
Ice bath immediately. This stops the cooking and loosens the shell for easy peeling.
That is the entire method. Everything below is the detail that turns good eggs into perfect ones.
How to Boil Eggs: Step-by-Step Method
This is the boiling-water-first method, and it is the one that consistently gives me clean shells and tender whites. Follow it exactly the first few times, then adjust the timing to your taste.
Step 1: Choose Your Eggs
Use eggs that are at least a few days old rather than farm-fresh ones. Older eggs have a larger air pocket inside the shell, which makes them dramatically easier to peel after boiling. If you only have very fresh eggs, add an extra minute to the cook time and plan for a slightly more difficult peel.
Large eggs are the standard for all the timings in this guide. If you are using medium eggs, subtract about 30 seconds. For extra-large or jumbo eggs, add 30 to 60 seconds.
Step 2: Boil the Water First
Fill a saucepan with enough water to submerge the eggs by at least an inch, then set it over high heat. Wait until the water reaches a rolling boil with large bubbles breaking the surface before adding the eggs.
This is the single most important step, and it is where most people go wrong. Starting with already-boiling water means the eggs cook for a predictable amount of time no matter how fast your stove heats. With the cold-water start method, the actual cook time changes every time because you never know exactly when the water hits boiling.
Step 3: Lower the Eggs In Gently
Use a slotted spoon to lower each egg into the boiling water one at a time. Move slowly. Dropping eggs from even a small height will crack the shell against the bottom of the pot, and cracked eggs leak whites into the water and turn into a mess.
If you are cooking more than four or five eggs, work in batches or use a larger pot. Crowding the pan drops the water temperature and throws off your timing.
Step 4: Reduce to a Gentle Simmer
The moment all the eggs are in, turn the heat down just enough to keep a steady, gentle simmer with small bubbles rising. You do not want a violent, rolling boil. Eggs bouncing around in turbulent water crack against each other and against the pot.
Step 5: Start the Timer
Start your egg timer as soon as you have reduced the heat. This is the moment that counts, not when you put the eggs in. Use the timing chart in the next section to pick your target doneness.
Step 6: Prepare the Ice Bath While Eggs Cook
While the eggs simmer, fill a bowl with cold water and a generous handful of ice cubes. The ice bath needs to be ready the instant the timer goes off. Every extra second the eggs sit in hot water continues the cooking, which is how you end up with overcooked, rubbery whites and that grey-green ring around the yolk.
Step 7: Transfer to the Ice Bath
When the timer rings, use your slotted spoon to move the eggs straight from the simmering water into the ice bath. Let them sit for at least 5 minutes, or up to 15 minutes if you want the easiest peeling. The cold shock shrinks the egg slightly inside the shell and pulls it away from the membrane.
Step 8: Peel (Or Store)
Peel the eggs under cool running water or submerged in a bowl of water. The water seeps under the membrane and helps the shell slide off in larger pieces. If you are saving them for later, keep them unpeeled in the fridge for up to one week.
Boiling Times Chart: Every Doneness Level
Here is the timing chart I rely on. All times assume large eggs straight from the fridge, lowered into already-boiling water, then cooled in an ice bath.
| Boil Time | Doneness | Yolk Texture | White Texture | Best Uses |
|---|---|---|---|---|
| 6 minutes | Runny / dippy | Liquid, warm, golden | Just set, delicate | Dippy eggs and soldiers, ramen topping |
| 7 minutes | Jammy / soft-boiled | Soft, custardy, spoonable | Firm but tender | Ramen, rice bowls, salad topping |
| 8 minutes | Medium-soft | Slightly set center, creamy | Fully set | Soft egg salad, toast toppers |
| 9 minutes | Medium | Mostly set, still creamy | Fully firm | Sandwiches, snacking |
| 10 minutes | Hard-boiled | Fully set, bright yellow, tender | Fully firm | Deviled eggs, egg salad, meal prep |
| 12 minutes | Very hard-boiled | Fully set, slightly powdery | Very firm | Pickling, deviled eggs, long storage |
My personal sweet spot for hard-boiled eggs is 10 minutes. The yolk is fully set with no grey ring, and the white is tender instead of rubbery. Twelve minutes is fine if you want a firmer texture or you are making deviled eggs that need to hold their shape.
Anything past 14 minutes and you will start seeing that grey-green sulfurous ring form around the yolk. It is safe to eat, but it looks unappetizing and the yolk texture goes chalky.
Adjusting for Egg Size
These timings are calibrated for large eggs, which is what most recipes assume. If you are working with different sizes, here is how to adjust.
Medium eggs: Subtract 30 to 60 seconds from the chart.
Extra-large eggs: Add 30 to 60 seconds.
Jumbo eggs: Add 60 to 90 seconds.
Room-temperature eggs: Subtract 1 minute, since they heat through faster.
Adjusting for Altitude
Water boils at a lower temperature the higher you are above sea level, which means eggs cook more slowly at altitude. If you live above 3,000 feet, add about 1 minute to every timing in the chart. Above 6,000 feet, add 2 minutes. This is a step almost no recipe covers, and it is why people at altitude complain that their eggs never seem done on schedule.
How to Peel Boiled Eggs Easily
Peeling is the number one complaint I see on cooking forums, and almost every problem traces back to one of two things: the eggs were too fresh, or they did not get an ice bath. Here is how to handle both.
Fresh vs Older Eggs
Use eggs that are 7 to 10 days old for the easiest peeling. As eggs age, the moisture inside slowly evaporates through the shell and the air pocket at the wide end grows. That larger air pocket helps separate the cooked white from the inner membrane.
Farm-fresh eggs, the kind you get the same day they are laid, are notoriously awful to peel. The membrane clings to the white like glue, and you end up with cratered, ugly eggs. If you must use fresh eggs, add a teaspoon of baking soda to the boiling water and steam them for the last minute. The alkaline water helps loosen the bond between the membrane and the white.
The Ice Bath Technique
The ice bath does double duty. It stops the cooking instantly so your yolks stay bright yellow, and the rapid temperature drop causes the cooked egg to contract slightly inside the shell. Leave the eggs in the ice water for at least 5 minutes, and up to 15 minutes if you want the very easiest peeling.
I keep the ice bath bowl right next to the stove so there is zero delay between the timer going off and the eggs hitting cold water. Even ten seconds of lingering heat continues the cook and tightens the membrane against the shell.
Peel Under Water
Peel the eggs under cold running water or while submerged in the ice bath bowl. Tap the egg gently on the counter to crackle the shell all over, then start at the wide end where the air pocket is. The water seeps under the membrane and floats the shell off in larger sheets instead of tiny chips.
An older trick from cooking forums is to gently roll the cracked egg between your palms under the water. This loosens the entire shell at once and it often slides off in one or two big pieces.
Vinegar and Baking Soda Tricks
Two common home tricks show up constantly in forum discussions, and both have some merit. Adding a tablespoon of white vinegar to the boiling water is said to soften the shell slightly. Adding a teaspoon of baking soda raises the pH of the water, which weakens the bond between the white and the membrane.
In my testing, baking soda is more reliable than vinegar. Neither one is magic, but baking soda does noticeably improve peeling with stubbornly fresh eggs.
Common Boiled Egg Problems and Fixes
Here are the four problems I see most often, with the fix for each.
Eggs Crack During Boiling
The cause is almost always eggs being dropped into the pot instead of lowered in. Use a slotted spoon and ease them in gently. A secondary cause is a violent rolling boil bouncing the eggs around, which is why you reduce to a gentle simmer as soon as they are in.
You can also pre-warm fridge-cold eggs by letting them sit in warm tap water for 5 minutes before boiling. The sudden temperature shock of cold egg meeting boiling water is what causes hairline cracks.
Grey or Green Ring Around the Yolk
That ugly ring is a reaction between sulfur in the white and iron in the yolk, and it only happens when eggs are overcooked or cooled too slowly. The fix is simple: cook to the proper time on the chart, then move them to the ice bath immediately. Once I started being religious about the ice bath, the grey ring disappeared from my eggs entirely.
Rubbery Egg Whites
Rubbery whites come from overcooking. The proteins in the white tighten too much and squeeze out moisture. Cut a minute off your cook time and you will notice the difference immediately. Ten minutes is plenty for a fully set hard-boiled egg with a tender white.
Inconsistent Results Between Batches
If your eggs come out different every time, the culprit is almost certainly timing inconsistency. The boiling-water-first method solves this because the clock starts at the same moment every single time. With the cold-water start method, the actual cook time depends on how fast your stove brings water to a boil, which varies based on how much water, how many eggs, and the starting water temperature.
FAQ
Do you put eggs in the water before or after it starts boiling?
Is it better to boil eggs in cold or boiling water?
Is 10 minutes long enough to hard boil an egg?
What’s the trick to perfect hard-boiled eggs?
Conclusion
Once you understand how to boil eggs with the boiling-water-first method, the results stop being a gamble. Six minutes for runny yolks, eight for jammy, ten for hard-boiled, and an ice bath the moment the timer goes off. That is the entire system, and it works for every doneness level from dippy eggs and soldiers to egg salad and deviled eggs.
Try it tonight with a few eggs and you will taste the difference. Tender whites, bright yolks, and shells that slide off clean. Once you have the timing dialed in for your stove and your egg size, you will never look at another boiled egg method again.